Best Tools for Achieving Polka Dot Nail Patterns
To achieve fabulous polka dot nail patterns, you’ll want some must-have tools. A dotting pen with different-sized tips is your best friend for perfect dots, while a toothpick can help with tiny details. Grab a nail art brush to fill in spaces, and don’t forget a cleanup brush for those little messes! Use stencils for flawless dots or tape for clean lines. Choose vibrant polishes for base and dot colors; shiny finishes always look great! Keep your tools clean for the best results. If you’re curious about more tips and tricks, keep on exploring the world of nail art!
Essential Dotting Tools
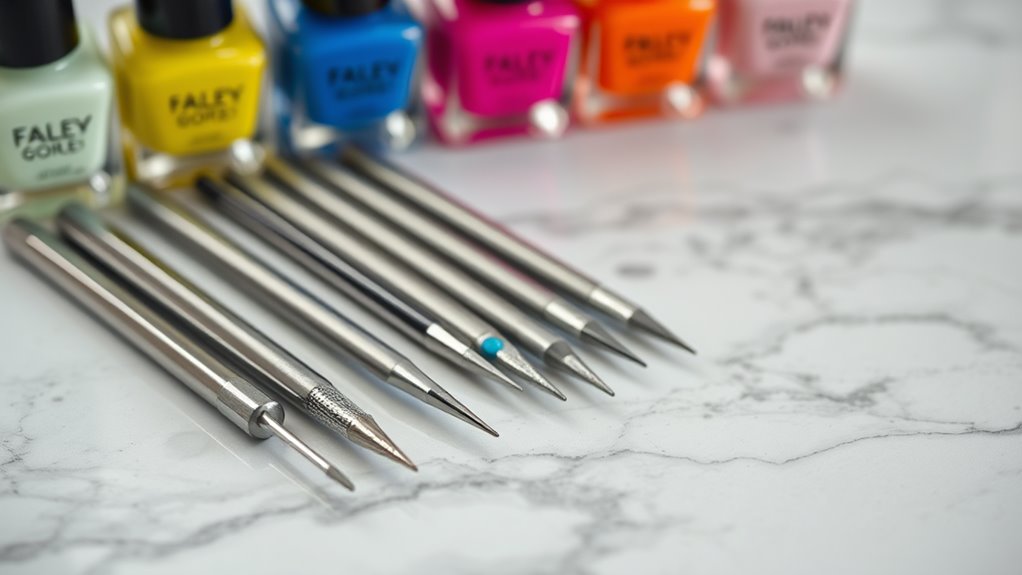
When it comes to creating stunning polka dot nail art, having the right dotting tools is essential. You might think, “What’s so special about dotting tools?” Well, they’re the magic wands of nail art! A good dotting tool can help you create perfect dots in all sizes, making your nails look fabulous.
First up, you’ve got the dotting pen. This handy tool usually has a double-ended design, with different-sized tips. You can use the smaller end for tiny dots and the larger end for bigger ones. Easy peasy!
Next, consider a toothpick. Yes, a simple toothpick! It’s great for making intricate designs or adding those delicate little dots when you’re feeling fancy.
Don’t forget about a nail art brush. While it’s not a dotting tool per se, it’s super useful for filling in spaces or creating patterns around your dots.
Choosing the Right Nail Polish
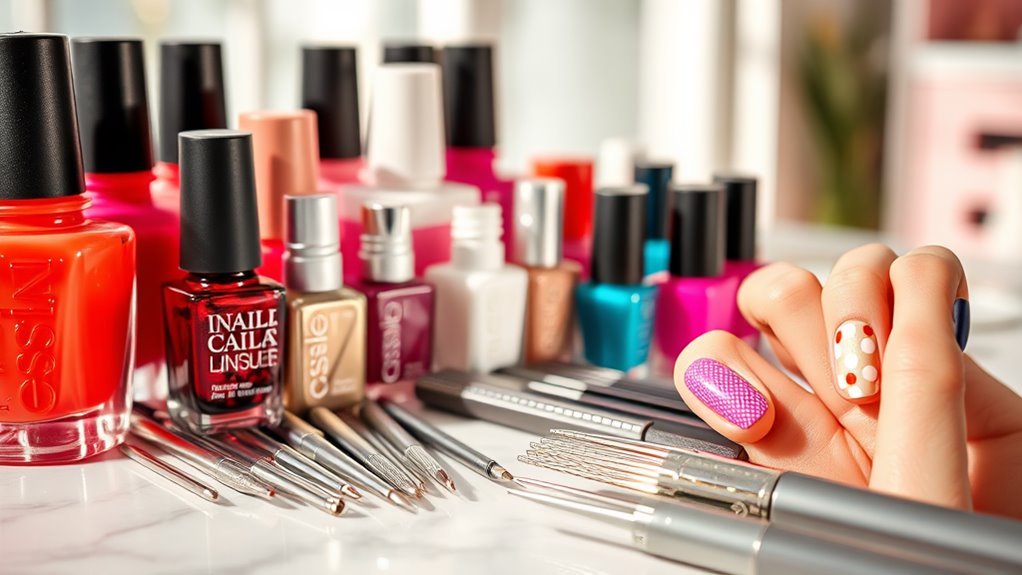
Selecting the right nail polish can make all the difference in your polka dot nail art. You want colors that pop and stay put, right? Start by picking a base color. A solid, vibrant color gives your polka dots a fun backdrop. Think about classic shades like white, black, or even a bright pastel. These colors let your dots stand out, making your nail art look extra cute!
Next, choose your dot colors. You can go for a color scheme that matches your outfit or pick fun, contrasting colors. If you want a playful look, bright colors like hot pink, sunny yellow, or electric blue can really brighten your day. Just remember, the finish matters too—glossy polishes can add shine, while matte ones give a unique vibe.
Before you start, make sure your polishes are fresh and not too thick. Thick polish can make it hard to create those perfect dots. You can always add a few drops of polish thinner if you need to.
With the right nail polish in hand, you’ll be ready to create the cutest polka dot designs ever. Now, let’s get painting!
Nail Art Brushes and Their Uses
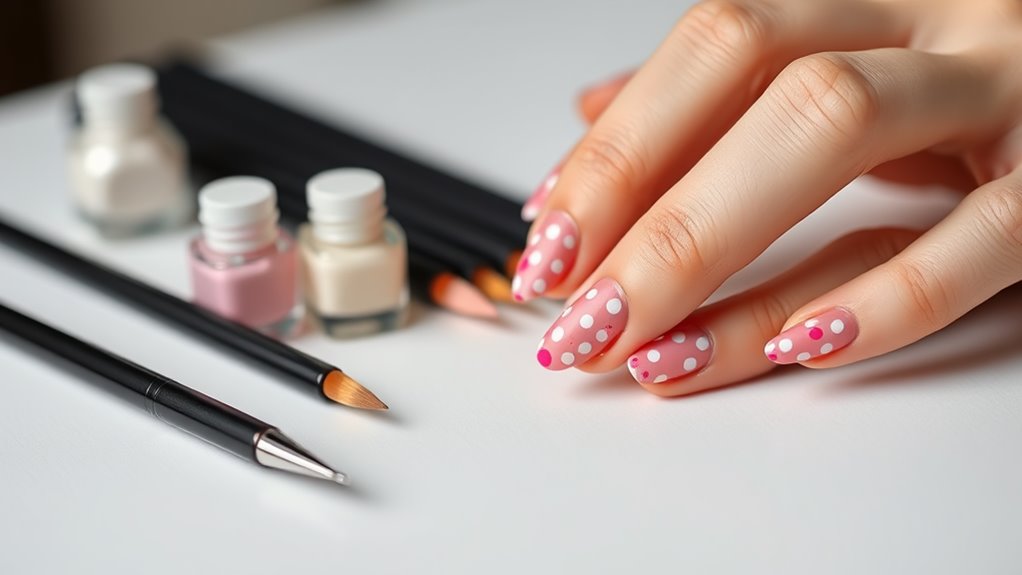
A variety of nail art brushes can transform your polka dot designs from simple to stunning.
First up, you’ve got the dotting tool. This handy brush has a round tip, perfect for making those perfectly sized dots. Whether you want tiny sprinkles or big, bold dots, this tool’s got you covered!
Next, consider a detail brush. With its fine bristles, it helps you create intricate designs around your polka dots, like swirls or flowers. You can really let your creativity shine with this one!
Don’t forget about the flat brush; it’s great for adding a base color or even for making stripes to complement your dots.
For those of you who love a bit of flair, try a fan brush. This brush can create fun textures or even fuzzy dots—who knew nails could be so playful?
Lastly, a cleanup brush is essential for fixing any little mistakes. It helps you tidy up your edges and make everything look sharp.
Stencils for Perfect Patterns
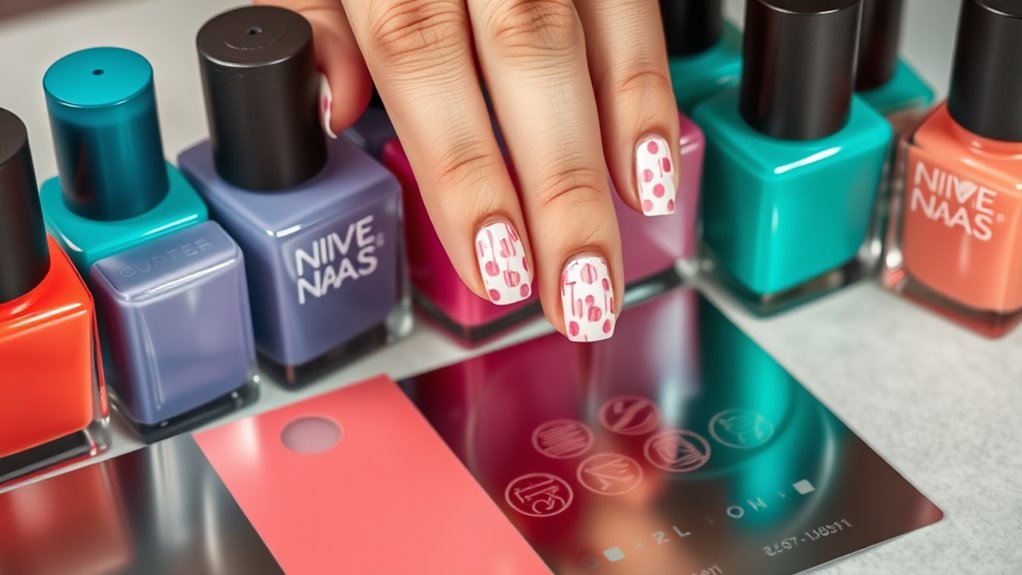
Stencils can elevate your nail art game by ensuring those polka dot patterns are crisp and precise. Using stencils is like having your own nail art assistant, helping you create perfect dots every time! You can find stencils in various shapes and sizes, making it easy to customize your designs.
To use them, simply place the stencil on your nail after applying a base coat. Then, choose your favorite nail polish color and dab it over the stencil openings. Lift the stencil off gently, and voila! You’ve got beautiful polka dots that look like they were painted by a pro.
If you want to get creative, try layering different colors. Just let the first color dry before applying the next. It’s a fun way to add depth and personality to your nails!
Don’t worry if you make a mistake; that’s part of the fun! You can always clean up using a small brush dipped in nail polish remover.
Using Tape for Precision
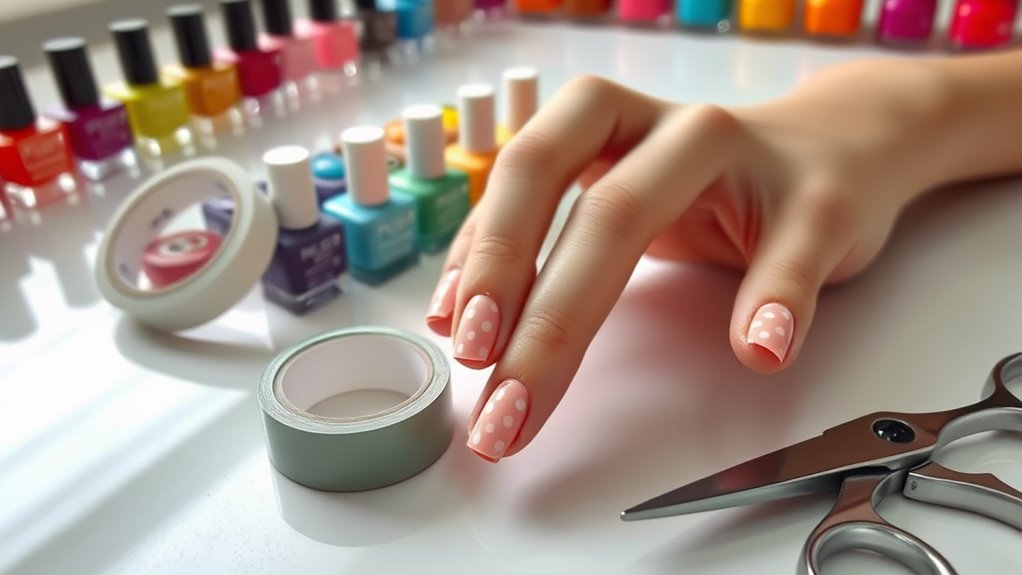
Tape can be your secret weapon for achieving flawless polka dot patterns on your nails. It’s super easy to use and helps you create clean, crisp edges that will make your polka dots pop!
Start by cutting small pieces of tape and placing them on your nail in a pattern you like. You can use tape to block off areas so the polish doesn’t go over where you don’t want it.
Once you’ve applied the tape, paint over it with your base color. After it dries, carefully peel the tape off. Voilà! You’ll have perfect little spots ready for some dotting action.
You can also use tape to create fun designs around your polka dots. Consider making stripes or zigzags—you’re only limited by your imagination!
Just remember, patience is key. It might take a little practice to get the hang of it, but that’s part of the fun. When you nail (pun intended!) this technique, you’ll be on your way to being a polka dot pro.
Dotting Techniques Explained
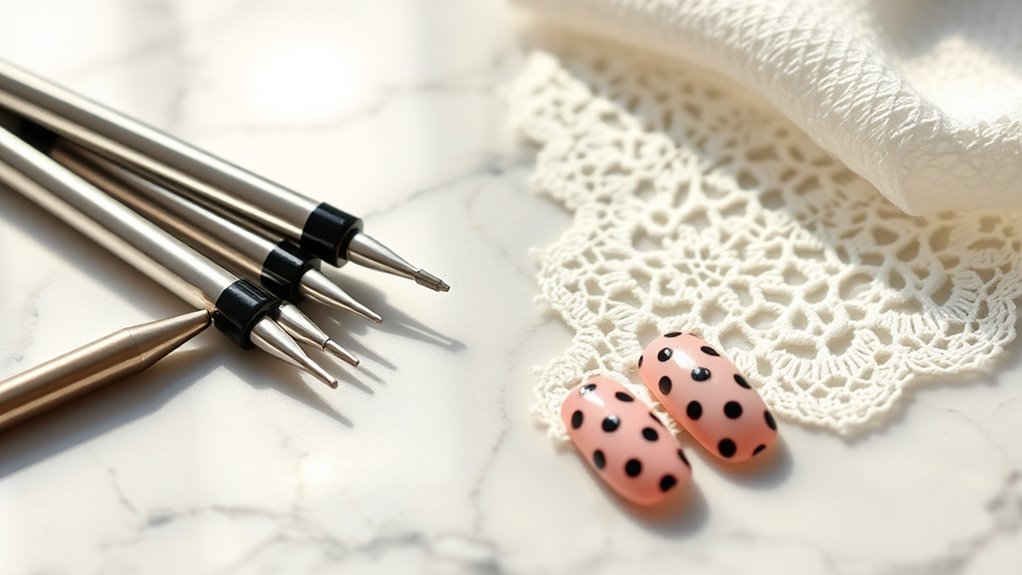
Once you’ve mastered using tape for clean edges, it’s time to explore different dotting techniques that can elevate your nail art. Dotting is all about creating those cute little spots that make your nails pop! You can start by using a dotting tool, which is a simple stick with a rounded tip. Just dip it into your nail polish and gently press it onto your nail. Voilà! You’ve got a perfect dot.
But wait, there’s more! You can also use everyday items like bobby pins or toothpicks. Just dip the end into polish, and you’re ready to dot away. For big dots, try using the end of a makeup sponge. It’s like magic!
If you want to get fancy, you can layer dots by letting each layer dry before adding the next. This adds depth and turns your nails into a masterpiece.
Just remember, practice makes perfect. So, don’t get discouraged if your first few attempts aren’t magazine-worthy. Keep experimenting with colors and sizes, and soon you’ll be the dotting queen or king! Your nails will never look the same again!
Best Practices for Application
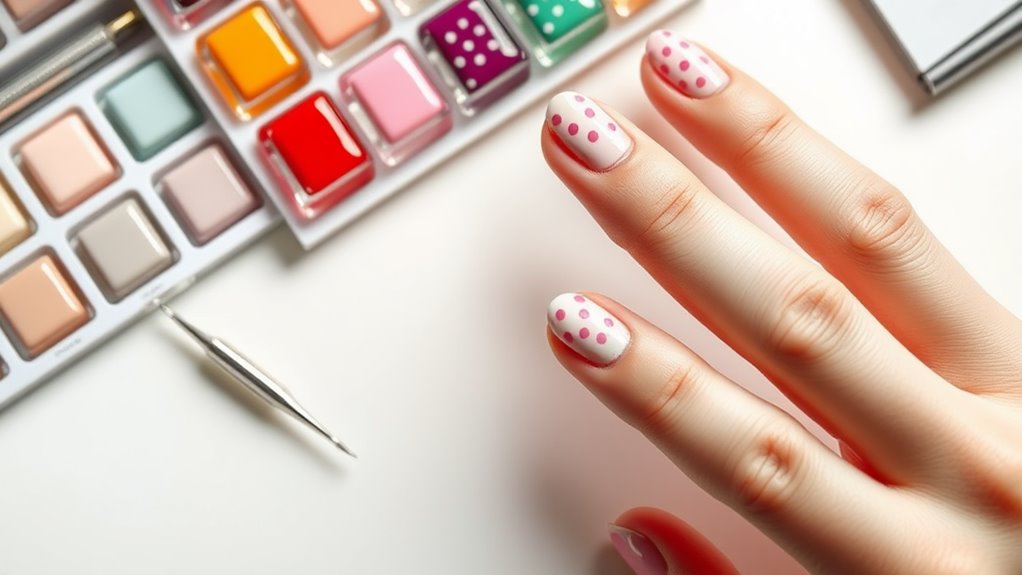
To achieve the best results with your dotting tools, it’s essential to follow a few key practices. First, make sure your nails are clean and dry before you start. This helps the polish stick better and keeps your dots looking sharp.
Next, choose your base color and let it dry completely. You don’t want your dots to smudge into a messy blob!
When using your dotting tool, dip it lightly into the polish, but don’t overload it. A little goes a long way! Start by pressing the tool gently onto your nail. If you want perfect circles, try to lift it straight up; dragging can create odd shapes.
Remember, practice makes perfect, so don’t worry if it’s not flawless right away.
Also, consider spacing your dots evenly. You can use a small ruler or just eyeball it!
Finally, seal your masterpiece with a clear topcoat. This not only protects your design but also gives it a beautiful shine.
Top Brands for Nail Art Tools
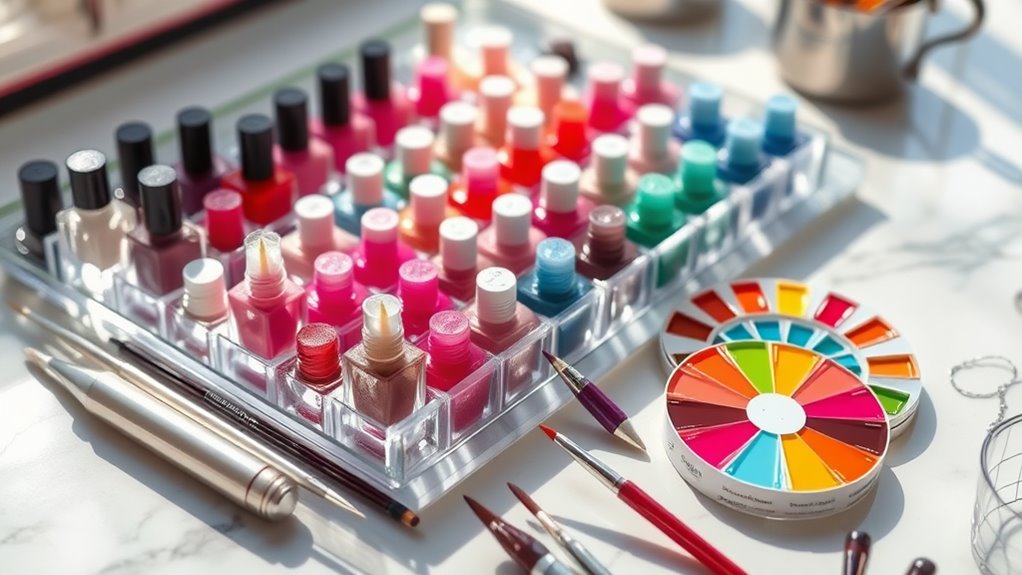
When you’re ready to elevate your nail art game, investing in quality tools is essential. Luckily, there are some fantastic brands out there that can help you create those adorable polka dot patterns.
First up, you can’t go wrong with OPI. Their dotting tools are easy to use and come in different sizes, making it super simple to achieve the perfect dots on your nails.
Next, check out Sally Hansen. They offer a range of nail art pens and brushes that are perfect for adding those tiny details. Plus, their products are pretty affordable, so you won’t break the bank!
Another great choice is Nicole Diary. They’ve some awesome nail stamping plates and dotting tools that make creating designs a breeze.
If you’re looking for something a bit more high-end, try out Kiara Sky. Their nail art supplies are exceptional and designed for both pros and beginners.
With these brands in your toolkit, you’ll be a polka dot nail artist in no time!
Cleaning and Maintenance Tips
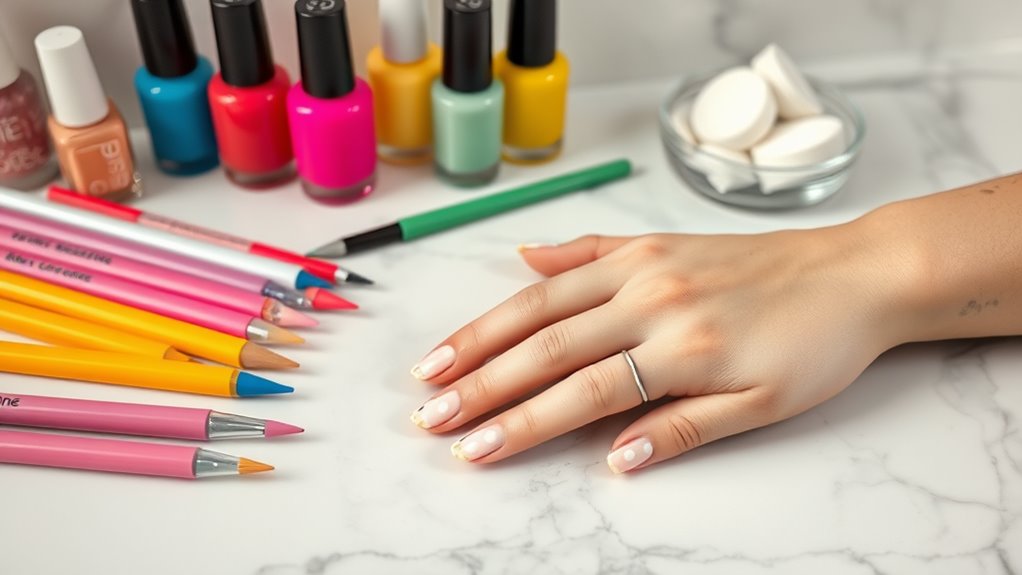
Keeping your polka dot nail tools clean and well-maintained is essential for achieving the best results in your nail art. Dirty tools can ruin your designs and lead to frustrating mishaps. So, let’s explore some simple cleaning tips!
After each use, make it a habit to wipe your dotting tools with a clean cloth or paper towel. This helps remove any leftover polish. For a deeper clean, soak them in warm, soapy water for a few minutes, then gently scrub with a soft brush. Rinse thoroughly and dry with a towel.
Don’t forget about your sponges! You can rinse them under warm water and gently squeeze out the excess polish. If they’re looking a little worse for wear, it might be time to replace them.
Store your tools in a clean, dry place. A small pouch or container works great! This keeps them safe and prevents dust buildup.
Creative Design Ideas
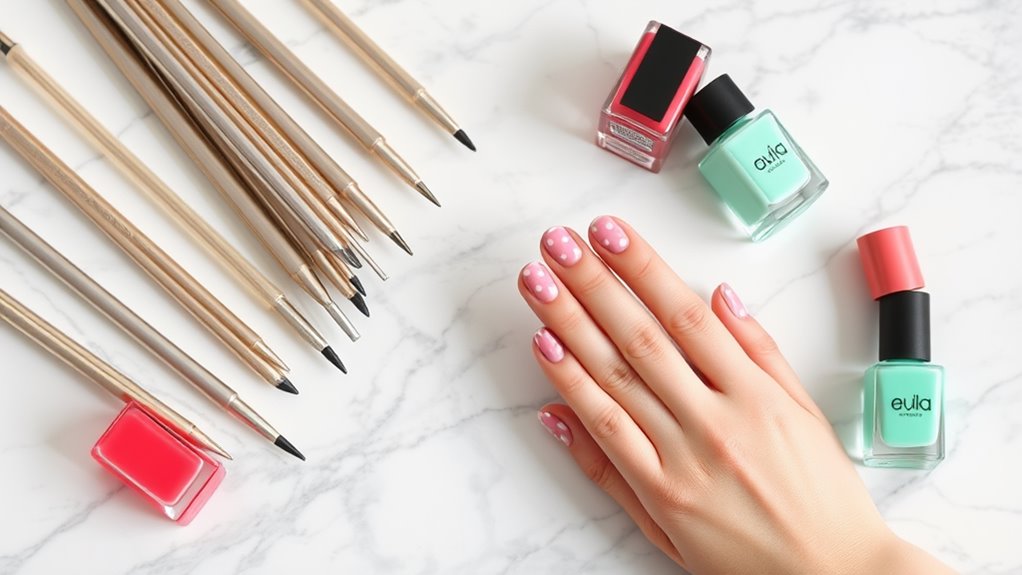
With polka dot nail tools at your fingertips, you can release your creativity and transform your nails into stunning works of art. Why stick with just one color? Try using a bright base and then add dots in contrasting shades. You could even create a rainbow effect! Just imagine your nails looking like a party for your fingertips!
Feeling adventurous? Experiment with different dot sizes! Use a small dotting tool for tiny polka dots and a larger one for bigger spots. Mix up the sizes on each nail for a fun, mismatched look. It’ll be like a nail art buffet!
You can also play with patterns. Instead of uniform dots, try making them in spirals or lines. Or, why not turn your dots into cute characters? A few dots and some clever doodling can turn your nails into ladybugs or a fun galaxy scene.
Don’t forget seasonal themes! For Halloween, use orange and black dots for spooky vibes. During the holidays, red and green can bring out the cheer.
Conclusion
Now you’re all set to rock those polka dot nails! With the right tools and a little bit of practice, you can create fun and fabulous designs that’ll make your nails stand out. Remember, it’s all about having fun and expressing yourself. So grab your dotting tools, pick your favorite colors, and let your creativity shine! Who knew nail art could be this exciting? Happy dotting, and may your nails be as cheerful as you are!
