DIY Striped Nail Art Techniques
You can easily create fabulous striped nails at home! Start by painting your nails with a base color and let it dry completely. Then, grab some striping tape or a fine brush to make those perfect lines. Choose a second color, paint over the exposed areas, and carefully peel off the tape or brush. For fun, mix up your stripe widths or angles, and don’t shy away from pairing them with other patterns! Remember to finish with a top coat for extra shine. Keep going, and you’ll discover even more techniques to make your nails pop!
Essential Tools and Materials
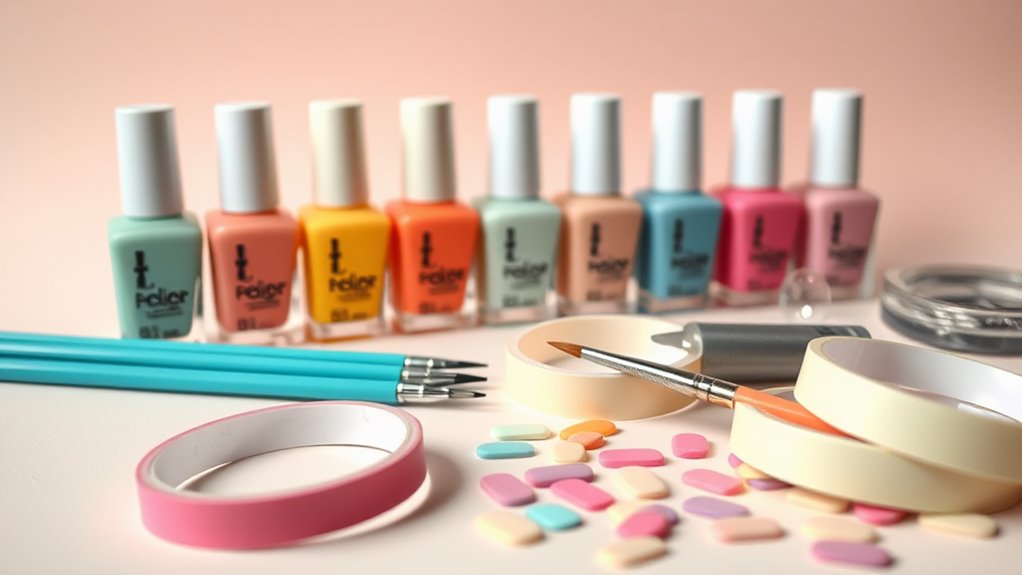
To create stunning striped nail art, you’ll need a few essential tools and materials that make the process smooth and enjoyable.
First off, grab some nail polish in your favorite colors. You’ll want at least two or three shades that look great together.
Next, you’ll need striping tape or a thin paintbrush. Trust me, these are your best friends for creating those sharp, clean lines.
Don’t forget a base coat! It protects your nails and helps the polish stick better. You’ll also want a top coat to seal your masterpiece and give it that shiny finish.
A small nail art dotting tool can come in handy too, especially if you want to add tiny dots or details.
Basic Striped Nail Art Technique
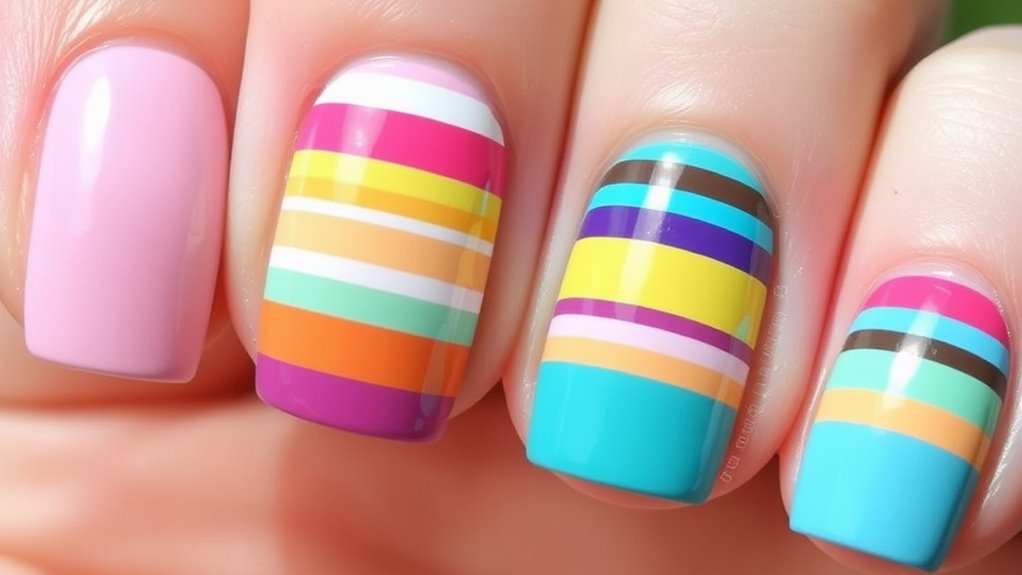
Now that you have your tools and materials ready, it’s time to get started with the basic striped nail art technique. First, pick your base color and apply it to all your nails. Let it dry completely—no one wants to smudge their hard work!
Once it’s dry, it’s time for the fun part: the stripes! Grab your striping brush or tape. If you’re using tape, cut it into thin strips and place them on your nails in any pattern you like. If you’re feeling brave, freehand it with your brush. Just remember to keep a steady hand; you’re not training for a tightrope act!
Choose your second color and paint over the exposed areas. When you’ve covered the stripes, carefully peel off the tape or lift your brush. Voilà! You’ve made your stripes!
To finish, add a clear top coat to seal everything in and make it shine. Don’t forget to clean up any polish around your nails with a small brush dipped in remover.
And there you go—simple, striped nails that are sure to impress! Enjoy your fabulous nail art, and get ready to show them off!
Advanced Striped Designs
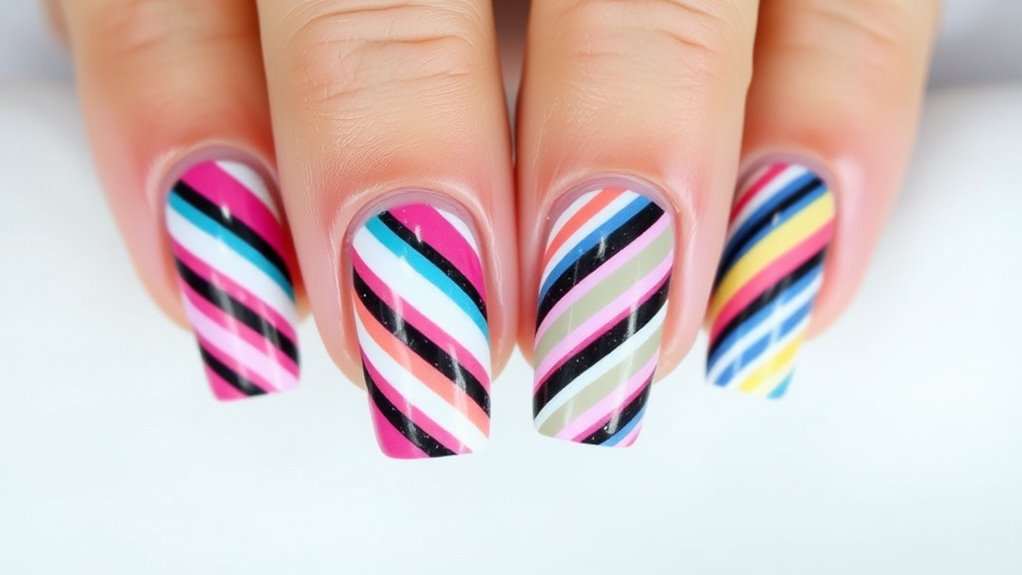
Advanced striped designs take your nail art to a whole new level, transforming simple stripes into eye-catching patterns that showcase your creativity.
To start, consider using different widths for your stripes. Thin lines next to thick ones can create a fun contrast that really stands out. You can also experiment with diagonal stripes. Instead of going straight across, try angling your stripes for a dynamic twist.
Another cool technique is layering your stripes. Paint one layer and let it dry, then add another layer on top in a different direction. This adds depth and complexity to your design.
If you’re feeling extra adventurous, try combining stripes with other patterns, like polka dots or chevrons. It sounds tricky, but with a steady hand, you can totally pull it off!
Don’t forget about using tape! It’s your best friend for making clean lines. Just stick it down, paint your stripes, and peel it away for a crisp finish.
Color Combinations for Stripes
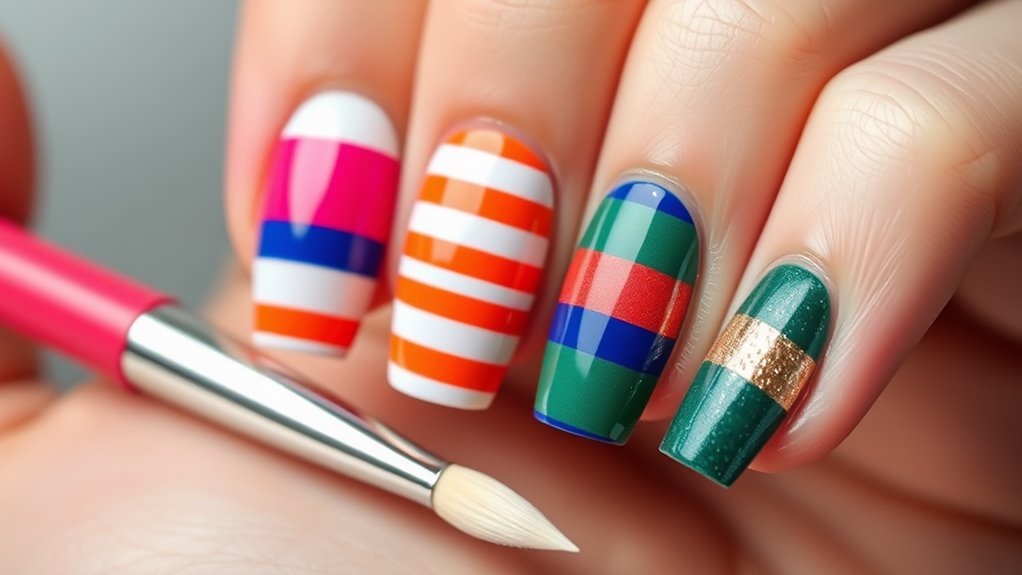
Stripes can be a canvas for your creativity, and choosing the right color combinations can elevate your nail art to stunning new heights. Think about what colors make you happy!
For a classic look, you can’t go wrong with black and white stripes. It’s chic and goes with everything. If you’re feeling bold, try bright colors like hot pink and neon green. They’ll definitely grab attention!
For a softer vibe, pastels like mint green and lavender can bring a calming touch to your nails. You can even mix different shades of the same color for a cool ombre effect.
How about adding some metallics? Gold or silver stripes can make your nails shine like the stars!
Don’t forget about seasonal colors! In autumn, warm shades like burnt orange and deep red feel cozy. For summer, try sunny yellows and ocean blues.
And if you’re really adventurous, go for a rainbow! Just remember, sometimes less is more. If you’re unsure, stick to two or three colors to keep it from getting too chaotic.
With these combinations, your striped nail art will be show-stopping! Now, let’s get painting!
Tips for Flawless Application
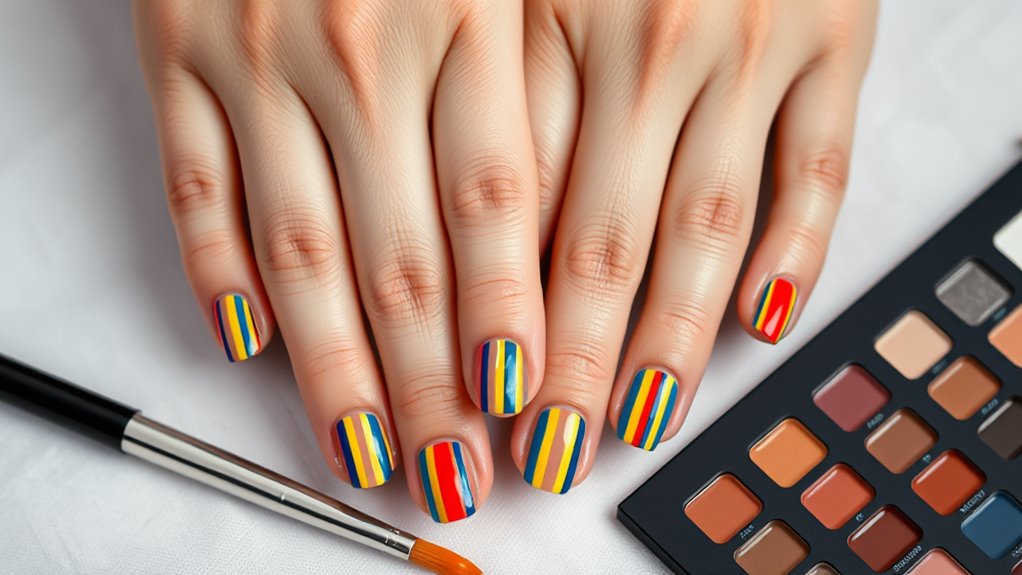
How can you guarantee your striped nail art looks flawless? First, start with clean, dry nails. Make sure to remove any old polish and wash your hands.
Next, apply a base coat to protect your nails and help the polish stick better. It’s like putting on sunscreen before hitting the beach!
When it’s time for the stripes, use striping tape or a fine nail art brush. If you’re using tape, place it carefully to create the design you want. Press it down firmly so the polish doesn’t seep underneath.
If you’re painting freehand, steady your hand by resting it on a flat surface.
Choose a good-quality polish that goes on smoothly. Thin coats work best—apply two or three layers instead of one thick one. This helps avoid smudges and bubbles.
After you’ve painted your stripes, let everything dry completely before removing the tape. If you’re feeling fancy, add a top coat for extra shine and to seal the design.
Nail Care After Art
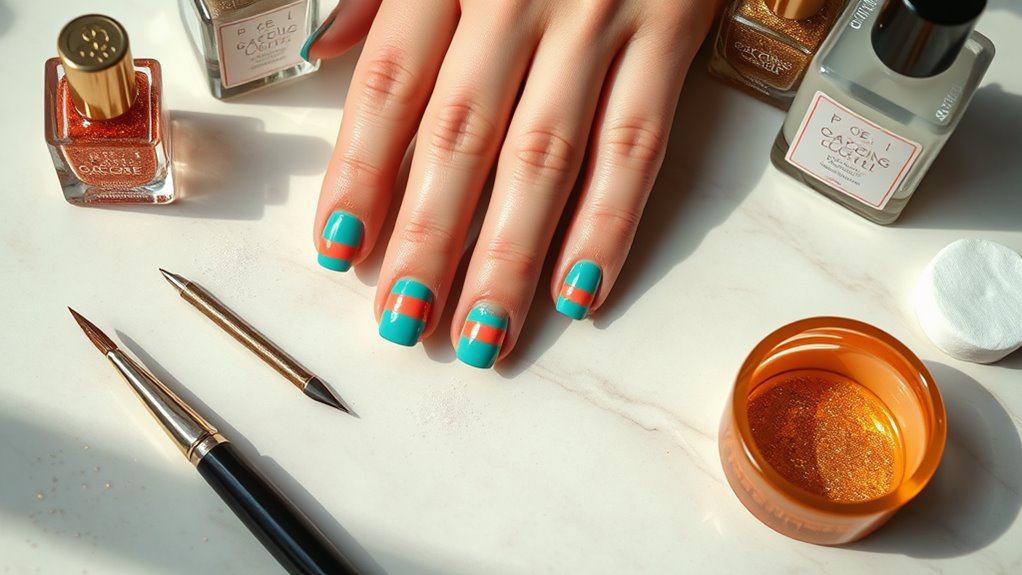
After creating beautiful striped nail art, you’ll want to guarantee your nails stay healthy and vibrant.
First things first—give your nails a little TLC. Start by applying a good topcoat to protect your masterpiece. It seals your design and adds that glossy finish we all love. Plus, it helps prevent chips and scratches, which is a total win!
Next, keep your nails moisturized. Use a nourishing cuticle oil or hand cream daily. Trust me, your cuticles will thank you, and your nails will look fabulous!
Don’t forget to give your nails a break every now and then. Removing polish regularly allows your nails to breathe. You wouldn’t want to wear a heavy jacket all summer, right?
Lastly, avoid using your nails as tools. I know it’s tempting to pry open a can or scratch an itch, but your nails deserve better! Treat them like the delicate works of art they are.
Conclusion
Now that you’ve got the scoop on DIY striped nail art, it’s time to release your creativity! Remember, practice makes perfect, so don’t worry if your first try isn’t a masterpiece. Just have fun with colors and patterns until you find what you love. Plus, your nails will thank you for the care you give them afterward! So grab those tools, invite a friend over, and make it a nail art party. Happy painting!
