Rhinestone Nail Art for Beginners
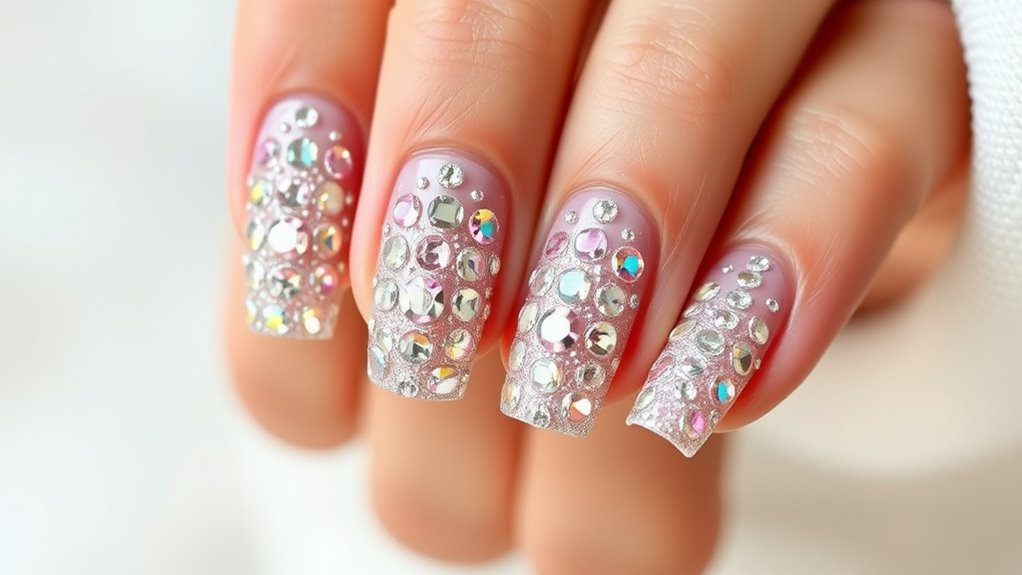
Rhinestone nail art is a fantastic and easy way to add some sparkle to your fingertips! To get started, you’ll need a few tools like a nail file, base coat, top coat, and tweezers. First, prep your nails with a base coat. Then, use tweezers to pick up rhinestones and place them where you want. You can create fun designs like an accent nail or a sparkly border. To make them last longer, seal everything with a top coat and avoid water for a day. Stick around, and you’ll find even more tips to shine bright!
Understanding Rhinestones

When it comes to nail art, rhinestones can elevate your design to a whole new level. These sparkling gems add a touch of glam and personality to your nails, making them stand out. You might think rhinestones are just for fancy occasions, but you can use them every day! They come in different shapes, colors, and sizes, so you can mix and match to create your unique look.
Understanding rhinestones is simple. They’re usually made from glass or plastic, and they catch the light beautifully. You can find them in craft stores or online, and they’re super affordable.
When you choose rhinestones, think about the style you want. Do you want a bold, eye-catching design, or something more subtle?
Applying rhinestones is just as fun! You can place them in patterns, create little designs, or even use them to highlight your nail art. Just remember to use a good nail glue or top coat to keep them in place.
And hey, if they come off at a party, just consider it a chance to start a new trend! So, go ahead and get creative with those sparkly little beauties.
Essential Tools for Nail Art

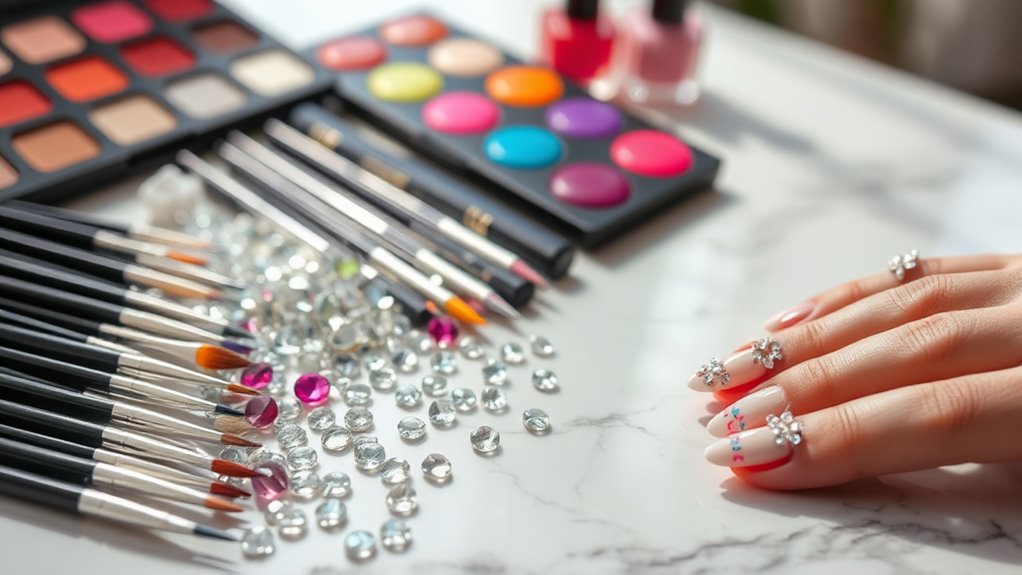
Mastering nail art requires having the right tools at your fingertips. You’ll want to gather a few essentials to make your rhinestone nail art journey fun and easy.
First on the list is a good nail file. It helps shape your nails and prepare them for the design. Next, grab a base coat to protect your nails and make your art last longer.
You’ll also need a top coat; this seals everything in and gives your nails that glossy finish.
Now, don’t forget a pair of tweezers or a dotting tool! Tweezers help you pick up those tiny rhinestones without turning your fingers into a sticky mess. A dotting tool can create small dots or help apply rhinestones precisely.
Basic Techniques to Apply Rhinestones

Now that you’ve gathered your tools, it’s time to learn how to apply rhinestones effectively. First, start with your prepared nails. You can use a base coat or polish to create a sticky surface. This will help your rhinestones stay put.
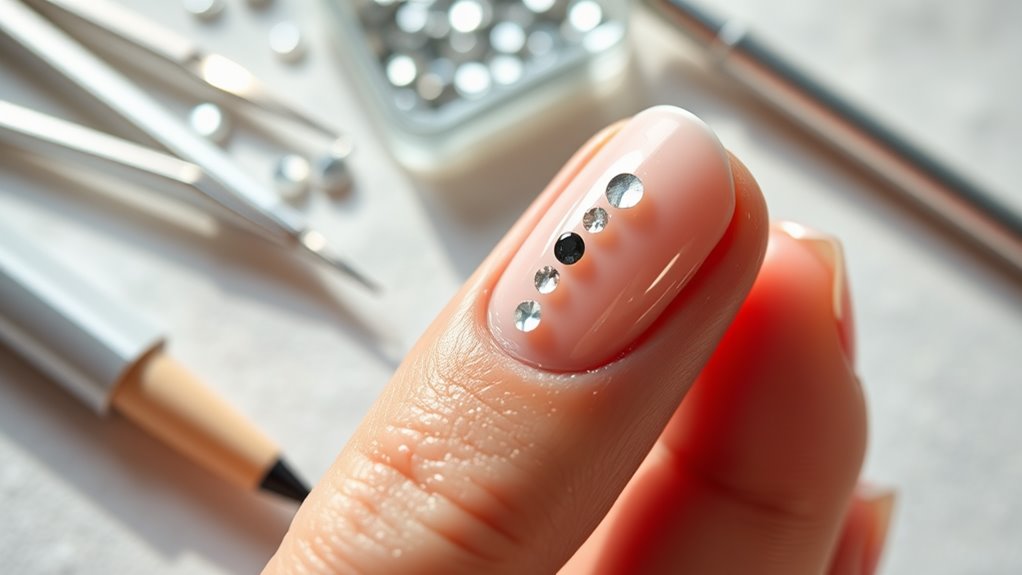
Next, pick up a rhinestone using a dotting tool or tweezers. If you’re feeling fancy, you can even use a toothpick! Gently place the rhinestone onto your nail, pressing down slightly. Don’t worry if it’s not perfect; you can adjust it before it sets.
If you’re using nail glue, put a tiny drop on the spot where you want the rhinestone. Then, use the tool to pick up the stone and place it right on the glue. After placing all your rhinestones, let them dry for a few minutes. It might feel like waiting for a pot of water to boil, but it’s worth it!
Step-by-Step Design Ideas

Creating stunning rhinestone designs can elevate your nail art game, and there are plenty of simple ideas to get you started.
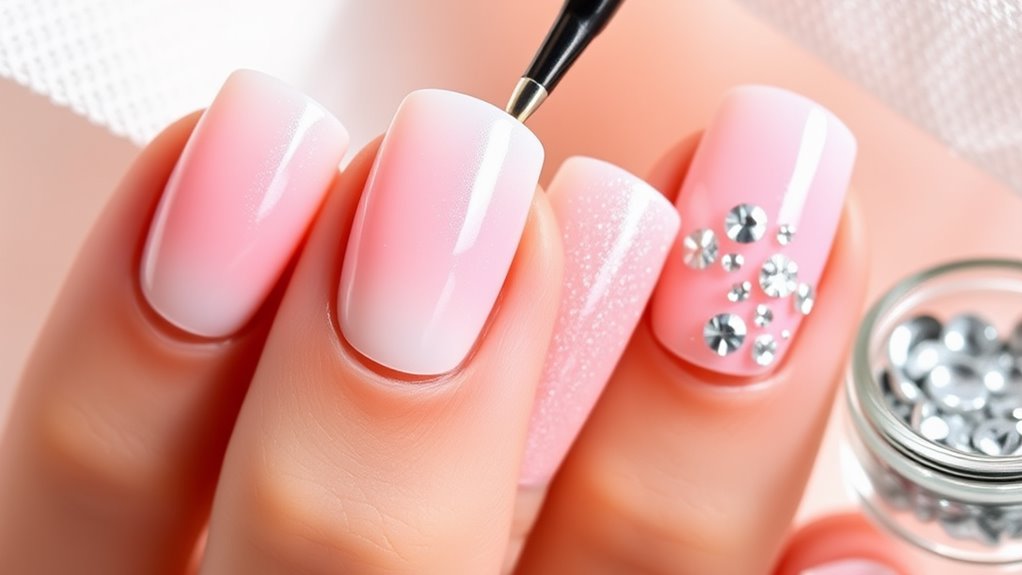
One fun design is the classic accent nail. Paint all your nails a solid color, then choose one nail on each hand to cover with rhinestones. You can create a gradient effect by starting with larger stones at the base and moving to smaller ones at the tip.
Another easy idea is the rhinestone border. After applying your favorite nail polish, place a line of rhinestones along the cuticle area. This gives your nails a chic look without being overwhelming.
Don’t forget about the starburst design! Start by placing a larger rhinestone in the center of your nail, then arrange smaller stones around it like rays of sunshine.
For a playful twist, try adding rhinestones to a simple nail art design, like polka dots or stripes. Just dot a little clear polish where you want to place them.
Tips for Long-lasting Results

To achieve long-lasting rhinestone nail art, preparation is key. First, make sure your nails are clean and dry. Remove any old polish and push back your cuticles. This’ll create a smooth canvas for your design.
Next, apply a base coat. Not only does it protect your nails, but it also helps the polish stick better.
When you choose your rhinestones, go for high-quality ones. Cheap rhinestones might look sparkly at first, but they can lose their shine or fall off quickly.
Once you’ve placed your rhinestones, seal them with a top coat. This step is essential! A good top coat will keep your bling intact and add shine, making your nails look salon-fresh for longer.
Avoid soaking your nails in water for the first 24 hours after applying the top coat. Water can loosen the rhinestones, and we definitely don’t want that!
Finally, if you’re doing dishes or cleaning, wear gloves. Your nails deserve a little pampering, right?
Follow these tips, and you’ll be rocking those stunning rhinestone nails for days. Happy decorating!
Conclusion
Now that you know the basics of rhinestone nail art, it’s time to get creative! Remember, practice makes perfect, so don’t worry if your first try isn’t Pinterest-perfect. Have fun experimenting with different designs and colors. With these tips and techniques, your nails will sparkle like a disco ball in no time! So grab your tools, let your imagination run wild, and enjoy the process. You’ve got this—your fabulous nails are just a rhinestone away!
