Ombre Nail Techniques for Beginners
Ombre nails are a super fun way to express your style, and they’re easy to master! Start by gathering your supplies: a base coat, two nail polishes, and a makeup sponge. Once your nails are prepped with the base coat, paint them with a lighter color. Next, dab the darker polish onto the sponge, and gently press it on your nails to create that blended look. Don’t forget to let each layer dry completely! Finish up with a shiny top coat, and voilà, you’ve got gorgeous ombre nails! Stick around, and you’ll pick up even more great tips!
Understanding Ombre Nails
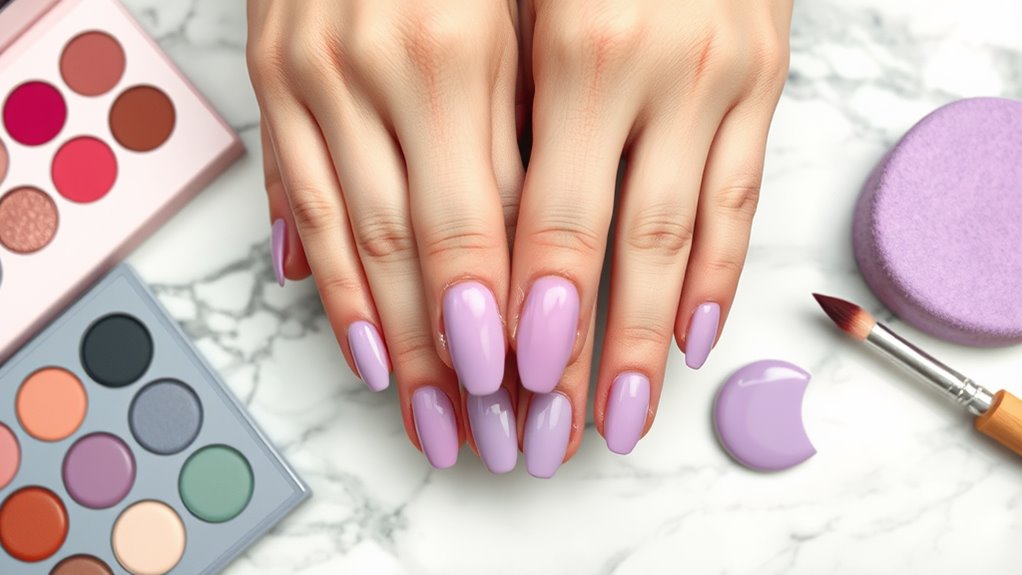
When you first explore the world of nail art, understanding ombre nails can seem a bit intimidating. But don’t worry! Ombre nails are simply a fun way to blend colors for a beautiful gradient effect. Imagine a sunset, where one color smoothly shifts into another—that’s what ombre nails can look like!
To get started, think about the colors you want to combine. You can pick two shades that are similar, like light pink and dark pink, or go for a bold contrast, like blue and yellow. The trick is to make sure the colors complement each other. Mixing is key!
You’ll often see ombre nails done in two styles: vertical and horizontal. Vertical ombre has the colors blending from the base of your nail to the tip, while horizontal ombre blends from side to side. Each style gives a unique look, so don’t hesitate to try both!
Once you get the hang of it, you’ll find that ombre nails aren’t just beautiful but also a fun way to express your creativity. So grab your polish, and let your imagination run wild! You’re going to love it!
Essential Tools for Ombre
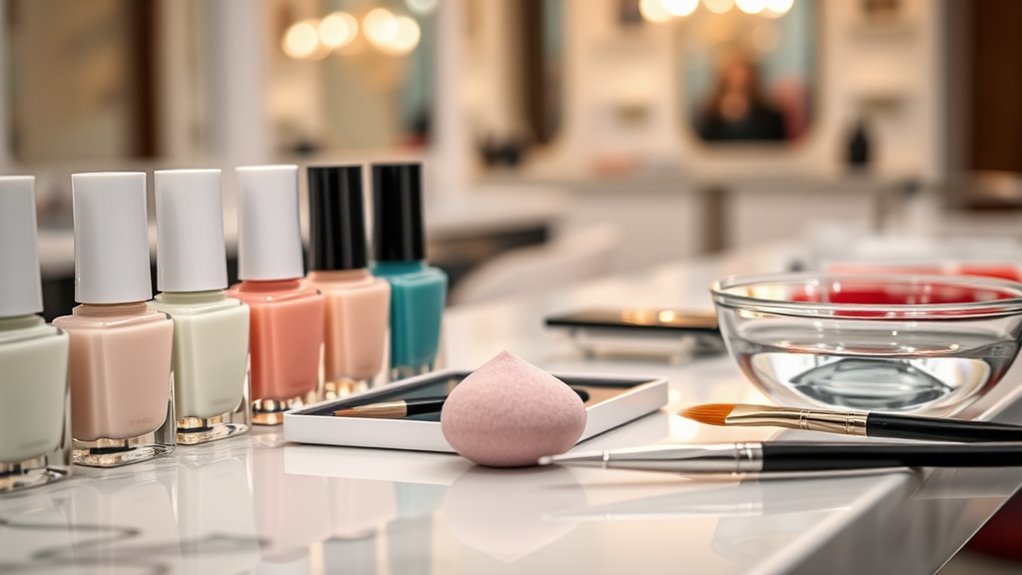
To create stunning ombre nails, having the right tools is essential. First, you’ll need a good base coat to protect your nails. It’s like giving them a cozy blanket before the real fun begins!
Next, grab a few nail polishes in your chosen shades. You can’t have ombre without them, right?
A makeup sponge is also a must-have. It’s perfect for blending the colors together, giving that dreamy gradient effect.
Don’t forget a small dish or palette for mixing your polishes, too. This will help you achieve just the right hues.
You’ll also want a dotting tool or a small brush for touch-ups. They’re great for fixing any little mistakes, so your nails look flawless.
Don’t skip out on some good top coat; it seals in your design and adds that shiny finish, making your nails look salon-fresh.
Lastly, keep some nail polish remover handy for clean-up. You’ll thank yourself later!
With these essential tools, you’re all set to create beautiful ombre nails. Get ready to impress everyone with your fabulous fingertips!
Choosing Your Color Palette
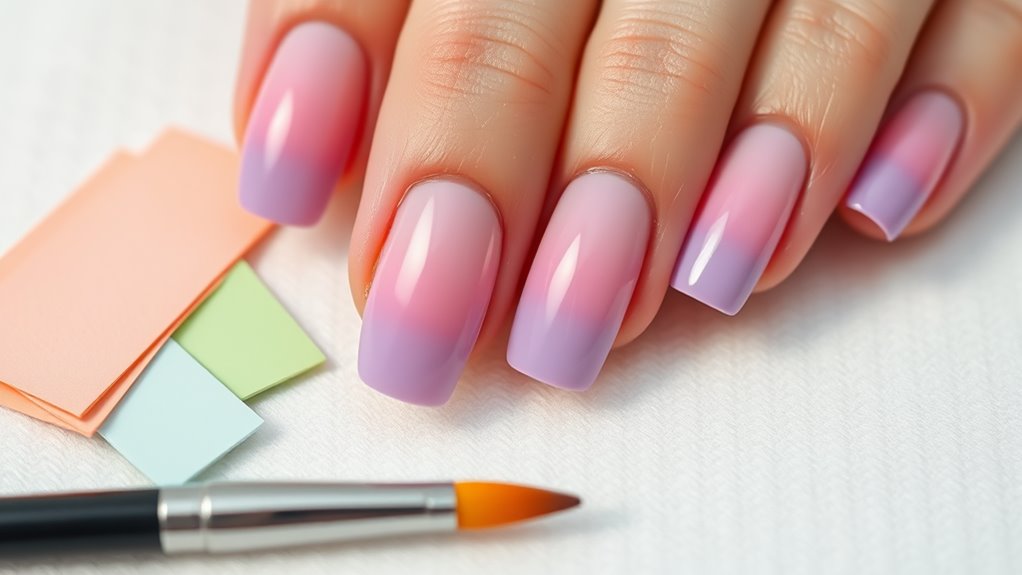
Picking the right color palette can make or break your ombre nail design, so let’s dive right in! First, think about the mood you want to create. Do you want something bright and cheerful, or maybe soft and elegant? Choosing colors that fit your style is key!
Next, consider the colors themselves. You can go for a classic look with shades of pink and white, or mix it up with bold colors like blue and purple. Just remember, the key to a good ombre is blending! So, pick colors that complement each other.
If you’re feeling adventurous, try using three colors instead of two. For example, a gradient from light pink to dark pink, with a splash of gold in between can look stunning.
Also, don’t forget about the season! Pastels are perfect for spring, while rich jewel tones shine in the fall.
Step-by-Step Ombre Techniques
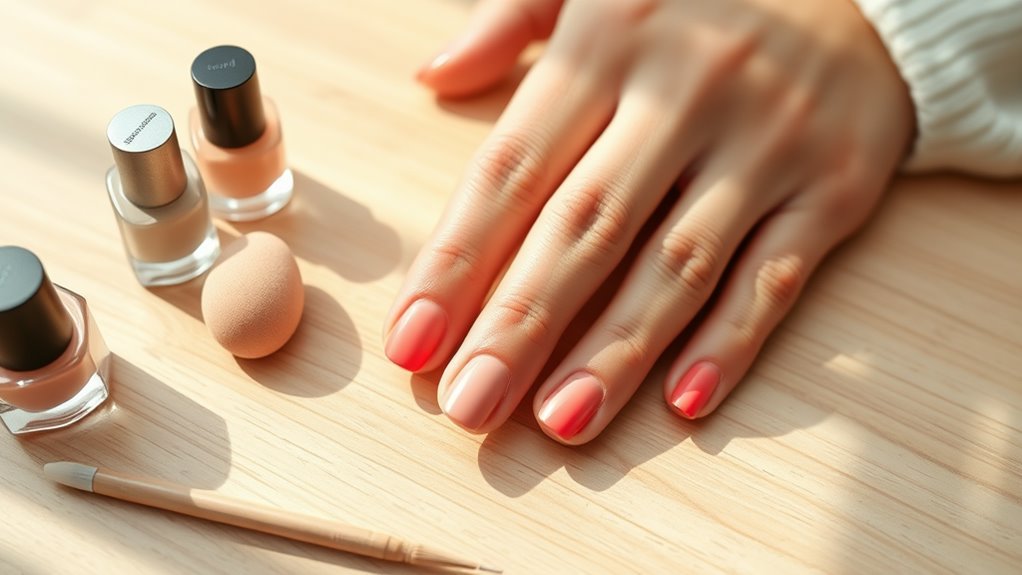
Now that you’ve chosen the perfect color palette, it’s time to bring your ombre nails to life. First, gather your supplies: two nail polishes, a makeup sponge, and a top coat.
Start by applying a base coat to protect your nails. Once that’s dry, paint your entire nail with the lighter color. Let it dry completely—nobody likes waiting, but it’s worth it!
Next, take your makeup sponge and paint a stripe of the darker polish next to the lighter one. Now, gently dab the sponge onto your nail, moving from the tip to the base. You might need to do this a few times to get that perfect blend.
Don’t worry if it looks a bit messy; that’s where the magic happens!
After you’ve achieved the ombre effect you love, let it dry a bit before applying a shiny top coat. It’ll help smooth everything out and make your nails pop!
Tips for a Flawless Finish
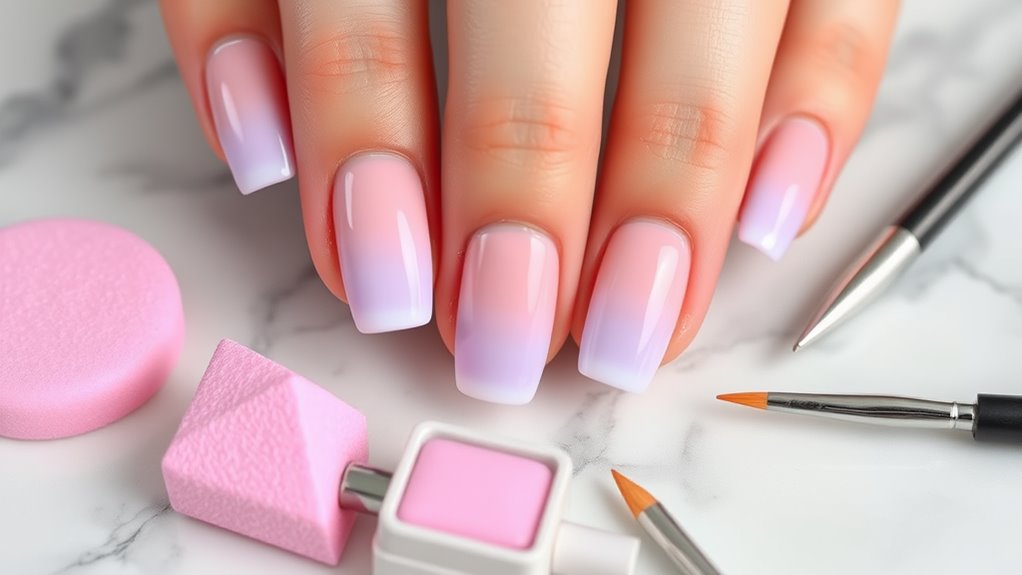
Achieving a flawless finish on your ombre nails often requires attention to detail. First, make sure your base coat is smooth and even. This creates a perfect canvas for your colors.
When applying your chosen shades, use a makeup sponge for blending. Just dab, don’t swipe! This helps the colors merge beautifully, giving you that lovely ombre effect.
Don’t forget to allow each layer to dry completely before adding the next. Patience is key here. If you rush, you might end up with smudges or uneven colors, and nobody wants that!
After you’ve achieved the look you want, seal it with a good top coat. This not only adds shine but also protects your design from chips.
For a little extra flair, consider adding some glitter or nail art on top of your ombre. It’s like putting a cherry on your sundae!
Finally, remember to clean up any polish around your nails with a small brush dipped in remover. A little cleanup goes a long way in making your nails look professional.
Common Mistakes to Avoid
Even with a flawless finish, mistakes can creep in during the ombre nail process that can ruin your hard work. One common mistake isn’t prepping your nails properly. If you skip nail polish remover or a base coat, your ombre may look uneven or chip quickly. Trust me, nobody wants to redo their nails after just a day!
Another mistake is using too many colors. It’s tempting to go wild, but sticking to two or three shades creates a more blended look. If you use too many, it can turn into a rainbow explosion that even unicorns would avoid!
Also, don’t forget about blending! Rushing through this step can lead to harsh lines that scream “I did this in a hurry!” Instead, take your time and gently dab the sponge to blend the colors seamlessly.
Lastly, avoid using a top coat too soon. If your ombre isn’t dry, you might smudge all your hard work. So, be patient!
With a little care and attention, you can avoid these common hiccups and enjoy beautiful ombre nails that steal the show!
Maintaining Your Ombre Nails
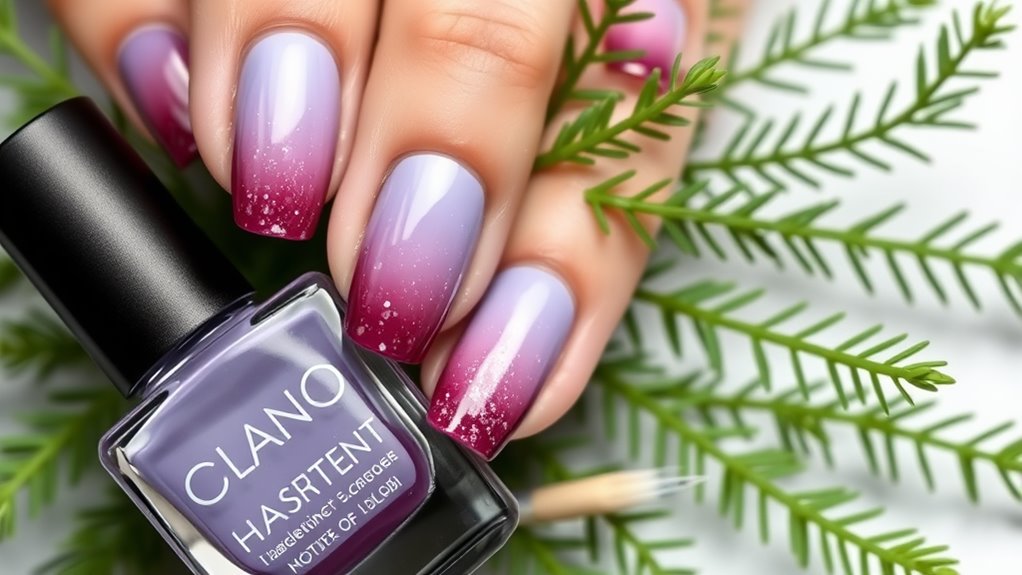
To keep your ombre nails looking fresh and vibrant, you’ll want to regularly follow a few simple maintenance tips.
First, always apply a top coat every few days. This helps protect your design and adds shine. Plus, who doesn’t love a little extra sparkle?
Next, be careful with your hands. Try not to use them as tools—nails aren’t meant for opening cans or scratching things. If you notice any chips or wear, don’t panic! Just fix them with a quick touch-up using your favorite polish.
Also, moisturizing is key. Use cuticle oil or hand cream to keep your nails and skin hydrated. Dry nails can lead to breakage, and we definitely don’t want that!
When it comes to removing polish, be gentle. Use a non-acetone remover to avoid drying out your nails. After removing polish, give your nails a break to breathe before doing your next ombre design.
Lastly, don’t forget to show off your nails! Share your fabulous ombre look with friends or on social media. After all, you worked hard for those beautiful nails! Keep shining!
Conclusion
Now that you know the basics of ombre nails, it’s time to get creative! Don’t worry if you make a mistake; practice makes perfect. Remember to have fun with your colors and techniques. Your nails can be a canvas for your imagination! With a little patience and some practice, you’ll be showing off stunning ombre nails in no time. So grab your tools, pick your colors, and let’s get painting! Happy nail art!
