How to Apply Classic Nail Wraps
Applying classic nail wraps is super simple and fun! First, gather your supplies like nail wraps, a file, and a cuticle pusher. Clean and shape your nails, then measure them to pick the right wrap size. Peel off the wrap, stick it at your nail’s base, and smooth it down to the tip. If there’s any excess, file it off to guarantee a perfect fit. Seal the deal with a clear top coat for shine and protection. Remember to take care of your wraps, and they’ll stay fabulous longer. Curious about a few extra tips to make them last even better?
Gather Your Supplies
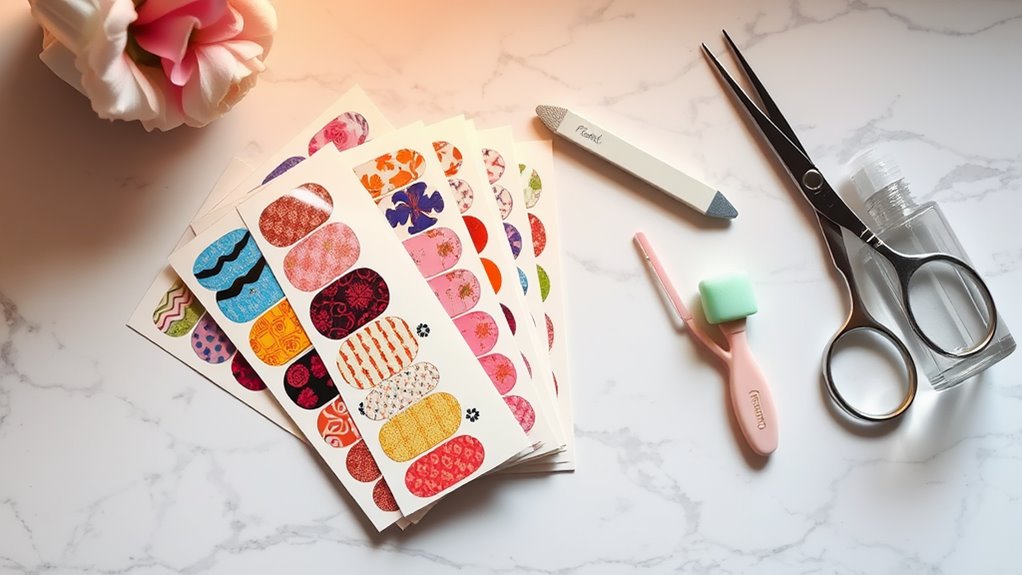
Before you immerse yourself in applying classic nail wraps, what do you need to get started? First things first, gather your supplies!
You’ll need a pack of classic nail wraps, of course. They come in all sorts of fun designs, so pick your favorite! Next, grab a nail file. You want your nails to be smooth and ready for the wraps, so don’t skip this step.
You’ll also need a cuticle pusher to gently push back your cuticles. It helps the wraps stick better and looks nice too!
Don’t forget some scissors. You might need them to trim the wraps to fit your nails perfectly. A small nail buffer is handy as well, as it gives your nails a nice finish.
Lastly, grab some alcohol wipes or nail polish remover. Cleaning your nails guarantees the wraps adhere well.
Now, you might be thinking, “Why so many supplies?” Well, trust me, having everything at hand makes the process smoother.
Plus, it’s a bit like being a superhero, preparing for your nail mission! So, gather your goodies, and let’s get ready to wrap those nails!
Prepare Your Nails
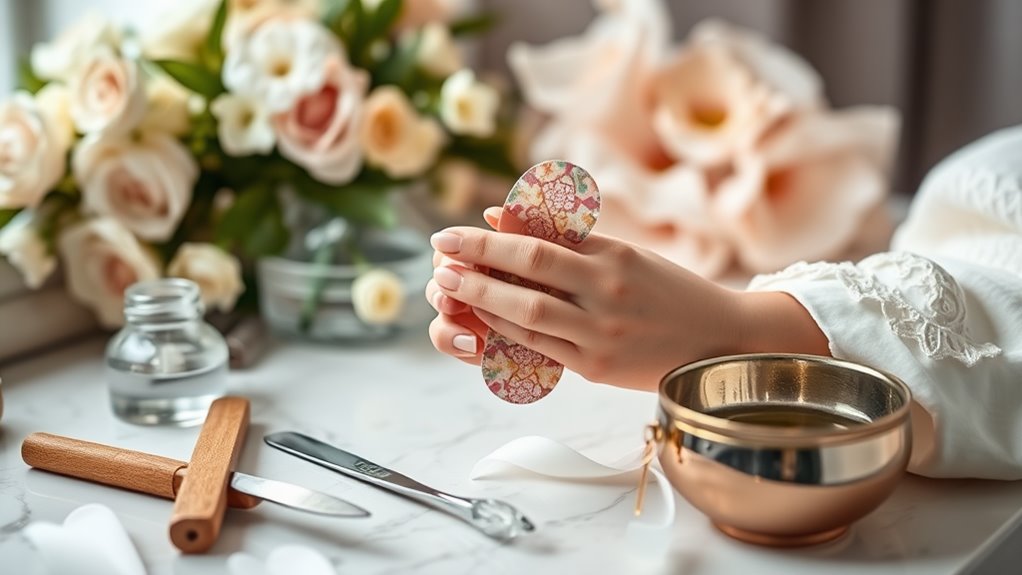
Preparation is key to achieving a flawless nail wrap application. First things first, you need to start with clean nails. Wash your hands with soap and water to remove any dirt or oil. You want your nails to be as fresh as a daisy! Once they’re clean, dry them thoroughly.
Next, take a gentle nail file and shape your nails. You can go for a square, round, or whatever floats your boat. Just make certain they’re all even!
Now, let’s talk about cuticles. You don’t want those little guys getting in the way, so gently push them back using a cuticle stick or an orange stick. If you’re feeling adventurous, you can even apply some cuticle oil to keep them hydrated. Just don’t overdo it; we’re not trying to create a slippery mess here!
Lastly, give your nails a quick wipe with some rubbing alcohol or nail polish remover. This helps remove any leftover oils and guarantees your nail wraps stick like glue.
And there you have it! Your nails are ready for some fabulous wraps. Get excited, because you’re almost there!
Choose the Right Size
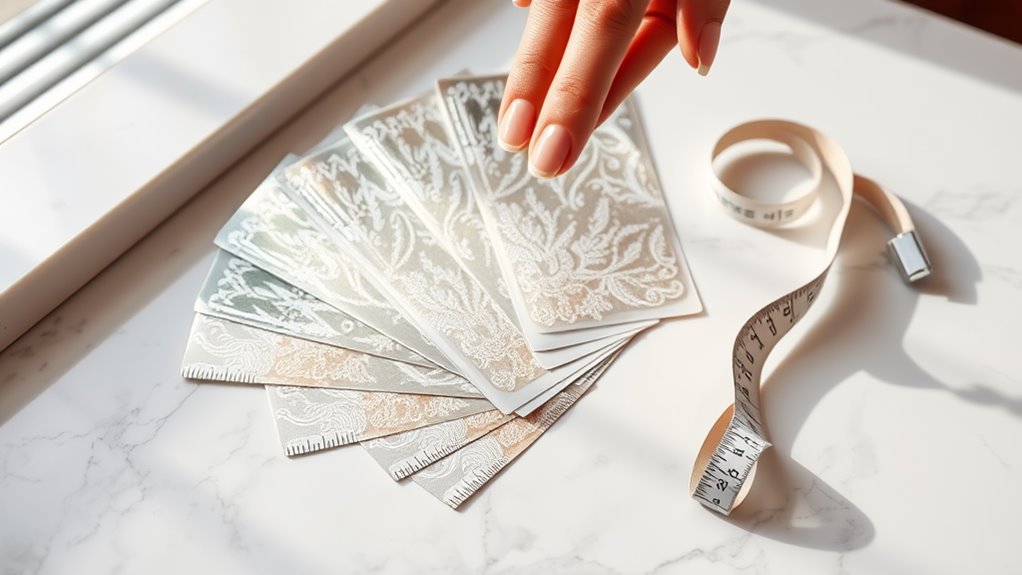
Choosing the right size nail wraps is essential for a seamless application, as ill-fitting wraps can lead to a less polished look. You don’t want your nail wraps looking like they’re wearing a costume two sizes too big!
To find the perfect fit, start by measuring your nails. Grab a measuring tape or a ruler, and measure the width of your nails at their widest point.
Once you’ve got your measurements, compare them to the sizes listed on your nail wrap packaging. Most sets have several sizes to choose from, so you’re likely to find a match.
Don’t be afraid to mix and match! It’s totally normal for your nails to have different widths. If you’re unsure, go for a slightly smaller size. It’s easier to stretch a wrap than to trim one that’s too big.
Apply the Nail Wraps
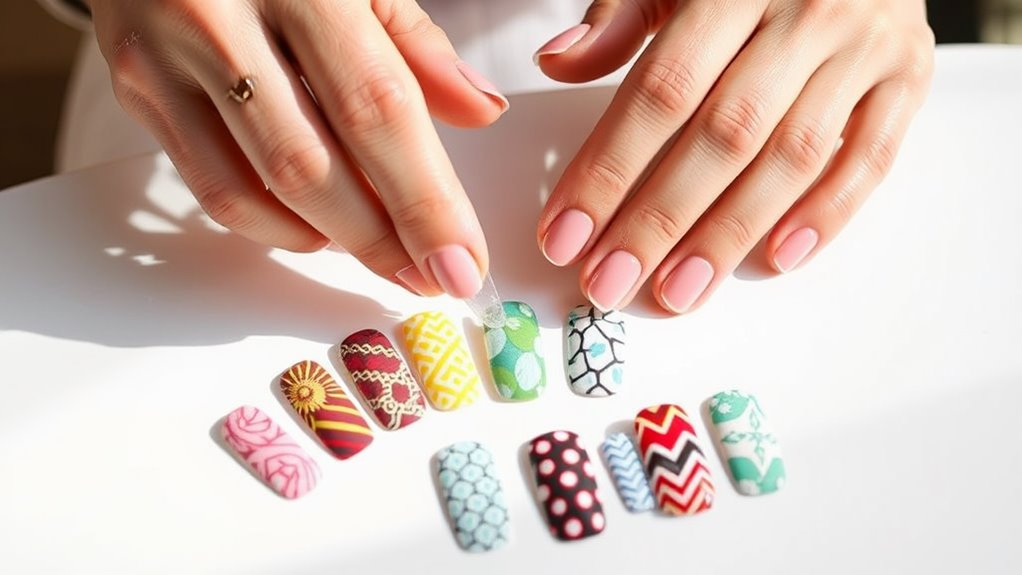
Applying nail wraps is a straightforward process that can transform your manicure in just a few minutes.
First, grab your chosen nail wrap and peel it off the backing. Make sure you’re holding it by the edges so you don’t accidentally stick it to your fingers.
Now, carefully place the wrap on your nail, starting from the base and pressing it down towards the tip. It’s a bit like putting a sticker on your nail, but a lot cooler!
Once you’ve got it in place, use your fingers to gently smooth out any bubbles. If you see any wrinkles, just lift it slightly and reposition it. Easy peasy!
If your nails are longer than the wrap, don’t worry! You can simply file off the excess at the tip.
Repeat this process for all your nails, and you’ll have a fabulous design in no time.
Just remember, practice makes perfect, so don’t be too hard on yourself if it doesn’t go perfectly the first time. Nail wraps are super forgiving, and you’ll get the hang of it quickly.
Soon enough, you’ll be a nail wrapping pro!
Smooth and Seal
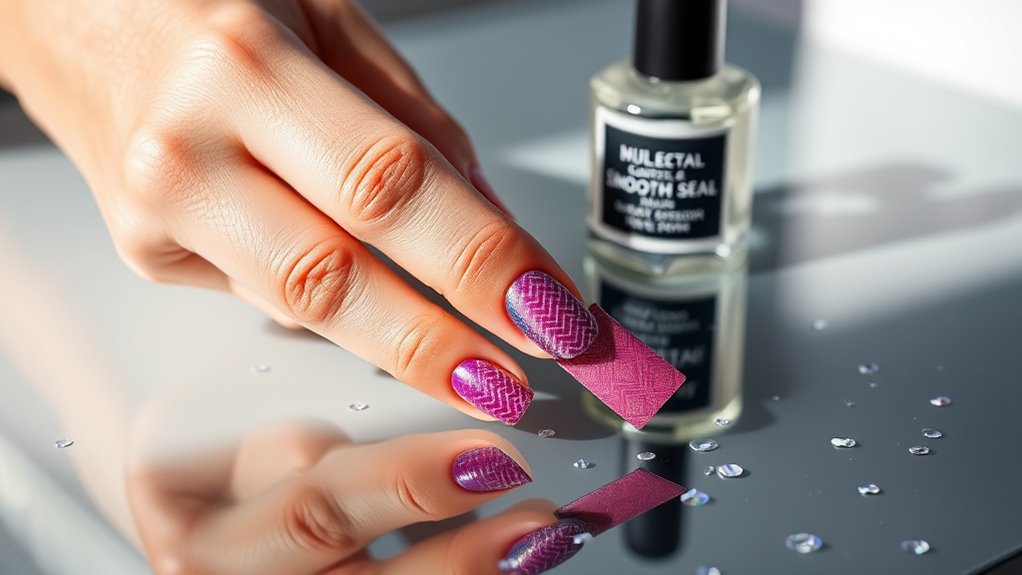
To achieve a flawless finish with your nail wraps, smoothing and sealing them is essential. Start by grabbing a good-quality nail file. Gently buff the edges of your wraps to make sure there are no rough spots sticking out. This step is super important because it helps the wraps blend in with your natural nails, making everything look neat. Remember, you’re not trying to file your nails down, just the edges of the wraps!
Next, it’s time to seal the deal. Use a clear top coat to protect your beautiful nail wraps. Apply a thin layer, making sure to cover the entire wrap and the edges. This will help prevent any lifting or peeling, keeping your nails looking fabulous for longer. Plus, it adds a nice shine that’ll make your wraps sparkle like a disco ball!
After you’ve sealed your wraps, let them dry completely. This might take a few minutes, but it’s worth the wait! Trust me, you don’t want to mess up your hard work.
Finishing Touches
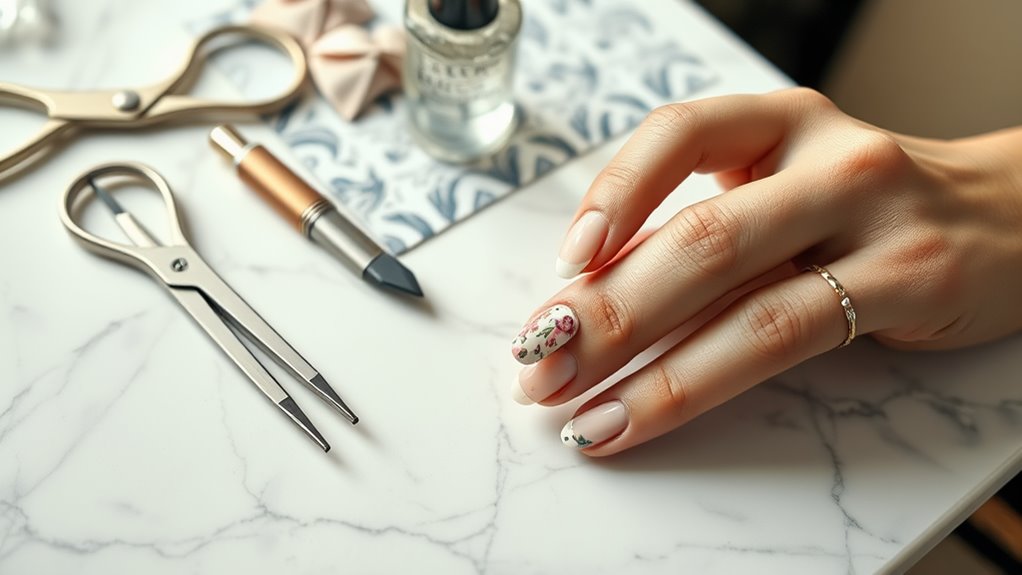
Once your top coat has dried, it’s time to add those finishing touches that elevate your nail art. First, take a moment to admire your work. You’ve done a fantastic job!
Now, grab a clean brush or a toothpick and some nail art embellishments. You can add tiny gems, glitter, or even cute stickers to make your nails pop. Just remember, less is often more, so don’t go overboard.
Next, if you want a bit of extra flair, consider applying a shiny top coat over your decorations. This won’t only secure them but also give your nails that salon-fresh look.
Don’t forget to clean up any smudges around your nails with a bit of nail polish remover on a cotton swab.
Care and Maintenance

Proper care and maintenance of your classic nail wraps can greatly extend their lifespan and keep your nails looking fabulous.
First, avoid soaking your hands in water for long periods. It’s like inviting your wraps to a pool party they didn’t ask for! Instead, try wearing gloves when washing dishes or cleaning.
Next, be gentle when you’re doing everyday tasks. Use your fingertips instead of your nails to pry things open or scratch surfaces. Remember, your wraps are stylish, but they’re not superhuman!
When it comes to touch-ups, keep a nail file handy. If you notice any rough edges, a quick file can smooth things out. Just don’t go overboard or you’ll risk ruining your beautiful design.
Lastly, to keep your wraps shiny, apply a clear topcoat every few days. It’s like giving your wraps a mini spa day! This little trick can help protect against chips and scratches.
Conclusion
Now that you know how to apply classic nail wraps, you’re ready to show off those fabulous nails! Remember, practice makes perfect. If you mess up a bit, don’t worry—everyone does it! Just have fun with it and experiment with different designs. With a little care, your nail wraps can last a while, making your hands look great. So grab your supplies, get creative, and let your nails shine like the stars they are!
