DIY Classic Nail Wraps- Step by Step Guide
You can easily make your own classic nail wraps at home! Start by gathering materials like nail polish, scissors, and adhesive paper. First, clean and prep your nails—no one likes a dirty canvas, right? Then, design your wraps however you want, from stripes to sparkles! After that, print and cut your wraps, leaving a nice little border around the edges. Apply the wraps carefully, making sure to smooth out any bubbles. Finish with a topcoat for a shiny, lasting look. And trust me, your nails will be the talk of the town—stick around for more fun tips!
Gather Your Materials
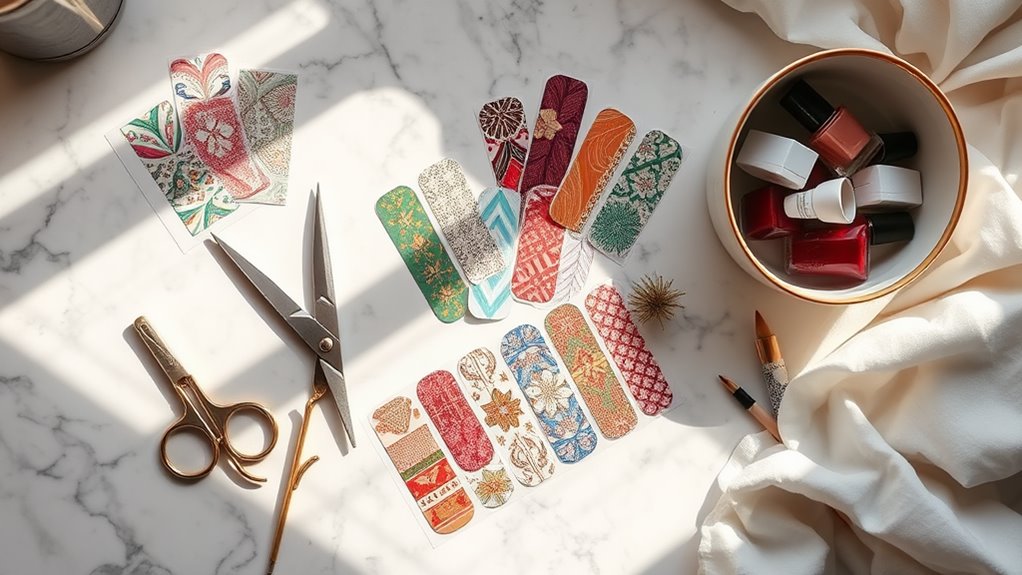
To create your DIY classic nail wraps, you’ll need to gather a few essential materials. First, grab some nail polish in your favorite colors. You can go wild with sparkly pinks or calm blues—it’s all about what makes you smile!
Next, you’ll want a base coat and a top coat. These help your wraps stick better and last longer.
Don’t forget a pair of scissors! You’ll need them to trim your wraps to fit your nails just right. A nail file is also key; it helps smooth the edges, so your wraps look neat and professional.
You’ll also need a good-quality adhesive, like nail glue or double-sided tape, to keep everything in place. If you’re feeling fancy, some fun nail art tools can help you add those tiny details that make your designs pop.
Lastly, a few cotton balls and nail polish remover will come in handy for any mistakes.
With these materials gathered, you’re ready to immerse yourself in the exciting world of DIY nail wraps. So, roll up your sleeves and get ready to release your creativity!
Prepare Your Nails
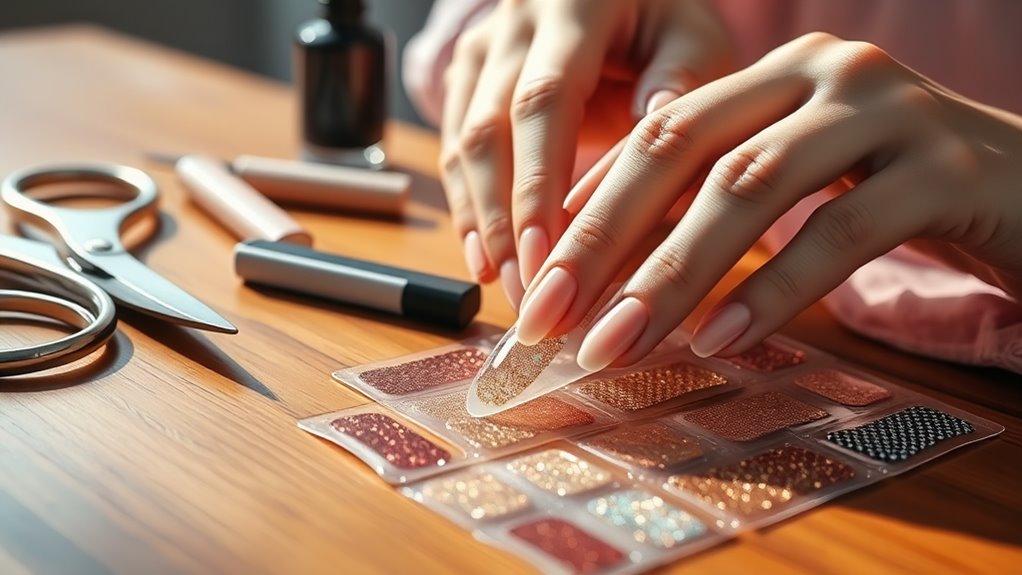
Once you’ve gathered all your materials, it’s time to prepare your nails for the wraps. First, make sure your nails are clean and dry. Wash your hands with soap and water, then dry them thoroughly. This step is super important because any dirt or oil can mess with the stickiness of your nail wraps.
Next, you’ll want to file your nails to your desired shape. Whether you love square, round, or something in between, a good shape can make all the difference. Just remember, a little filing goes a long way—don’t go too crazy!
After that, gently push back your cuticles. You can use a cuticle pusher or even a small, soft towel if you don’t have one handy. Just be careful not to hurt yourself; we want pretty nails, not battle scars!
Lastly, give your nails a quick wipe with some rubbing alcohol or nail polish remover. This helps remove any lingering oils and makes your nails super clean.
Once you’re done, you’re all set to move on to the fun part—designing your nail wraps!
Design Your Nail Wraps
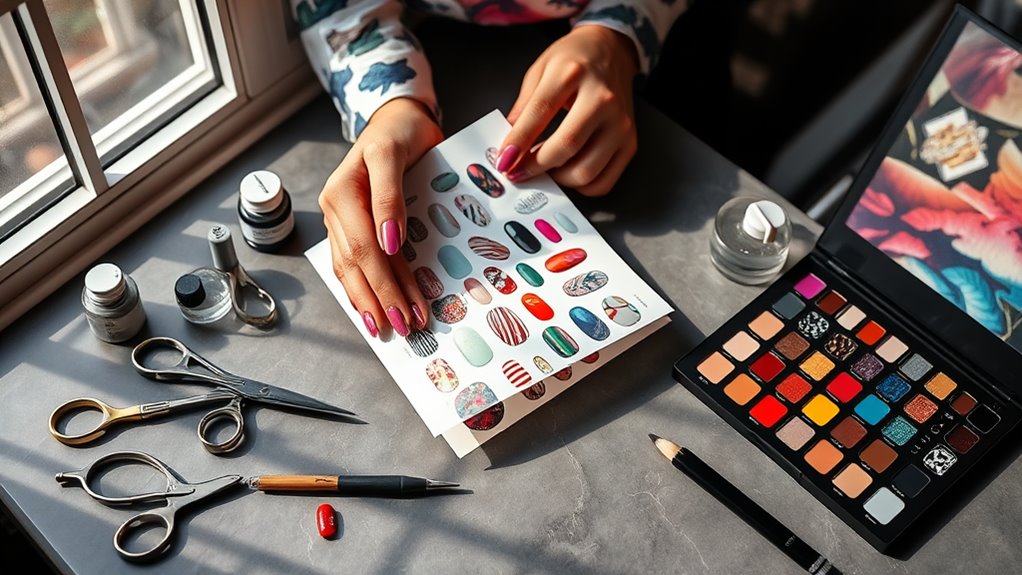
When you design your nail wraps, you’ll often find that creativity knows no bounds. Start by thinking about what styles you love. Do you adore florals, stripes, or maybe even sparkles? Grab some inspiration from your favorite outfits, nature, or even art! You can mix and match colors and patterns to create something truly unique.
Next, sketch out your ideas on paper. It doesn’t have to be perfect—just let your imagination flow. You’ll want to contemplate the size and shape of your nails, so your designs fit just right.
Don’t forget to think about how colors work together. A bright color against a soft background can really pop!
If you’re feeling brave, try adding personal touches like initials or small doodles. Remember, this is all about you! When you’re happy with your designs, take a moment to admire your creativity. This is going to be fun!
Lastly, don’t stress if your first try isn’t perfect. Designing nail wraps is all about experimenting, so enjoy the process. Who knows? You might just create your new favorite nail art!
Print and Cut Wraps
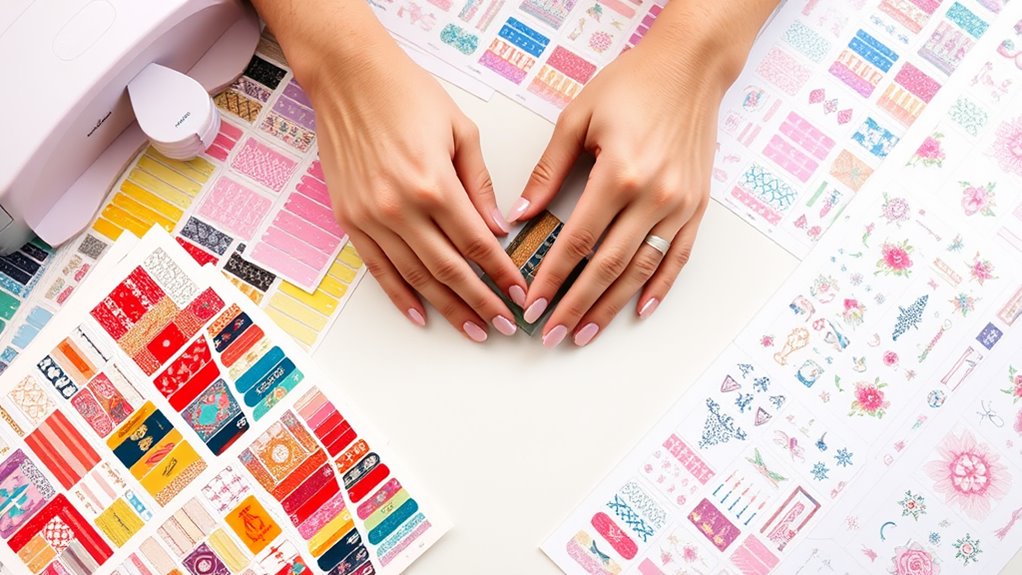
How can you bring your nail wrap designs to life? It’s time to print and cut those beautiful creations!
First, make certain you’ve got the right supplies: high-quality adhesive paper, a printer, and scissors or a cutting machine. Once you’ve got everything ready, load your design into the printer. Remember to check the settings—choose the best quality so your colors pop!
After printing, let your wraps dry for a minute. It’s like letting a cake cool before frosting!
Now, it’s cutting time. If you’re using scissors, carefully cut around each design, leaving a tiny border if you want. If you’re using a cutting machine, follow the instructions to guarantee it cuts just right.
Don’t stress if it doesn’t look perfect at first; practice makes progress!
Once you’ve got your wraps cut out, take a moment to admire your handiwork. You just turned your ideas into something real and fun! Now, you’re one step closer to rocking those fabulous nails.
Keep it up, and soon, you’ll be showing off nail art that’ll have everyone asking, “Where’d you get those?”
Get excited; your nail wrap journey is just beginning!
Apply the Nail Wraps
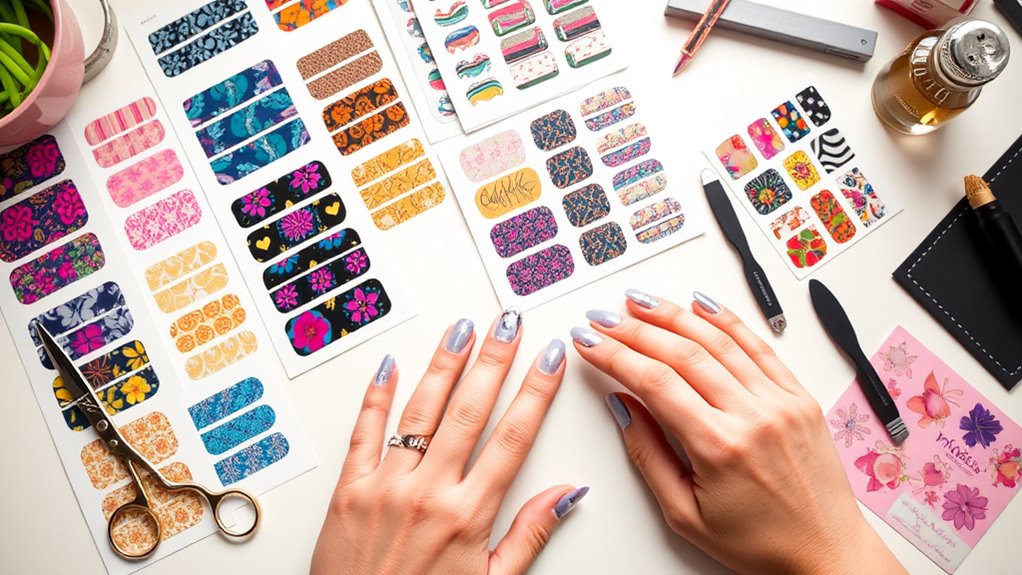
After you’ve printed and cut your nail wraps, it’s time to apply them for a stunning finish. Start with clean, dry nails. You don’t want any dust or oils getting in the way of your masterpiece!
Gently push back your cuticles with a cuticle pusher, but don’t go overboard—this isn’t a wrestling match.
Next, choose a nail wrap that fits your nail. Peel it off the backing and place it carefully on your nail. It should cover the entire nail bed without any wrinkles. If you see any bubbles, just smooth them out with your finger or a small tool.
Press the wrap down firmly, making sure it’s snug on all sides. If it’s too long, don’t worry. You can file it down to fit perfectly. Just remember to file gently, or you might end up with a nail wrap disaster—yikes!
Repeat this process for all your nails, mixing and matching designs if you like. Enjoy the fun of choosing different wraps!
You’re almost there, and soon you’ll have fabulous nails that’ll make everyone jealous. Isn’t DIY the best?
Seal and Finish
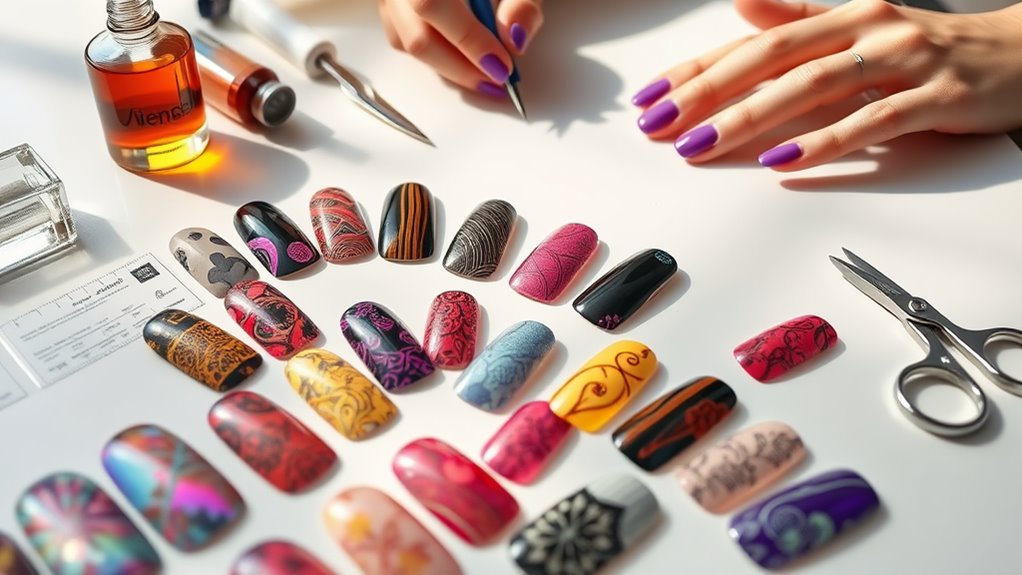
To guarantee your nail wraps last and shine, sealing them is essential. Think of the seal as a superhero cape for your nails! It protects your fabulous designs from chips and scratches, keeping them looking fresh.
Start by choosing a topcoat that suits your style. A clear, glossy finish is popular, but you can also find matte options if that’s more your vibe.
Once you’ve picked your topcoat, grab your brush and apply a thin layer over your nail wraps. Be sure to cover the edges too—this is where the magic happens!
After applying, let it dry completely. You might be tempted to rush this part, but trust me, a little patience goes a long way.
If you want extra protection, consider applying a second coat once the first one’s dry. It’s like double-locking your door to keep your beauty safe!
Once you’re all done, admire your handiwork. You’ve transformed your nails into a stunning work of art.
Nail Care Tips
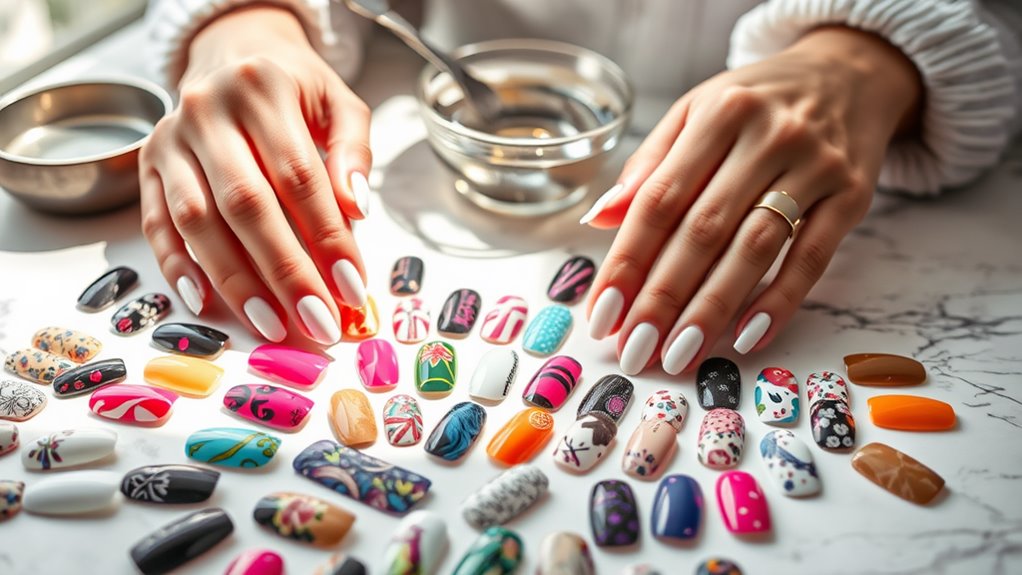
Nail care is essential for maintaining the beauty and longevity of your wraps. To keep your nails looking fabulous, you need to establish a simple routine.
First, always hydrate! Just like you need water, your nails crave moisture too. Use a good quality cuticle oil daily to keep your skin and nails nourished.
Next, avoid using your nails as tools. I know; it’s tempting to pry open that snack bag, but your nails will thank you later! Instead, reach for scissors or a proper tool.
When washing dishes or cleaning, wear gloves to protect your nails from harsh chemicals. Your wraps will last longer when you treat your nails with care.
Don’t forget to give your nails a break sometimes. After wearing wraps for a while, let your nails breathe for a few days. This helps prevent damage and keeps your nails strong.
Lastly, keep your nails trimmed and shaped. Regular maintenance makes a world of difference.
Conclusion
And there you have it! You’ve just created your very own classic nail wraps—how cool is that? With a little practice, you’ll be a pro in no time, impressing your friends with your awesome designs. Remember, the key is to have fun and let your creativity shine. So grab those materials, get your friends together, and start wrapping! Your nails will thank you, and who knows, you might even start a nail wrap trend! Happy crafting!
