Step-by-Step Guide to DIY French Manicure Designs
Creating a beautiful DIY French manicure is super fun and easy! First, gather your essential tools: base coat, nude polish, white polish, and a top coat. Start by preparing your nails—clean them, trim, shape, and push back your cuticles. Then, apply a coat of nude polish for the base. Once that’s dry, use white polish to paint the tips—don’t worry if they’re not perfect right away! Seal your design with a top coat, and, voilà, you’re all set! Feeling adventurous? Stick around, and you’ll discover lots of creative ways to customize and maintain your manicure!
Essential Tools and Materials
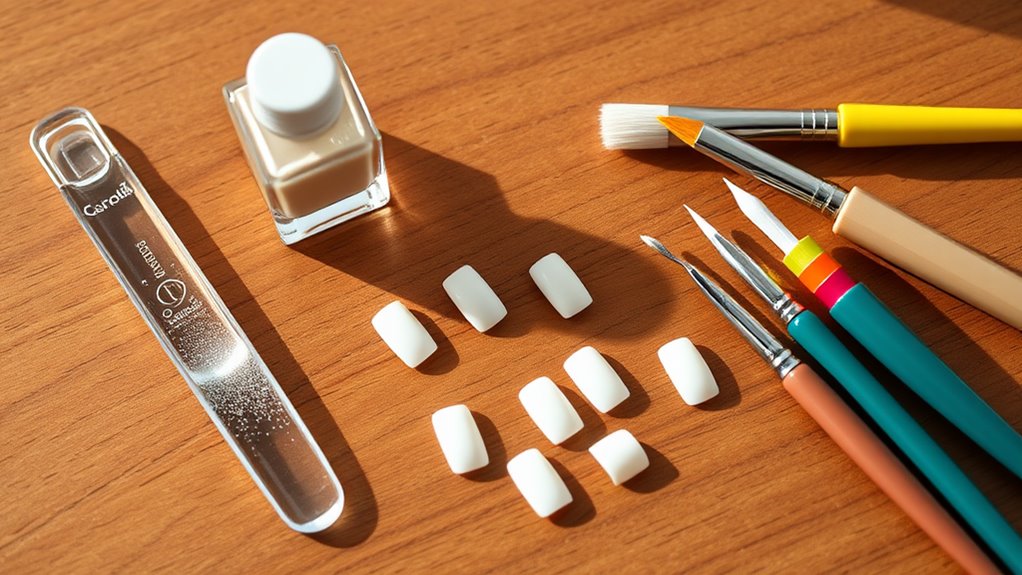
To create stunning DIY French manicures, you’ll need just a handful of essential tools and materials. First, grab a good base coat; it protects your nails and helps the polish stick.
You’ll also want a white nail polish for that classic French tip look. Don’t forget a nude or light pink polish for the main color; it’ll give you that elegant finish.
Next, you’ll need a top coat. This shiny layer seals everything in and makes your nails pop!
For precision, a thin brush or nail art pen is super helpful when you’re painting those tips. You could also use nail striping tape if you’re feeling fancy—it helps create clean lines.
Preparing Your Nails
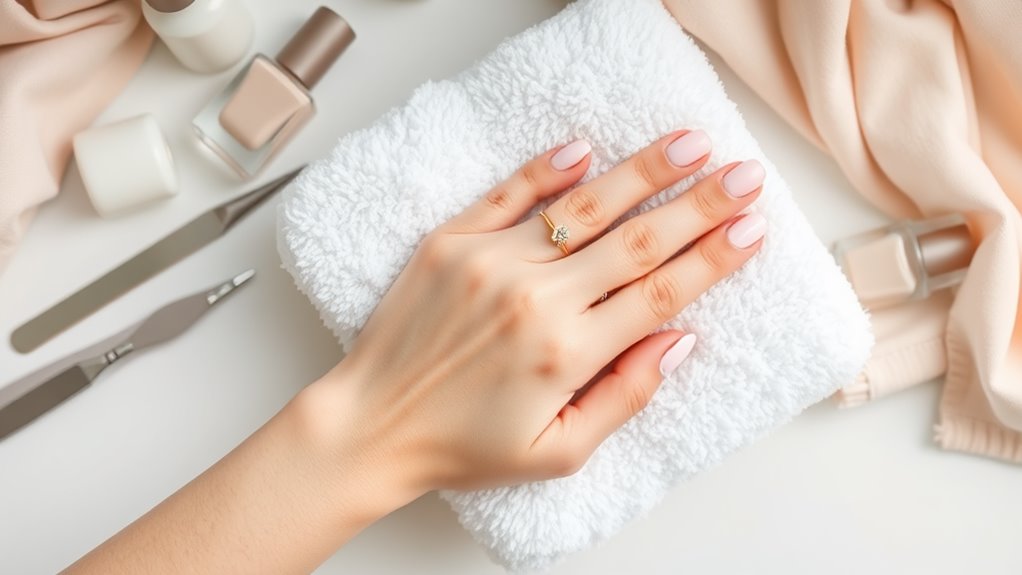
Before diving into your DIY French manicure, it’s crucial to prepare your nails properly. You want your nails to be clean and healthy, so start by removing any old polish. Use a gentle nail polish remover, and don’t forget to wash your hands afterward!
Next, trim your nails to your desired length. Whether you like them short and neat or a bit longer, make sure they’re even.
After trimming, it’s time to shape them. You can choose square, round, or even a trendy almond shape—pick what feels right for you!
Now, grab your nail file and smooth out any rough edges. This step helps avoid snags and keeps your nails looking polished.
Once you’ve shaped your nails, it’s important to push back the cuticles gently. This gives your nails a clean look and helps with the polish application.
Choosing Your Color Palette
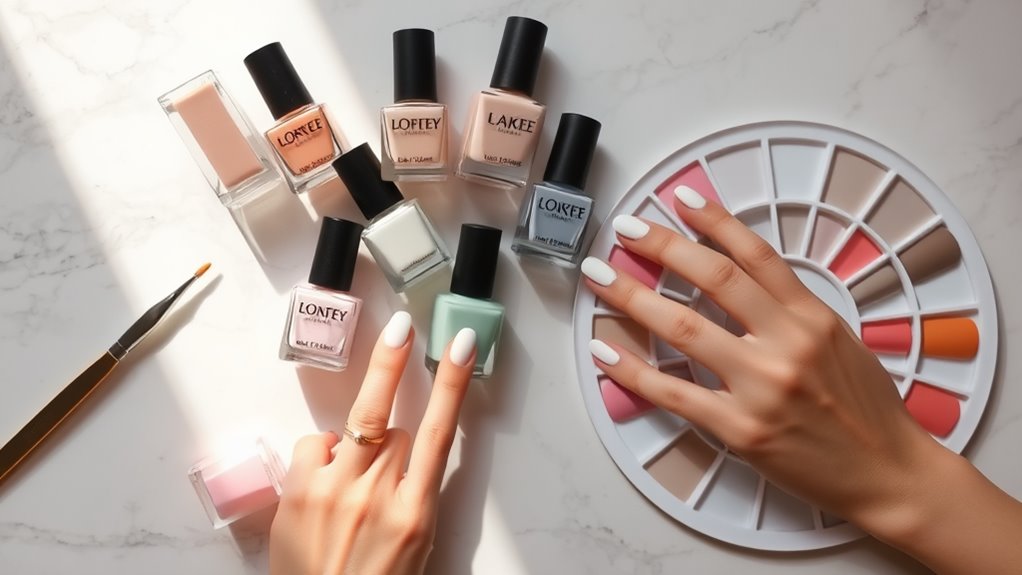
Choosing your color palette can make or break your DIY French manicure, so it’s essential to ponder what suits your style. You might want to stick with classic white tips, but why not have a little fun? Think about adding a pop of color! Pastels, bolds, or even glitter can all jazz up your look.
When choosing colors, consider the occasion. A soft pink is great for a wedding, while a bright blue could be perfect for a party. Don’t forget to match your outfit, too! If you’re going for a special look, you might want to coordinate your nails with your shoes or bag.
You can also experiment with different shades for the tips. A light lavender with a dark purple tip can be super chic. Or, if you’re feeling adventurous, try a rainbow of colors! Just remember, too many colors can clash, so keep it balanced.
Lastly, think about your skin tone. Warm tones like peach or coral look fantastic on warmer skin, while cooler tones like blue or silver work well for cooler skin tones.
Have fun and let your personality shine through your colors!
Classic French Manicure Technique
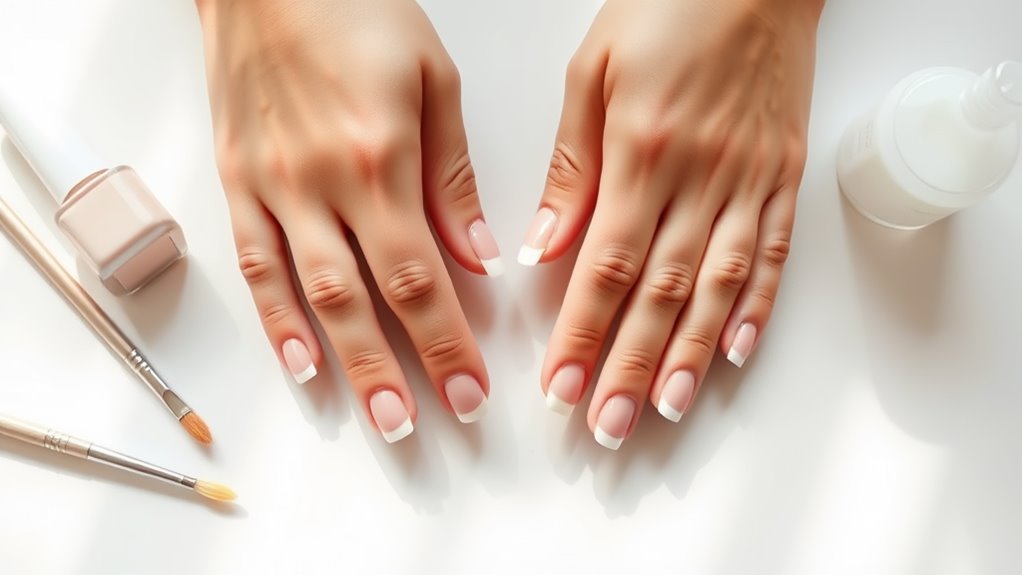
Achieving a flawless classic French manicure requires precision and a steady hand.
First, start with clean, dry nails. Apply a base coat to protect your nails and help your polish last longer. Once that’s dry, choose a soft pink or nude polish for your nail bed. Apply one or two coats, letting each layer dry completely.
Now, it’s time for the fun part! Grab a white nail polish for the tips. Use a nail brush or a steady hand to paint a thin line across the tip of each nail. Don’t worry if it’s not perfect on the first try; practice makes perfect! If you mess up, just use a cotton swab dipped in nail polish remover to clean the edges.
After the white polish is dry, seal your masterpiece with a top coat. This not only adds shine but also keeps your nails looking fresh.
Remember, a little patience goes a long way! And voilà, you’ve got a classic French manicure that’ll impress everyone.
Now, go show off those fabulous nails, and remember, you’re always just one polish away from fabulous!
Creative Design Variations
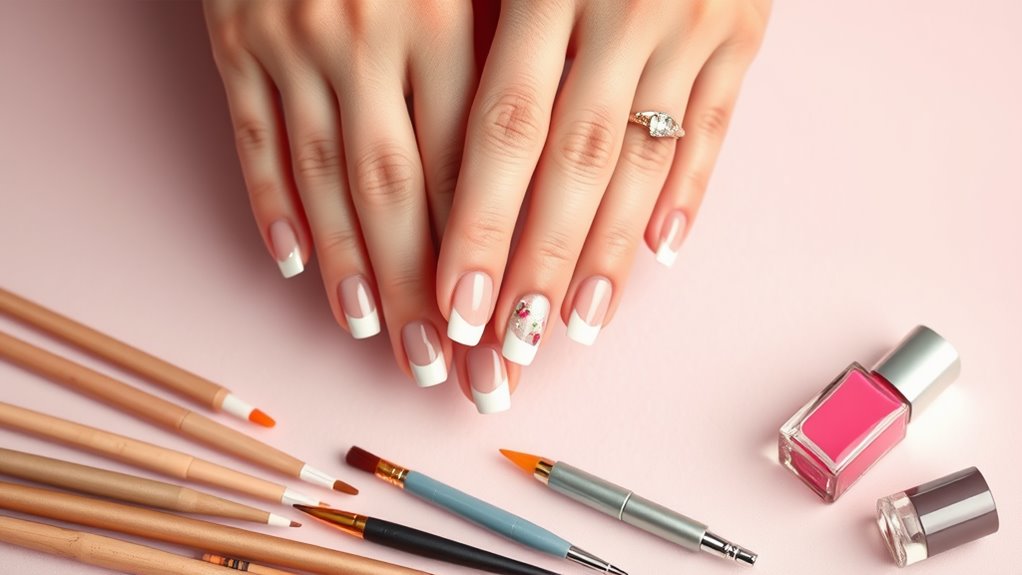
If you’re looking to add a twist to your classic French manicure, there are countless creative design variations to explore. You can start by switching up the colors. Instead of the usual white tips, try vibrant colors like neon pink or a soft pastel yellow. This simple change can really make your nails pop!
Another fun idea is to play with shapes. Instead of the traditional straight line, why not try a curved or zigzag tip? It’s like giving your nails a little dance party!
If you’re feeling even bolder, consider adding some glitter or metallic accents to your tips. Just a little shimmer can turn heads.
You can also mix and match your nail designs. For example, paint some nails with a classic French tip, while others showcase a fun geometric design. It’s like having a mini art gallery on your hands!
Lastly, don’t forget about adding some small stickers or decals. A tiny flower or star can add a cute touch.
With these creative variations, your French manicure will be anything but boring, and you’ll have fun showing off your unique style!
Nail Art Techniques for French Manicures
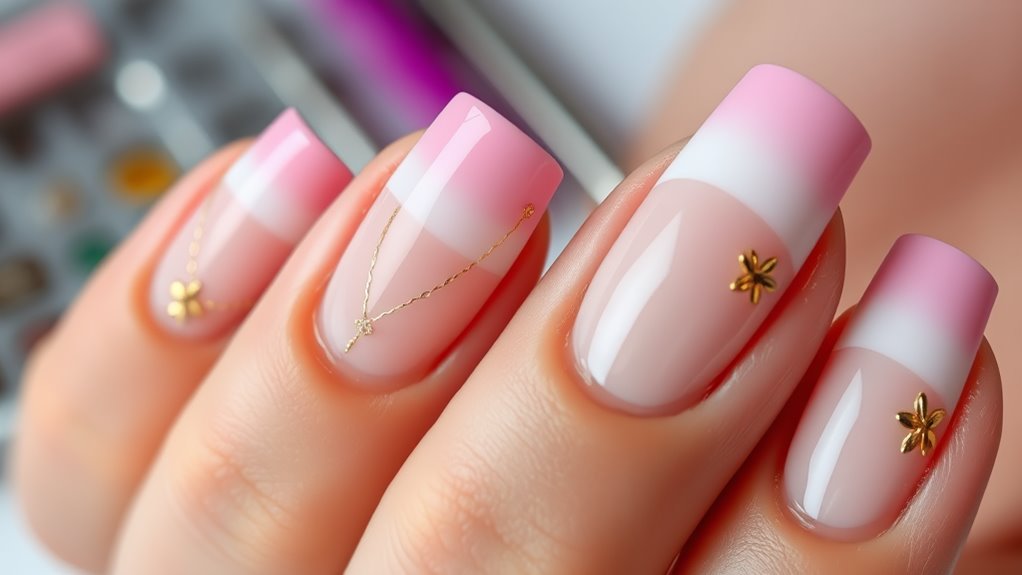
Nail art techniques can elevate your French manicure from simple to stunning with just a few clever tricks.
First off, consider adding some fun designs to your tips. You can use a thin brush or nail art pen to create swirls, dots, or even tiny hearts. These little details can make your manicure pop like a rainbow!
Next, try using different colors for your tips. Instead of classic white, go for pastel shades or metallics. Imagine a soft pink tip paired with a glittery gold base—a total showstopper!
You can also play with textures. Adding some matte topcoat to your tips while keeping the base shiny creates a fabulous contrast. It’s like a secret surprise for anyone who gets close enough to admire your nails!
Don’t forget about stickers or nail stamps! They’re super easy to use and can add intricate designs without the hassle. Just stick them on your dried tips, seal them with topcoat, and voilà!
With these nail art techniques, your French manicure will be anything but ordinary. Get ready to show off your creative flair, and have fun while doing it!
Tips for Perfecting Your Application
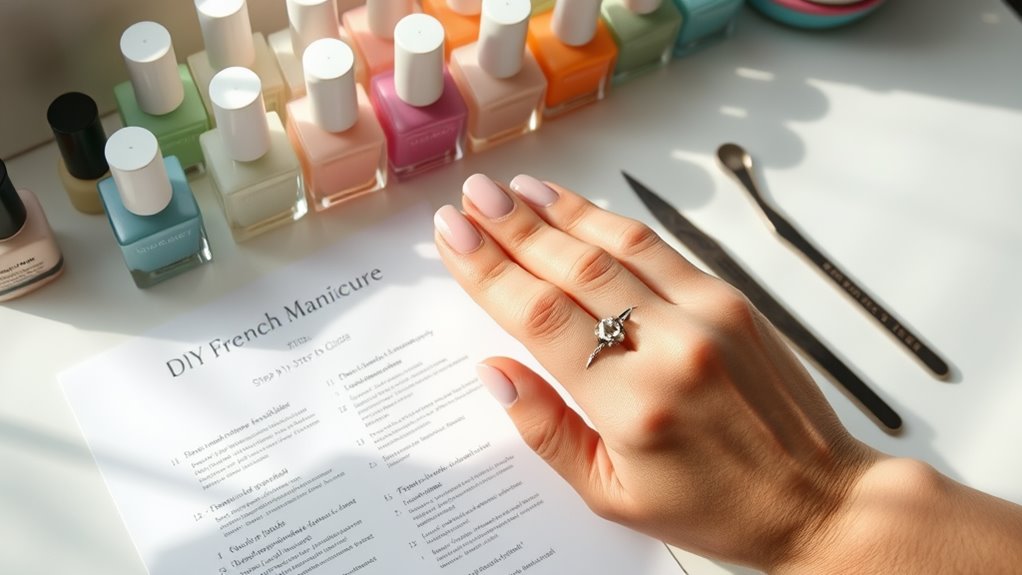
Five essential tips can help you perfect your French manicure application and achieve a salon-quality finish at home.
First, start with clean, dry nails. Make sure you remove any old polish and wash your hands. Trust me, nobody wants to apply polish over leftover glitter!
Next, use a base coat. This not only protects your nails but also helps your polish stick better. You don’t want your masterpiece chipping away in a day!
When it’s time for the white tips, use a steady hand or a striping brush. Remember, practice makes perfect. If you mess up, just use a cotton swab dipped in polish remover to clean it up.
Also, don’t forget to let each layer dry completely before applying the next one. Patience is key here; rushing could lead to smudges that’ll make you want to cry.
Finally, finish with a top coat to seal everything and add shine. You’ll look down at your nails and think, “Wow, I did that!”
Finishing Touches and Top Coats
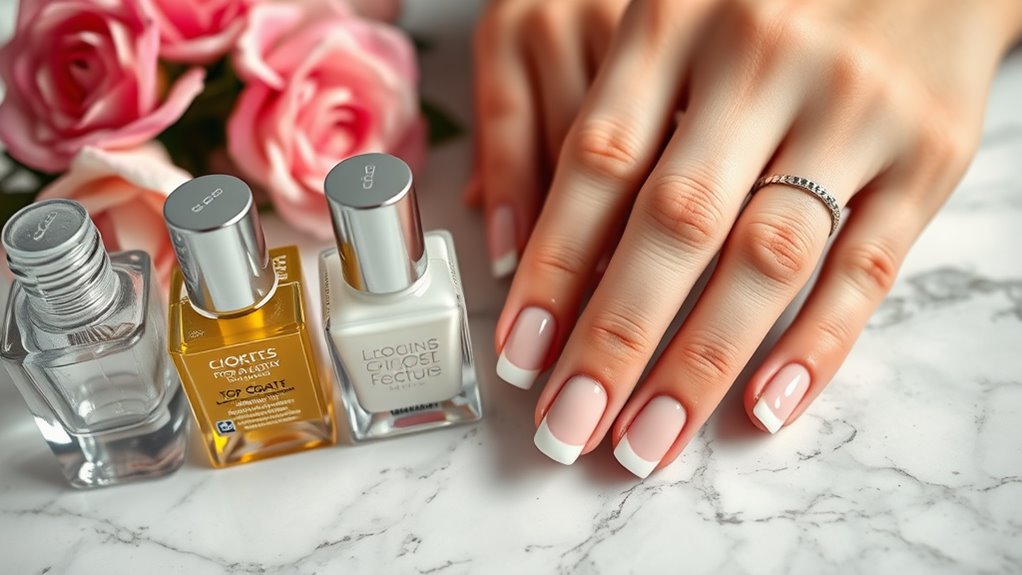
After you’ve perfected your application and let each layer dry, it’s time to focus on the finishing touches that will elevate your French manicure.
First, grab a good quality top coat. This is like the superhero cape for your nails! It protects your beautiful design and adds a glossy shine. Apply it carefully to avoid smudging your hard work. Don’t forget to cover the tips, too; this helps seal everything in and gives that professional look.
Next, if you want to add a little extra flair, consider using a nail art pen or a fine brush to draw tiny designs or glitter. Just be sure to keep it simple so it doesn’t steal the spotlight from your French tips.
Once you’ve finished your designs, let everything dry completely. Nobody wants a smudged masterpiece!
If you’ve got any cuticle oil handy, apply a bit around your nails to keep your cuticles looking fresh.
Maintaining Your Manicure
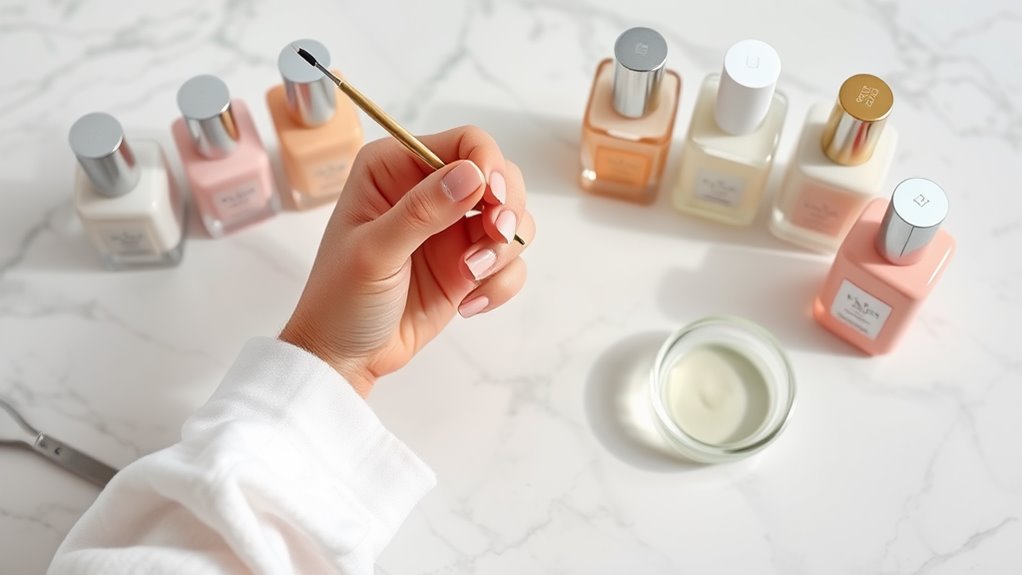
A stunning French manicure deserves proper care to guarantee it lasts as long as possible. To keep your nails looking fresh, start by avoiding harsh chemicals. This means steering clear of strong cleaning products and wearing gloves when you wash dishes. Your nails will thank you for it!
Next, remember to moisturize your nails and cuticles regularly. A little bit of cuticle oil goes a long way. Apply it daily to keep everything hydrated and prevent cracking. You wouldn’t want your lovely manicure to look dry and sad, right?
In addition, try to avoid using your nails as tools. Opening cans or scratching things might seem harmless, but it can lead to chips and breaks. If you feel the urge to do so, just grab a proper tool instead!
Lastly, schedule regular touch-ups. Even the best manicures need a little love after a week or two. A quick refresh on the tips can restore that perfect look.
Conclusion
Now that you’ve got the tools and techniques for your DIY French manicure, it’s time to get creative! Remember, practice makes perfect, so don’t worry if your first try isn’t flawless. Have fun experimenting with colors and designs that show off your personality. With a little patience and some laughs along the way, you’ll have fabulous nails in no time. So grab your polish and let your creativity shine—your nails are ready for their close-up!
