How to Achieve the Perfect Classic Red Manicure
To achieve the perfect classic red manicure, start by gathering your supplies: red nail polish, base coat, and top coat. Prep your nails by pushing back cuticles and giving them a good buff. Apply a thin base coat, let it dry, then choose a red that matches your vibe. Apply it in three strokes for even coverage, drying between coats. Finish with a top coat for shine and protection—your nails deserve it! Avoid hot water for 24 hours and treat your nails like royalty. Stick around, and you might just learn some extra tricks to keep those nails looking fabulous!
Gather Your Supplies
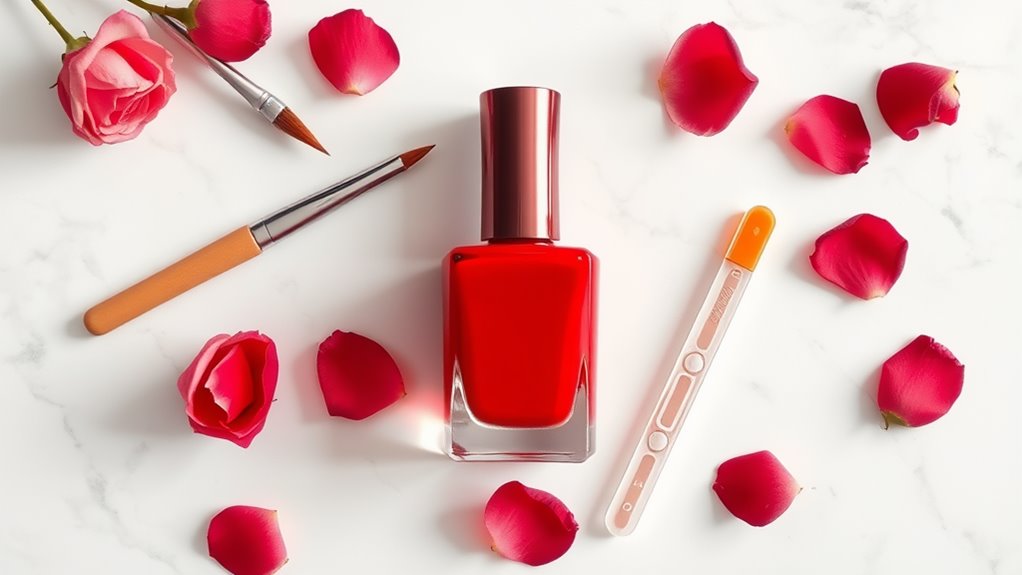
Before you plunge into creating your perfect classic red manicure, you need to gather your supplies. First things first, grab a bottle of your favorite classic red nail polish. It should be shiny and vibrant, making your nails pop!
Next, you’ll need a base coat. This helps protect your nails and keeps your polish from chipping too soon. Don’t forget a top coat! This adds extra shine and seals everything in, making your manicure last longer.
You’ll also want to have a nail file and cuticle pusher handy for some pre-manicure prep. If you’ve got a few cotton balls and nail polish remover lying around, that’s great too! You might need them to fix any little mistakes.
A good-quality brush is essential as well, but if you’re feeling adventurous, you can use a fan brush to create fun designs later!
Prepare Your Nails
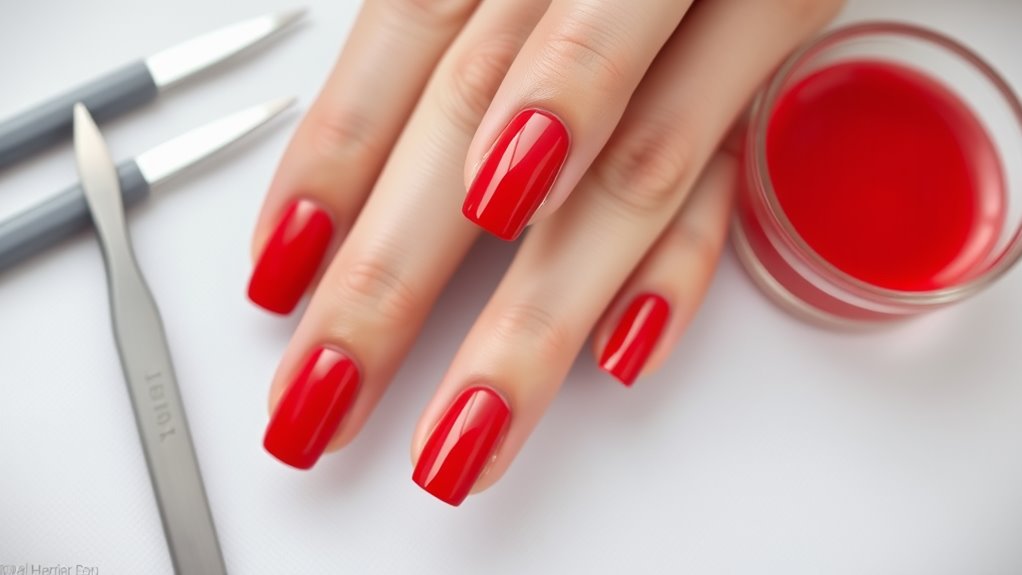
Getting your nails ready is an essential step in achieving that perfect classic red manicure. Start by removing any old polish. You don’t want remnants of last week’s purple glitter clashing with that vibrant red! Use a gentle nail polish remover to wipe your nails clean.
Next, trim your nails to your desired length. If you like them longer, just make sure they’re even. No one wants a manicure that looks like a rollercoaster!
Once your nails are the right length, it’s time to file them. Use a nail file to smooth out the edges and shape them. A round or square shape works best for a classic look.
After filing, don’t forget to buff your nails lightly. This helps them shine even before the polish goes on!
Now, it’s hand care time. Apply some cuticle oil to keep your cuticles soft and healthy. You can even give them a little push back if they’re getting too wild.
Apply Base Coat
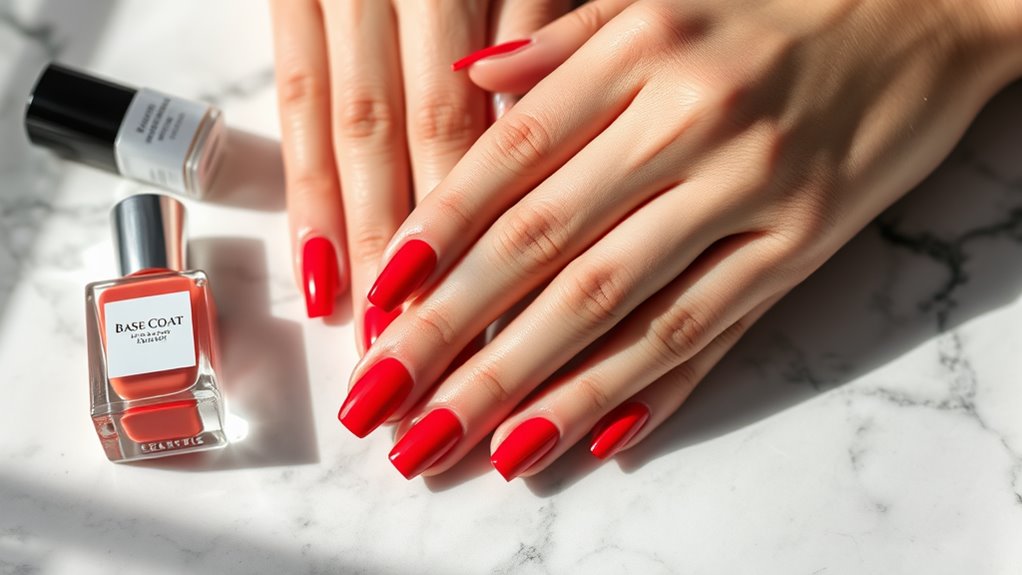
Applying a base coat is an essential step you should never skip if you want your classic red manicure to last. Think of it as the superhero cape for your nails—it protects them from damage and helps your polish stick better. Start by choosing a good-quality base coat; it’ll make a world of difference.
Once you’ve picked your base coat, shake it up a little to mix those magical ingredients inside. Then, use the brush to apply a thin, even layer over your nails, making sure you cover the entire surface. Don’t forget the tips! That little extra touch can help prevent chipping.
Let the base coat dry completely before moving on. This may take a few minutes, but trust me, it’s worth the wait. You don’t want to end up with smudges or dents in your beautiful manicure.
While you’re waiting, you can practice your runway walk or plan your next nail design.
Once it’s dry, you’re all set to choose the perfect red polish and get started on your fabulous manicure. Remember, a solid base coat is the first step toward nail perfection!
Choose the Right Red
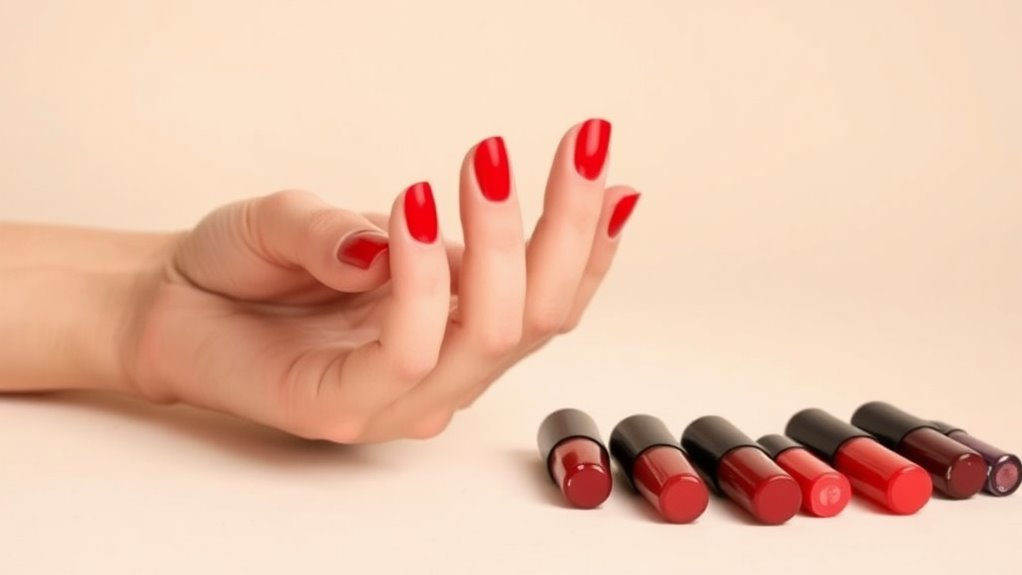
Choosing the right red polish can make or break your classic manicure, so take your time with this important step. There are many shades of red, from bright cherry to deep crimson. Think about what works best for your skin tone. If you have warm undertones, go for reds with orange or golden hues. If you have cool undertones, a blue-based red will look amazing on you.
Don’t forget to take into account the occasion, too! A bold, vibrant red is perfect for a night out, while a softer, muted red might be more suitable for work or school. You want your nails to match your mood and outfit, after all!
Another fun tip? Try testing a few shades on your nails before you commit. A quick swipe can help you see how the color looks in different lights.
If you’re feeling adventurous, mix and match to create your own unique red!
Master the Application Technique
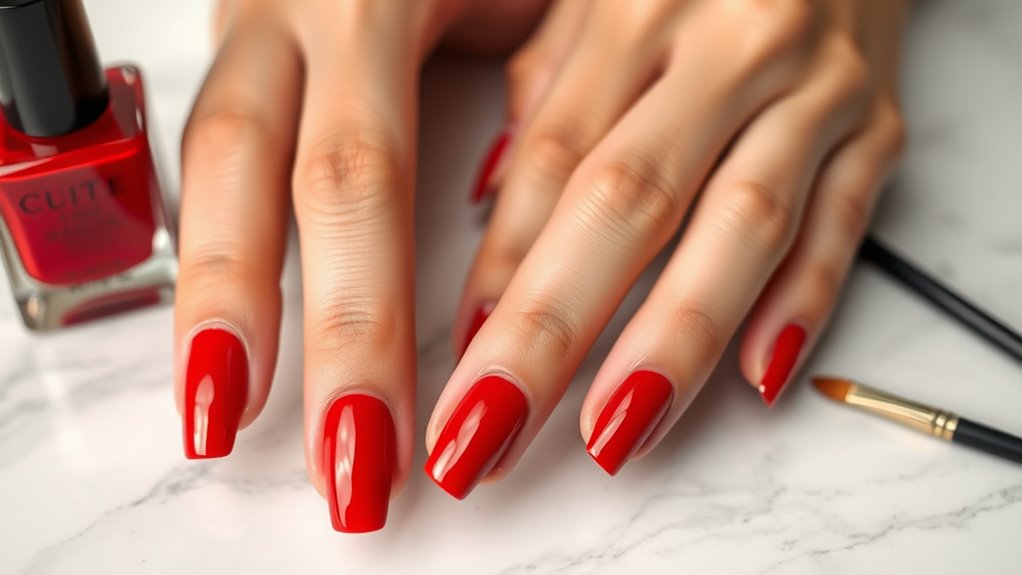
Once you’ve found the perfect shade of red, mastering the application technique is key to achieving that polished look.
Start by prepping your nails. Make sure they’re clean and dry; no one wants a stubborn chip ruining their fabulous manicure!
Next, apply a base coat. This step’s super important because it helps your polish stick and protects your nails.
Once that’s dry, grab your red polish.
Begin painting from the center of the nail, using three strokes: one down the middle, then one on each side. This method helps you avoid those pesky brush marks and keeps the color even.
Don’t overload the brush; less is often more! If you do mess up and get polish on your skin, don’t panic. Just wait until it dries, and you can clean it up with a small brush dipped in nail polish remover.
Remember to let each layer dry before adding another. Patience is key here! You want that red to shine like a ruby.
With practice, you’ll have nails that look like they belong on a magazine cover. Happy painting!
Add a Top Coat
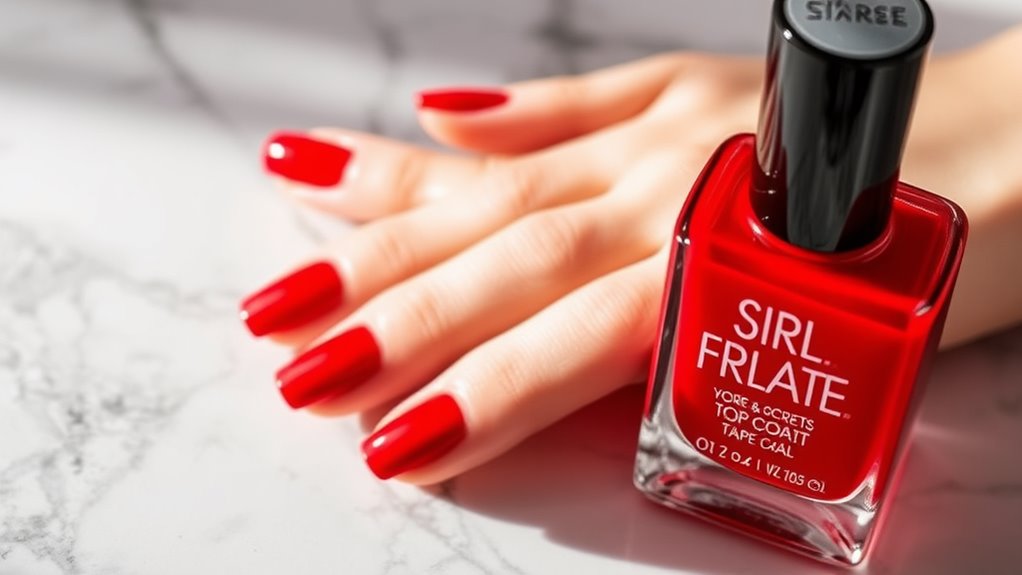
To achieve that glossy, salon-finish look, adding a top coat is essential. You’ve put in the effort to apply your classic red polish perfectly, so don’t skip this important step! A top coat not only adds shine but also protects your nails from chips and scratches.
Plus, it helps your color last longer, which means fewer touch-ups and more time to show off those fabulous nails.
When you apply your top coat, make sure you do it carefully. Start at the base of your nail and brush it toward the tip. Try to cover the edges too, as this helps seal everything in and keeps your manicure looking fresh.
You’ll want to let it dry completely, so maybe whip out that phone and scroll through your favorite social media while you wait.
If you’re feeling fancy, you can even experiment with different top coats! There are matte finishes for a trendy look or glittery ones for some fun sparkle.
Whatever you choose, remember that a good top coat can elevate your classic red manicure from nice to wow! So go ahead, give your nails that extra love—they deserve it!
Clean Up Edges
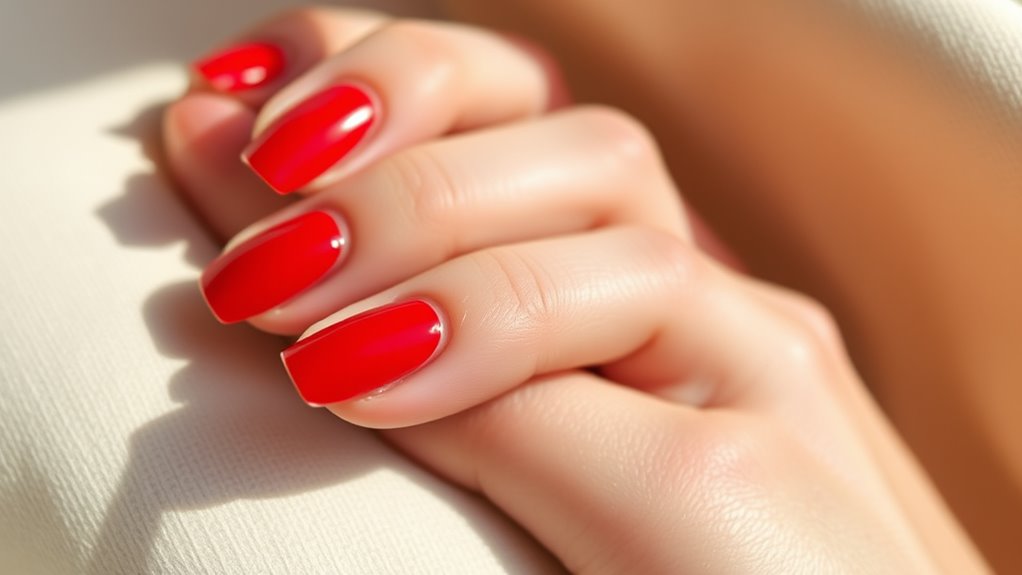
Finishing up your classic red manicure means it’s time to clean up the edges for a polished look. You want your nails to shine bright like a ruby, not look like they’ve been through a paintball battle!
Grab a small brush or a cotton swab, and dip it in nail polish remover. This will help you tidy up those little smudges or stray bits of polish that might’ve wandered off your nails.
Gently run the brush or swab along the edges of your nails. It’s like giving your nails a mini spa treatment! Make sure to be careful, so you don’t accidentally wipe away the polish you want to keep.
If you notice any stubborn spots, don’t panic. Just dip your brush again, and go over it gently until everything looks neat.
Once you’ve cleaned up the edges, take a step back and admire your work! You’re not just done with your manicure; you’ve perfected it!
Nail Care and Maintenance
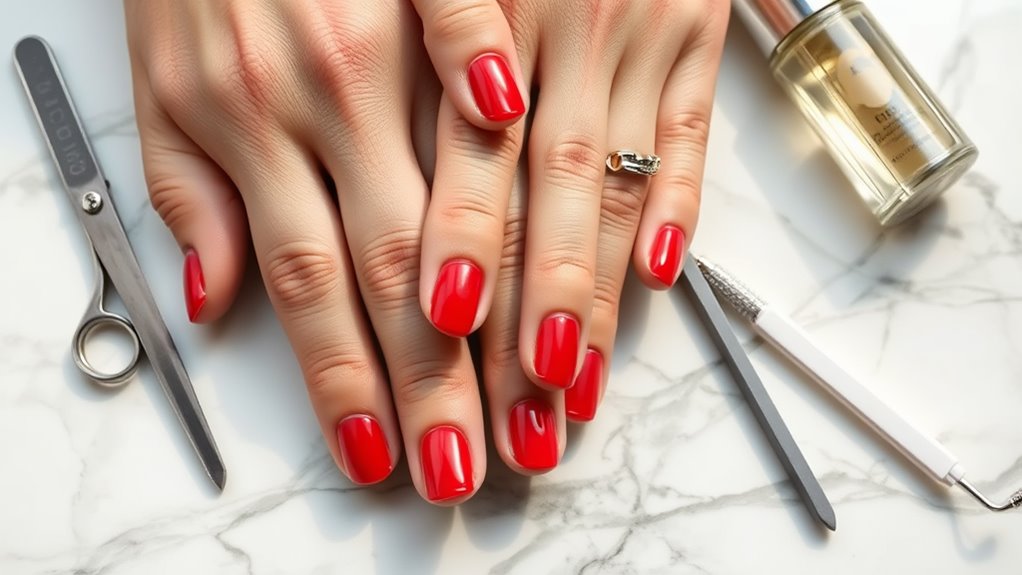
For a stunning classic red manicure that lasts, proper nail care and maintenance are essential. Start by keeping your nails clean and trimmed. Regularly clip or file them to avoid snags and breaks. Remember, nobody wants a sad, broken nail ruining their fabulous look!
Moisturizing is key, too. Use a good hand cream or cuticle oil daily to keep your skin and cuticles hydrated. This not only makes your hands look great but also helps your polish apply smoothly.
Speaking of polish, always apply a base coat before your color. This creates a barrier and helps prevent staining.
Don’t forget about your nail health! If you notice any signs of infection or peeling, take a break from polish to let your nails breathe.
Also, be gentle when you remove polish; don’t go scrubbing like you’re trying to erase a chalkboard. Use a good remover and soak a cotton ball before wiping it off.
Tips for Long-lasting Wear
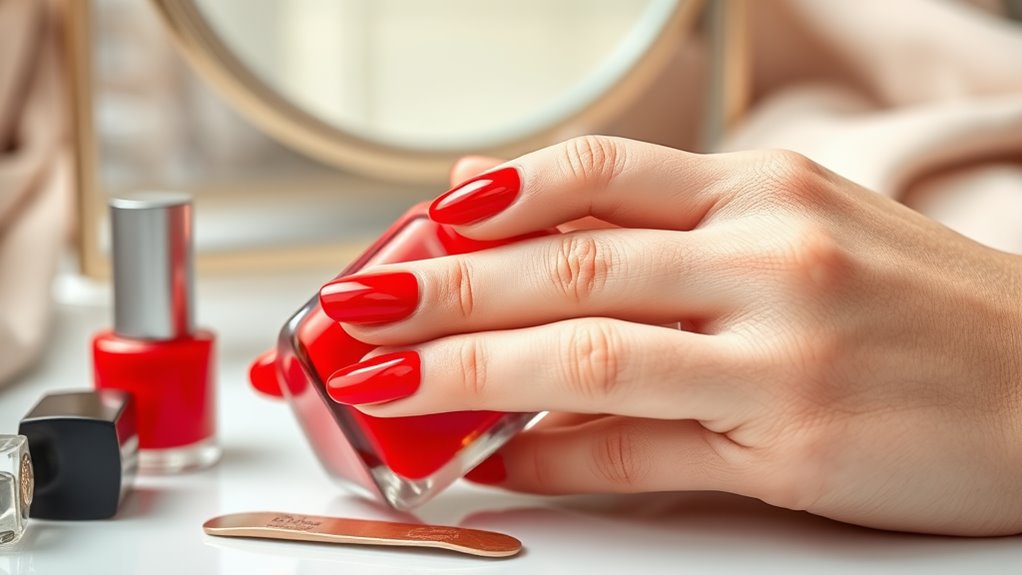
Achieving a classic red manicure isn’t just about the color; it’s also about how long it lasts on your nails. To keep your manicure looking fresh, start by prepping your nails properly. Clean them well, and never skip the base coat. This magical layer not only protects your nails from staining but also helps the polish stick better.
When applying your red polish, use thin coats. You might be tempted to slather on a thick layer, but trust me, thin coats dry faster and last longer. After your color, finish with a top coat. This shiny shield protects your masterpiece from chips and scratches.
It’s also essential to avoid hot water for a while after you paint your nails. Hot water can weaken the polish bond—so hold off on those long baths or dishwashing marathons!
Lastly, don’t forget to reapply your top coat every few days. It’s like giving your nails a mini spa treatment!
With these tips, your classic red manicure will stay fabulous, and you’ll have the confidence to flash those polished nails everywhere you go!
Conclusion
Now you’re all set to rock that perfect classic red manicure! Remember, it’s not just about the color; it’s about taking care of your nails too. With the right supplies and a little practice, you’ll have gorgeous nails that make you feel confident. Don’t forget to show off your fabulous fingers and maybe even share your tips with friends! So go ahead, paint the town red—literally! Happy manicuring!
