How to Achieve the Perfect Classic Red Manicure

How to Achieve the Perfect Classic Red Manicure

To achieve the perfect classic red manicure, start by gathering your supplies: red nail polish, base coat, and top coat. Prep your nails by pushing back cuticles and giving them a good buff. Apply a thin base coat, let it dry, then choose a red that matches your vibe. Apply it in three strokes for even coverage, drying between coats. Finish with a top coat for shine and protection—your nails deserve it! Avoid hot water for 24 hours and treat your nails like royalty. Stick around, and you might just learn some extra tricks to keep those nails looking fabulous!

Gather Your Supplies
How_to_Achieve_the_Perfect_Classic_Red_Manicure_0001.jpg

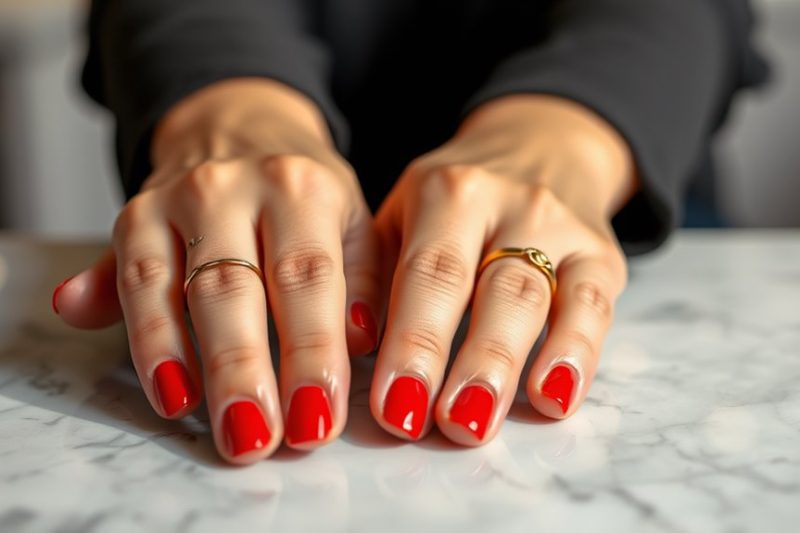
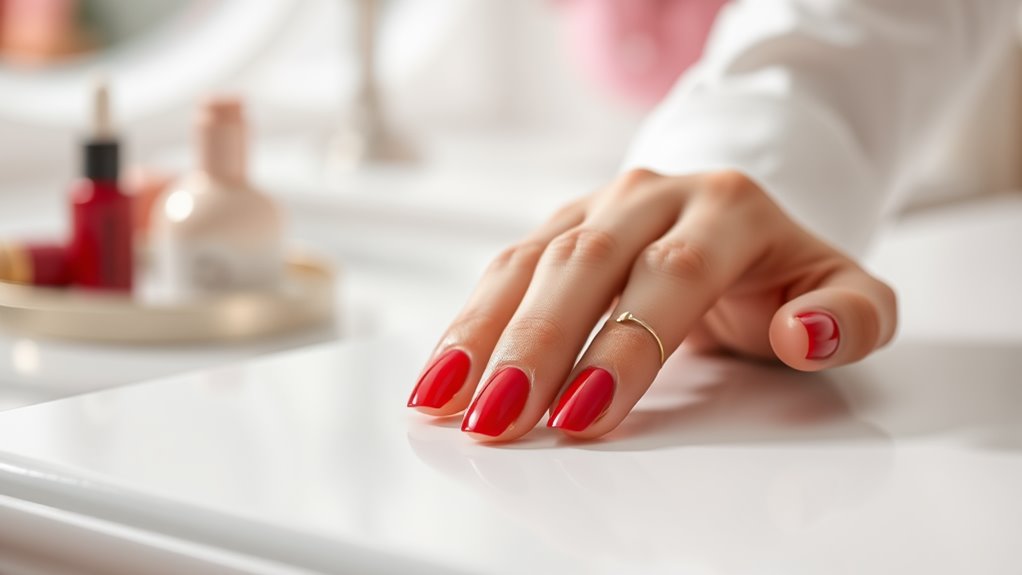
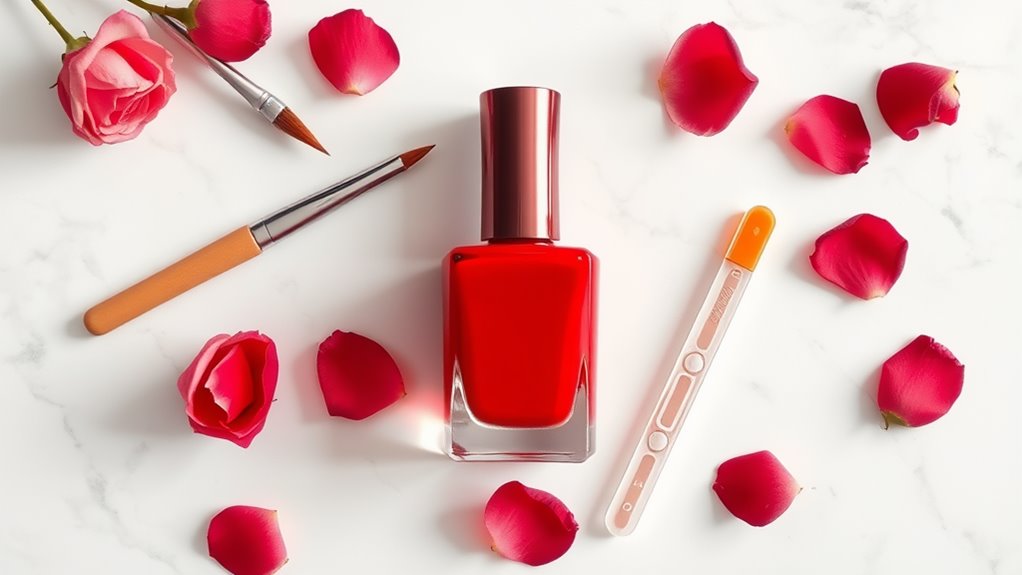
Before you plunge into creating your perfect classic red manicure, you need to gather your supplies. First things first, grab a bottle of your favorite classic red nail polish. It should be shiny and vibrant, making your nails pop!

Next, you’ll need a base coat. This helps protect your nails and keeps your polish from chipping too soon. Don’t forget a top coat! This adds extra shine and seals everything in, making your manicure last longer.

You’ll also want to have a nail file and cuticle pusher handy for some pre-manicure prep. If you’ve got a few cotton balls and nail polish remover lying around, that’s great too! You might need them to fix any little mistakes.

A good-quality brush is essential as well, but if you’re feeling adventurous, you can use a fan brush to create fun designs later!

Prepare Your Nails
How_to_Achieve_the_Perfect_Classic_Red_Manicure_0002.jpg

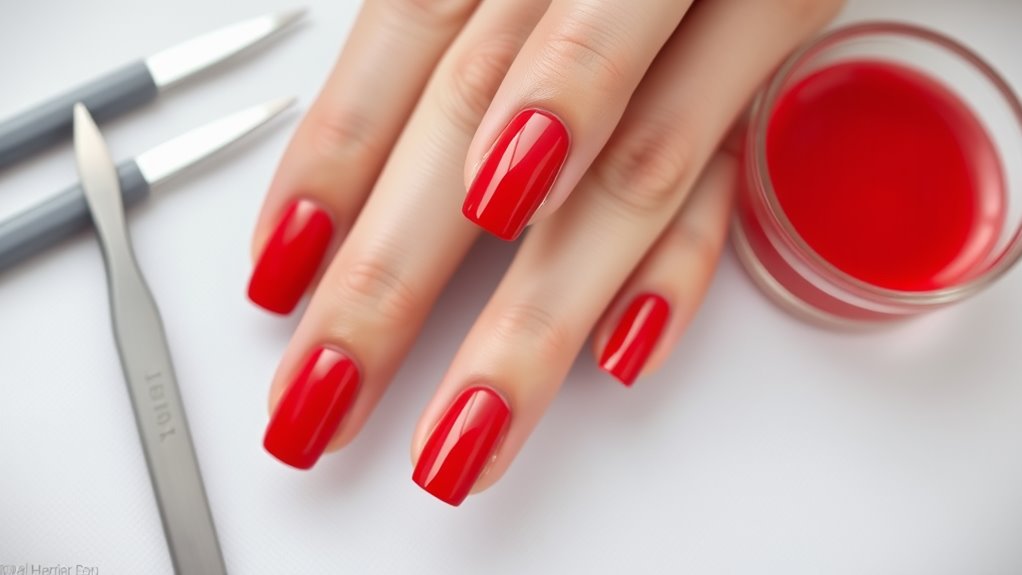
Getting your nails ready is an essential step in achieving that perfect classic red manicure. Start by removing any old polish. You don’t want remnants of last week’s purple glitter clashing with that vibrant red! Use a gentle nail polish remover to wipe your nails clean.

Next, trim your nails to your desired length. If you like them longer, just make sure they’re even. No one wants a manicure that looks like a rollercoaster!

Once your nails are the right length, it’s time to file them. Use a nail file to smooth out the edges and shape them. A round or square shape works best for a classic look.

After filing, don’t forget to buff your nails lightly. This helps them shine even before the polish goes on!

Now, it’s hand care time. Apply some cuticle oil to keep your cuticles soft and healthy. You can even give them a little push back if they’re getting too wild.

Apply Base Coat
How_to_Achieve_the_Perfect_Classic_Red_Manicure_0003.jpg

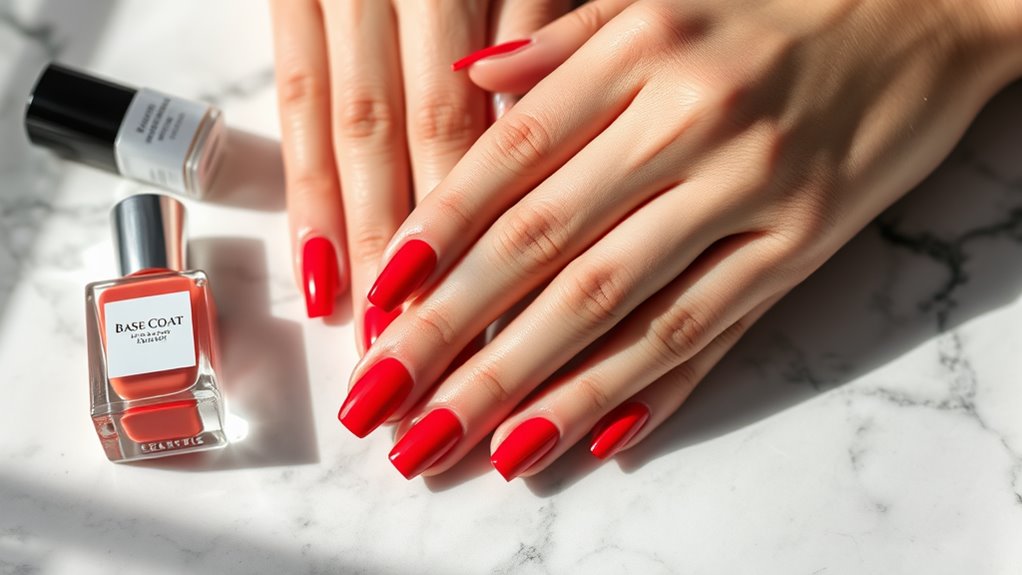
Applying a base coat is an essential step you should never skip if you want your classic red manicure to last. Think of it as the superhero cape for your nails—it protects them from damage and helps your polish stick better. Start by choosing a good-quality base coat; it’ll make a world of difference.

Once you’ve picked your base coat, shake it up a little to mix those magical ingredients inside. Then, use the brush to apply a thin, even layer over your nails, making sure you cover the entire surface. Don’t forget the tips! That little extra touch can help prevent chipping.

Let the base coat dry completely before moving on. This may take a few minutes, but trust me, it’s worth the wait. You don’t want to end up with smudges or dents in your beautiful manicure.

While you’re waiting, you can practice your runway walk or plan your next nail design.

Once it’s dry, you’re all set to choose the perfect red polish and get started on your fabulous manicure. Remember, a solid base coat is the first step toward nail perfection!

Choose the Right Red
How_to_Achieve_the_Perfect_Classic_Red_Manicure_0004.jpg

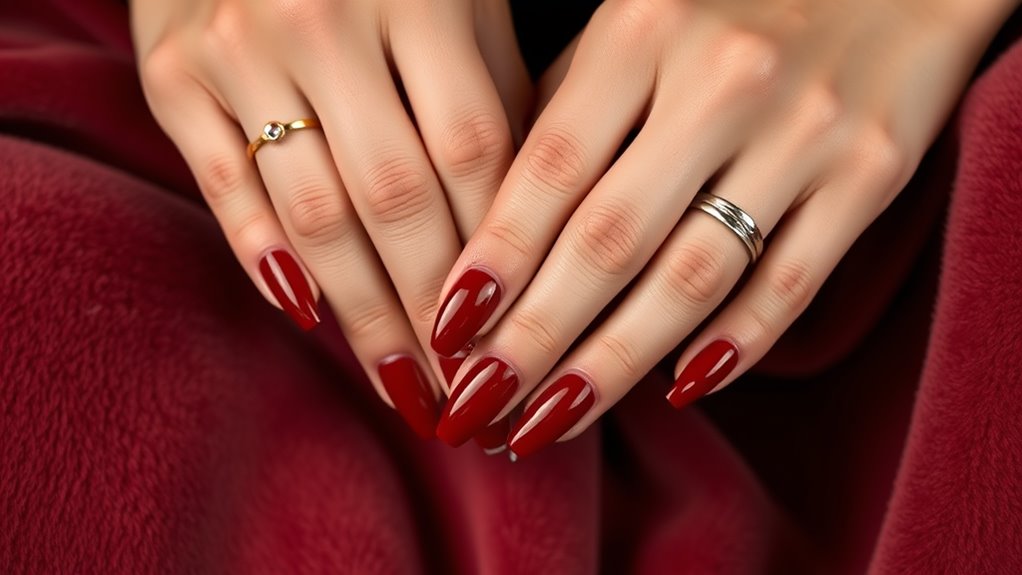
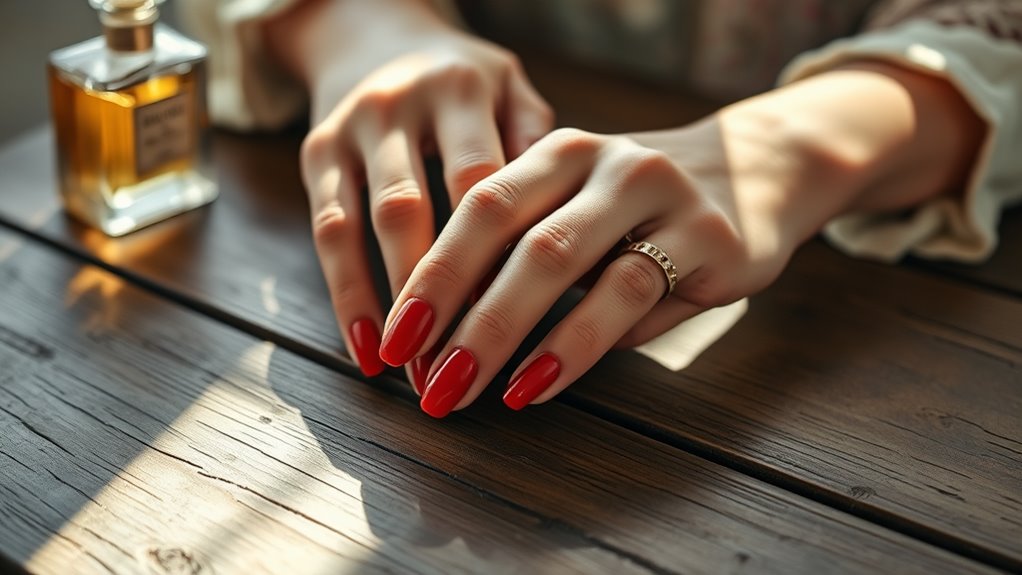
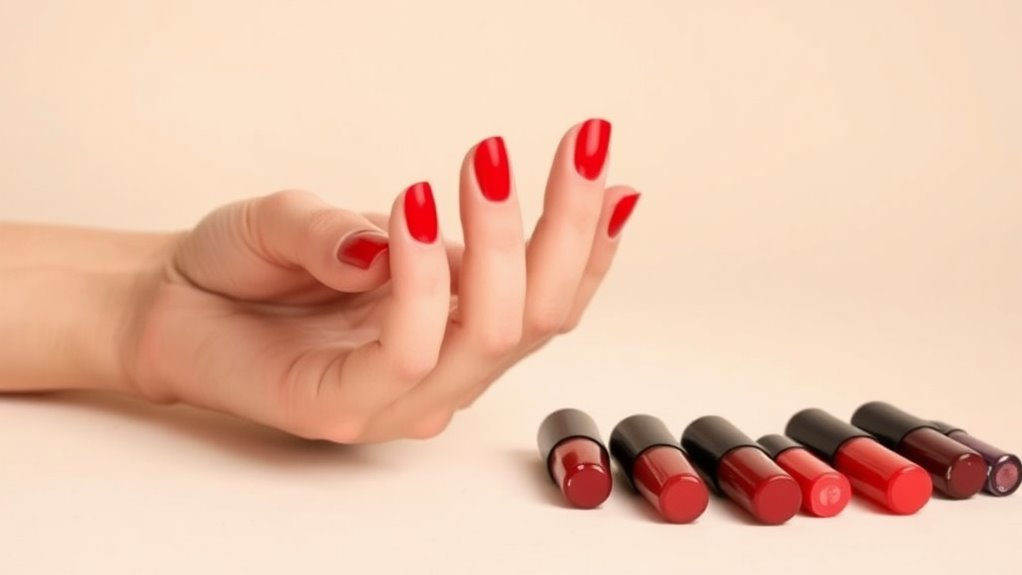
Choosing the right red polish can make or break your classic manicure, so take your time with this important step. There are many shades of red, from bright cherry to deep crimson. Think about what works best for your skin tone. If you have warm undertones, go for reds with orange or golden hues. If you have cool undertones, a blue-based red will look amazing on you.

Don’t forget to take into account the occasion, too! A bold, vibrant red is perfect for a night out, while a softer, muted red might be more suitable for work or school. You want your nails to match your mood and outfit, after all!

Another fun tip? Try testing a few shades on your nails before you commit. A quick swipe can help you see how the color looks in different lights.

If you’re feeling adventurous, mix and match to create your own unique red!

Master the Application Technique
How_to_Achieve_the_Perfect_Classic_Red_Manicure_0005.jpg

Once you’ve found the perfect shade of red, mastering the application technique is key to achieving that polished look.

Start by prepping your nails. Make sure they’re clean and dry; no one wants a stubborn chip ruining their fabulous manicure!

Next, apply a base coat. This step’s super important because it helps your polish stick and protects your nails.

Once that’s dry, grab your red polish.

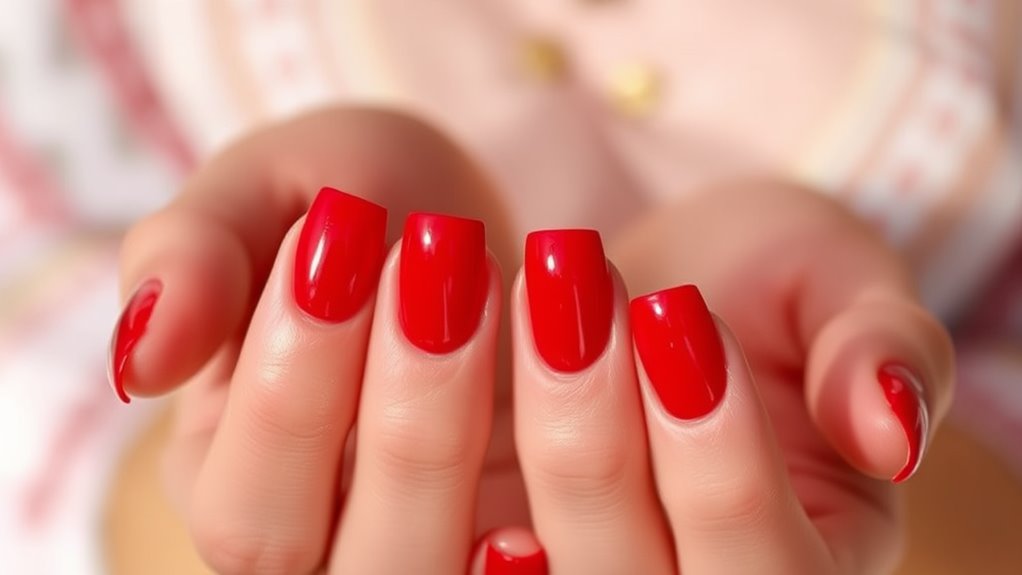
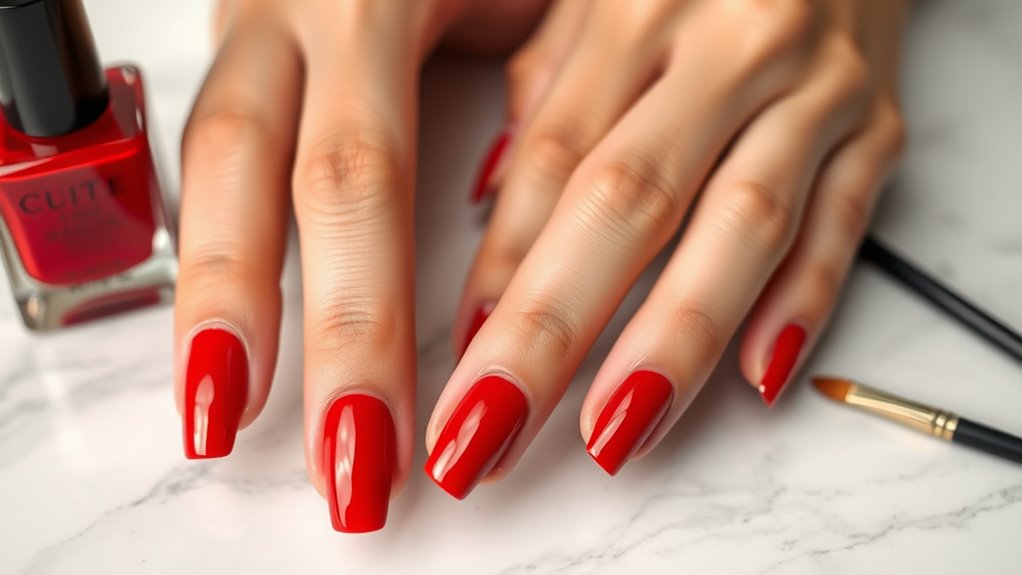
Begin painting from the center of the nail, using three strokes: one down the middle, then one on each side. This method helps you avoid those pesky brush marks and keeps the color even.

Don’t overload the brush; less is often more! If you do mess up and get polish on your skin, don’t panic. Just wait until it dries, and you can clean it up with a small brush dipped in nail polish remover.

Remember to let each layer dry before adding another. Patience is key here! You want that red to shine like a ruby.

With practice, you’ll have nails that look like they belong on a magazine cover. Happy painting!

Add a Top Coat
How_to_Achieve_the_Perfect_Classic_Red_Manicure_0006.jpg

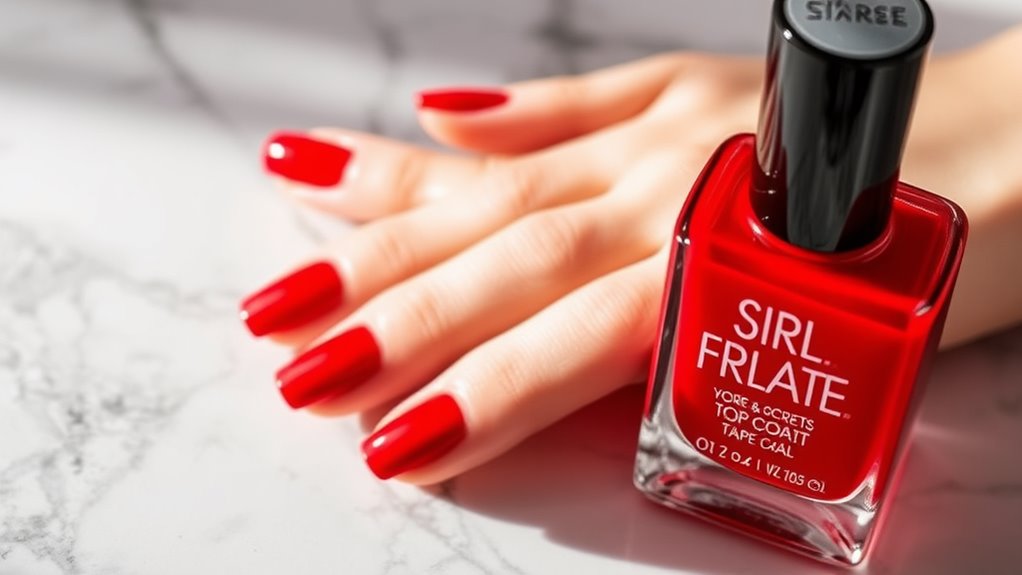
To achieve that glossy, salon-finish look, adding a top coat is essential. You’ve put in the effort to apply your classic red polish perfectly, so don’t skip this important step! A top coat not only adds shine but also protects your nails from chips and scratches.

Plus, it helps your color last longer, which means fewer touch-ups and more time to show off those fabulous nails.

When you apply your top coat, make sure you do it carefully. Start at the base of your nail and brush it toward the tip. Try to cover the edges too, as this helps seal everything in and keeps your manicure looking fresh.

You’ll want to let it dry completely, so maybe whip out that phone and scroll through your favorite social media while you wait.

If you’re feeling fancy, you can even experiment with different top coats! There are matte finishes for a trendy look or glittery ones for some fun sparkle.

Whatever you choose, remember that a good top coat can elevate your classic red manicure from nice to wow! So go ahead, give your nails that extra love—they deserve it!

Clean Up Edges
How_to_Achieve_the_Perfect_Classic_Red_Manicure_0007.jpg

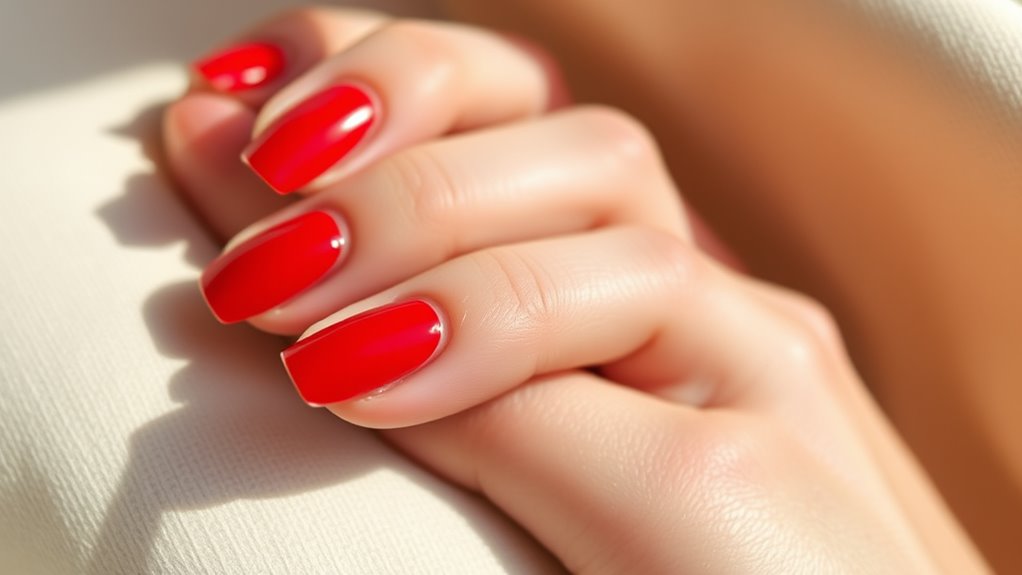
Finishing up your classic red manicure means it’s time to clean up the edges for a polished look. You want your nails to shine bright like a ruby, not look like they’ve been through a paintball battle!

Grab a small brush or a cotton swab, and dip it in nail polish remover. This will help you tidy up those little smudges or stray bits of polish that might’ve wandered off your nails.

Gently run the brush or swab along the edges of your nails. It’s like giving your nails a mini spa treatment! Make sure to be careful, so you don’t accidentally wipe away the polish you want to keep.

If you notice any stubborn spots, don’t panic. Just dip your brush again, and go over it gently until everything looks neat.

Once you’ve cleaned up the edges, take a step back and admire your work! You’re not just done with your manicure; you’ve perfected it!

Nail Care and Maintenance
How_to_Achieve_the_Perfect_Classic_Red_Manicure_0008.jpg

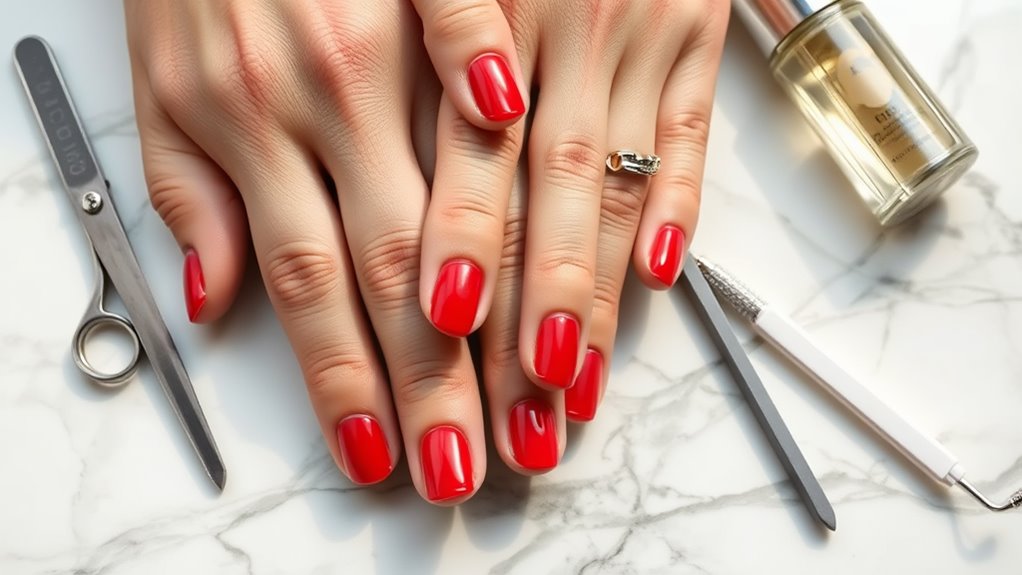
For a stunning classic red manicure that lasts, proper nail care and maintenance are essential. Start by keeping your nails clean and trimmed. Regularly clip or file them to avoid snags and breaks. Remember, nobody wants a sad, broken nail ruining their fabulous look!

Moisturizing is key, too. Use a good hand cream or cuticle oil daily to keep your skin and cuticles hydrated. This not only makes your hands look great but also helps your polish apply smoothly.

Speaking of polish, always apply a base coat before your color. This creates a barrier and helps prevent staining.

Don’t forget about your nail health! If you notice any signs of infection or peeling, take a break from polish to let your nails breathe.

Also, be gentle when you remove polish; don’t go scrubbing like you’re trying to erase a chalkboard. Use a good remover and soak a cotton ball before wiping it off.

Tips for Long-lasting Wear
How_to_Achieve_the_Perfect_Classic_Red_Manicure_0009.jpg

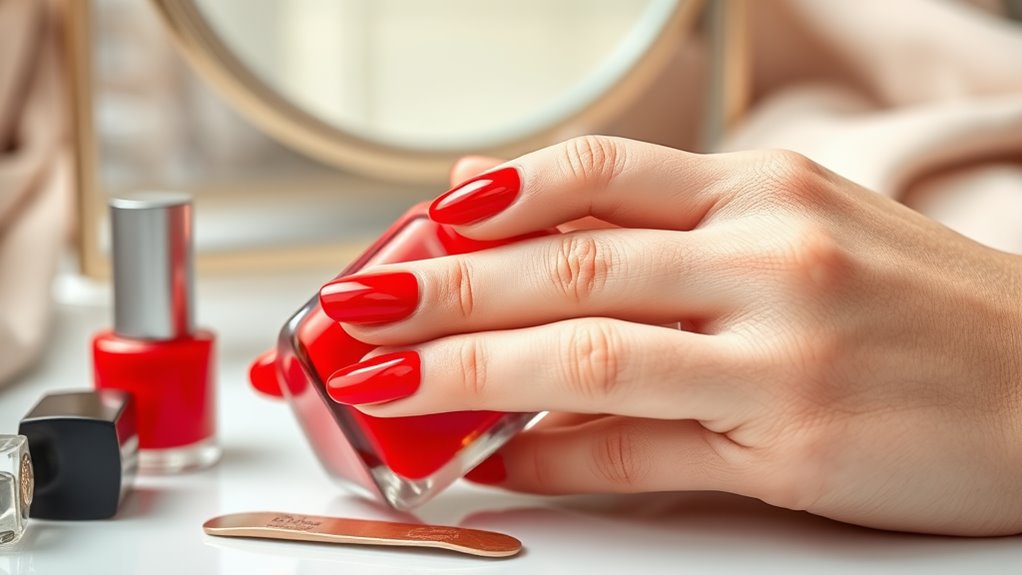
Achieving a classic red manicure isn’t just about the color; it’s also about how long it lasts on your nails. To keep your manicure looking fresh, start by prepping your nails properly. Clean them well, and never skip the base coat. This magical layer not only protects your nails from staining but also helps the polish stick better.

When applying your red polish, use thin coats. You might be tempted to slather on a thick layer, but trust me, thin coats dry faster and last longer. After your color, finish with a top coat. This shiny shield protects your masterpiece from chips and scratches.

It’s also essential to avoid hot water for a while after you paint your nails. Hot water can weaken the polish bond—so hold off on those long baths or dishwashing marathons!

Lastly, don’t forget to reapply your top coat every few days. It’s like giving your nails a mini spa treatment!

With these tips, your classic red manicure will stay fabulous, and you’ll have the confidence to flash those polished nails everywhere you go!

Conclusion

Now you’re all set to rock that perfect classic red manicure! Remember, it’s not just about the color; it’s about taking care of your nails too. With the right supplies and a little practice, you’ll have gorgeous nails that make you feel confident. Don’t forget to show off your fabulous fingers and maybe even share your tips with friends! So go ahead, paint the town red—literally! Happy manicuring!

The Timeless Appeal of Classic Red Nail Designs

The Timeless Appeal of Classic Red Nail Designs

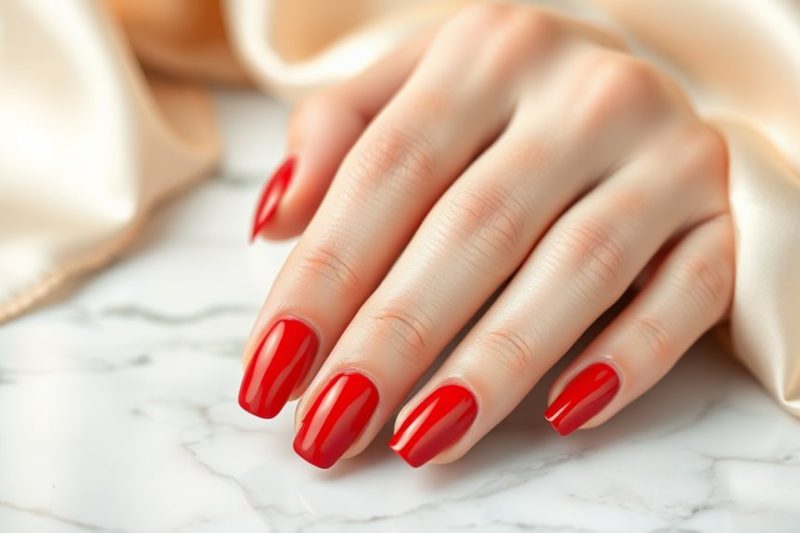
Classic red nail designs have an amazing charm that’s stood the test of time! They’ve been a symbol of power since ancient China, where only royals wore red. You can rock red nails for any occasion, whether at a party or a work meeting. There are so many styles, like the classic glossy look or a trendy matte finish. Plus, different shades can show your mood or personality. It’s all about making you feel confident! So, if you’re curious about perfecting your red nail game, keep exploring to discover tips and tricks that will give your nails an upgrade!

Historical Significance of Red Nails

The_Timeless_Appeal_of_Classic_Red_Nail_Designs_0001.jpg

Throughout history, red nails have symbolized power and passion, making them a timeless choice for many. You might be surprised to learn that red nail polish dates back thousands of years!

In ancient China, it was a big deal; only the royals were allowed to wear red. It showed everyone just how powerful they were. Imagine having a color that meant you were important!

In Egypt, red nails were also a symbol of status. Women used henna to dye their nails and show off their wealth. So, when you paint your nails red today, you’re actually tapping into a long tradition of boldness and confidence.

Fast forward to the 20th century, and red nails became a favorite among Hollywood starlets. They knew that a splash of red could turn heads and make a statement.

Who doesn’t want to feel like a movie star, right?

Iconic Red Nail Styles

The_Timeless_Appeal_of_Classic_Red_Nail_Designs_0002.jpg

When it comes to iconic red nail styles, several trends have stood the test of time, making them must-tries for any nail enthusiast.

First up, the classic red manicure. You can’t go wrong with a solid coat of crimson; it’s bold and always in style.

Then there’s the timeless French tip with a twist—swap out the white for a dazzling red! This playful look adds a splash of fun while keeping things classy.

Next, you might want to try the ombre effect. Start with a bright red at the base, fading into a lighter shade toward the tips. It’s like a sunset for your nails!

If you’re feeling adventurous, consider nail art. From polka dots to stripes, red is the perfect canvas for creativity.

Don’t forget about the matte finish! It gives a chic, modern vibe that sets you apart.

And for a bit of glam, add some gold or silver glitter to your red polish.

These iconic styles aren’t just trendy; they also show off your personality. So grab your favorite red polish and get ready to paint the town red—literally!

Red Nails for Every Occasion

The_Timeless_Appeal_of_Classic_Red_Nail_Designs_0003.jpg

Red nails can elevate your look for any occasion, from casual outings to formal events. Whether you’re heading to a picnic with friends or a fancy dinner, red nails are the perfect accessory. They’re bold, fun, and show off your personality.

For a laid-back day, you might choose a bright, glossy red that screams summer fun, while a deeper, richer shade is just right for that classy dinner date.

When you’re at work or school, you can go for a classic red that’s not too flashy but still makes a statement. It says, “I’m confident and ready to tackle anything!”

And don’t forget about special occasions like weddings or parties—nothing says celebration quite like a stunning red manicure.

If you’re feeling a bit adventurous, you can play with textures and finishes. Matte red nails can offer a modern twist, while sparkly topcoats can add some pizzazz.

Whatever the event, red nails always bring a touch of elegance and charm. So, grab your favorite shade and let your nails do the talking, because with red, you can’t go wrong!

Tips for Perfecting Red Nail Designs

The_Timeless_Appeal_of_Classic_Red_Nail_Designs_0004.jpg

To achieve stunning red nail designs, it’s essential to start with a solid foundation. Begin by cleaning your nails, removing any old polish, and making sure your nails are dry. You don’t want any sneaky residue messing up your masterpiece!

Next, apply a base coat to protect your nails and help the color stick. Think of it as an armor for your nails!

When choosing your red polish, go for a shade that makes you smile. There’s a whole rainbow of reds out there—bright cherry, deep burgundy, or even sparkly ruby.

Once you’ve picked your favorite, apply the polish in thin layers, letting each coat dry before applying the next. This way, you’ll avoid any clumpy disasters.

If you’re feeling adventurous, try adding some fun designs! Use a toothpick or a dotting tool to create polka dots, stripes, or even little hearts.

Just remember to seal your design with a top coat for extra shine and durability.

Personal Expression Through Color

The_Timeless_Appeal_of_Classic_Red_Nail_Designs_0005.jpg

Color speaks volumes about your personality and mood, and red is no exception. When you choose red nail designs, you’re expressing confidence, passion, and a hint of daring. It’s like saying, “Look at me!” without uttering a word.

Red can be bold and fierce or soft and playful, depending on the shade you pick. Imagine walking into a room with your fiery red nails shining. People might notice you right away, thinking, “Wow, she really knows how to make a statement!”

You can mix and match different styles, too. Whether it’s classic, matte, or sparkly, each design shows a little more about who you are.

Plus, let’s not forget how colors can shift your mood. A fresh coat of red polish might just brighten your day. You might feel more cheerful, ready to tackle anything!

Conclusion

So, whether you’re going for a chic look or just want to brighten your day, classic red nails have got your back! They’ve stood the test of time and can fit any occasion, from fancy parties to casual hangouts. With a little practice and creativity, you can make your red nail designs pop. Remember, it’s all about expressing yourself and having fun. So grab that polish, and let your nails shine like the stars they are!

Seasonal Solid Color Nail Trends to Follow

Seasonal Solid Color Nail Trends to Follow

Seasonal solid color nail trends are a blast! In spring, think soft pastels like mint green and pale peach. Summer’s all about bright shades—go for hot pinks and electric blues! When autumn rolls in, embrace earthy tones like deep terracotta and olive green. Winter calls for rich hues—dark burgundy and navy blue make perfect choices. Don’t forget to mix in some fun nail art for extra flair! With the right care and a few essential products, your nails can shine all year round. Stick around, and you’ll discover even more trendy tips and tricks to keep your nails fabulous!

Spring Nail Color Inspirations

Seasonal_Solid_Color_Nail_Trends_to_Follow_0001.jpg

As flowers begin to bloom and the days grow longer, it’s the perfect time to refresh your nail colors for spring. You might be wondering what shades to choose. Well, soft pastels are always a hit! Think about gentle pinks, baby blues, and mint greens that remind you of blooming gardens.

These colors not only brighten your mood but also add a touch of sweetness to your look. Consider trying a light lavender, too. It’s a fresh twist that feels cozy and fun at the same time.

If you’re feeling a bit adventurous, you can mix things up with a soft peach or a pale yellow. They scream sunshine and are sure to make you smile!

Don’t forget about nail art! You can add tiny flowers or simple dots to your basic colors. It’s an easy way to express your creativity without going overboard.

Just remember to have fun with it! Spring is all about new beginnings, so let your nails reflect that joy. Grab your favorite colors and get ready to show off your fabulous spring nails! Your hands will thank you, and who knows, you might inspire someone else to join the fun!

Summer Bright and Bold Shades

Seasonal_Solid_Color_Nail_Trends_to_Follow_0002.jpg

With spring’s pastel hues fading, it’s time to embrace the vibrancy of summer. Get ready to brighten up your nails with bold, eye-catching colors that scream fun and adventure! Think bright yellows, electric blues, and fiery corals. These shades aren’t just colors; they’re a celebration of sunny days and carefree vibes.

When choosing your summer nail color, let your personality shine. If you’re feeling playful, go for a hot pink that’ll make you smile every time you look down at your hands. If you want something a bit different, try a bright lime green—it’s sure to turn heads!

Don’t forget to mix and match! You can paint each nail a different color or even create fun designs using your favorite shades. Nail art is all about expressing yourself, so get creative!

And remember, summer is the perfect time to show off your nails, whether you’re at the beach, a barbecue, or just hanging out with friends.

Autumn Earthy Tones

Seasonal_Solid_Color_Nail_Trends_to_Follow_0003.jpg

Autumn brings a rich palette of earthy tones that perfectly capture the season’s essence. As the leaves turn to shades of brown, rust, and gold, your nails can reflect that beauty too!

Think cozy vibes and warm colors when you choose your nail polish. This season, embrace colors like deep terracotta, olive green, and warm taupe. These hues aren’t just pretty; they remind you of crunchy leaves underfoot and pumpkin spice lattes in your hands.

You could even try a matte finish for a trendy touch that feels oh-so autumnal!

Don’t forget about accent nails! A little shimmer or a cute design in a contrasting earthy tone can make your manicure pop. Imagine an olive green base with a rust-colored leaf pattern—it’s simple, yet stunning!

Winter Deep and Dark Hues

Seasonal_Solid_Color_Nail_Trends_to_Follow_0004.jpg

When the chill of winter sets in, it’s time to embrace deep and dark hues that evoke the season’s mystique. Think rich burgundies, dark emeralds, and deep blues.

These colors not only look stunning but also give a cozy vibe, perfect for snuggling up by the fire with a cup of hot cocoa.

You might want to try a dark plum for a dramatic touch that says, “I’m ready for winter!”

Or, how about a navy blue that sparkles like the night sky? It’s classy and chic, ensuring you stand out in any gathering.

If you’re feeling adventurous, consider a black nail polish with a glossy finish. It’s bold and makes a statement, just like your favorite winter sweater!

Don’t forget to pair your dark nails with some festive nail art. A little silver glitter can add a touch of magic, reminding you of twinkling lights during the holiday season.

Trending Techniques for Each Season

Seasonal_Solid_Color_Nail_Trends_to_Follow_0005.jpg

As winter fades, it’s time to explore trending techniques that can elevate your nail game throughout the seasons.

First up, spring brings the fun of ombre! You can blend two or more colors for a dreamy gradient effect, making your nails look like a beautiful sunset. Just remember, practice makes perfect!

When summer rolls around, think about nail art stickers. They’re super easy to use, and you can find stickers in all kinds of shapes and colors. Stick them on your nails for a pop of fun without the fuss of painting intricate designs.

As the leaves change in fall, why not try the negative space technique? This means leaving parts of your natural nail showing, creating a chic and modern look. It’s all about balance and can be done with any solid color!

Classic Colors That Never Fade

Seasonal_Solid_Color_Nail_Trends_to_Follow_0006.jpg

Timeless elegance defines classic nail colors that never fade from style, no matter the season.

When you think of classic shades, you probably picture the iconic red, a color that screams confidence and glamour. It’s bold, it’s vibrant, and it works for any occasion, from a casual lunch to a fancy night out.

Then there’s the soft nude. This shade is like the little black dress of nail colors—always chic and perfect for any outfit. Whether you want something subtle or a base for nail art, nude is your go-to.

Don’t forget about classic white! It’s fresh and clean, giving you that polished look. You can rock white all year round, and it always feels modern.

How to Choose Your Shade

Seasonal_Solid_Color_Nail_Trends_to_Follow_0007.jpg

Steering through the world of nail colors can feel overwhelming, but choosing the right shade doesn’t have to be a chore. First, think about your skin tone. If you’ve got warm undertones, colors like coral or peach can brighten your look. For cool undertones, try shades like lavender or deep blue.

Don’t forget about the season! Spring calls for pastels, while fall is all about rich, warm hues.

Next up, consider your mood. Feeling bold? Bright red or electric blue could be your go-to. If you’re after something more relaxed, soft pinks and nudes might be just the ticket.

Also, think about where you’re headed. A fun night out could mean a glittery shade, while a job interview might call for something classic and understated.

Lastly, don’t forget to have fun! Nail polish is all about self-expression. Mix and match, or even try nail art if you’re feeling adventurous.

Seasonal Nail Care Tips

Seasonal_Solid_Color_Nail_Trends_to_Follow_0008.jpg

With each change of season, your nails require a bit of extra care to stay healthy and vibrant. As the weather shifts, so do the needs of your nails.

In winter, the cold air can dry out your nails and cuticles. So, keep them moisturized! Use a good hand cream and don’t forget to apply cuticle oil regularly. Your nails will thank you!

When spring rolls around, it’s time to lighten up! Go for bright colors and fun designs.

But remember, gentle care is key. Avoid harsh chemicals in nail polish removers, as they can weaken your nails. You want them to look fabulous, not fragile!

Summer brings heat and humidity. Keep your nails trimmed and neat to prevent breakage.

Try to use a base coat before coloring your nails to avoid yellowing. And don’t forget sunscreen on your hands—your skin deserves protection too!

As autumn arrives, be on the lookout for brittle nails due to dryness. Use a strengthening nail treatment and wear gloves when doing chores.

A little extra TLC can go a long way. So, make your nails a priority this season, and they’ll shine beautifully!

Must-Have Nail Products for Trends

Seasonal_Solid_Color_Nail_Trends_to_Follow_0009.jpg

As you care for your nails through the changing seasons, keeping up with the latest trends means having the right products on hand.

First up, a solid base coat is essential. It protects your nails from staining and helps your polish stick longer. You definitely don’t want your nails to look like they just survived a paintball match!

Next, grab a few trendy nail polishes in solid colors. Think bold reds for fall or soft pastels for spring. These colors can brighten up your look and let your personality shine through.

Don’t forget a good top coat! It adds shine and keeps your nails looking fresh for days.

Also, consider a quick-dry formula if you’re always on the go. You’ll be able to show off your new nails without waiting around like they’re on a time-out!

Lastly, a cuticle oil is a must-have. It keeps your cuticles healthy and hydrated, which is key for nail growth.

With these must-have products, you’ll be ready to rock any seasonal nail trend, and your friends might just start asking you for nail advice! Who knows, you could be the trendsetter in your group!

Conclusion

With these seasonal solid color nail trends, you can keep your nails looking fabulous all year long. Whether you’re rocking bright shades in summer or cozy earth tones in autumn, there’s a perfect color for every mood. Don’t forget to take care of your nails, too! Grab your favorite nail products, have fun experimenting, and let your nails do the talking. After all, your fingertips deserve to shine just as brightly as you do!

How to Achieve a Flawless Solid Color Manicure

How to Achieve a Flawless Solid Color Manicure

To achieve a flawless solid color manicure, start by gathering your supplies, like nail polish, a base coat, and a top coat. Clean your nails, trim any hangnails, and push back cuticles for a neat look. Apply a thin layer of base coat to prevent staining, then choose your favorite color—make sure it suits the occasion! When applying polish, use three strokes for even coverage, and let each coat dry. Finish with a top coat for shine and protection, and keep your nails in check. With a few more tips, you’ll be a manicurist in no time!

Gather Your Supplies

How_to_Achieve_a_Flawless_Solid_Color_Manicure_0001.jpg

Before you immerse yourself in your manicure, it’s vital to gather all the supplies you’ll need to guarantee a smooth process. Think of it like prepping for a big game—you wouldn’t step onto the field without your gear, right?

First, grab your nail polish in your favorite color. Don’t forget the base coat and top coat, too! They’re like the secret sauce that makes everything shine and last longer.

Next, you’ll want some tools. A good nail file and buffer will help shape your nails just the way you like them. You can’t forget a cuticle pusher and scissors. Those little guys are essential for tidying up!

And, if you want to get fancy, a nail art brush can be a fun addition.

Of course, you’ll need some cotton balls or pads and nail polish remover for any mistakes.

And let’s not forget a little dish for soaking your tools—they deserve a spa day too!

Prepare Your Nails

How_to_Achieve_a_Flawless_Solid_Color_Manicure_0002.jpg

With your supplies gathered, it’s time to prepare your nails for that perfect manicure.

First, take a good look at your nails. Are they clean? If not, grab some nail polish remover and a cotton ball. Wipe away any old polish, so you start fresh.

Next, it’s time for a little pampering! Soak your fingers in warm, soapy water for a few minutes. This softens your cuticles and makes them easier to work with.
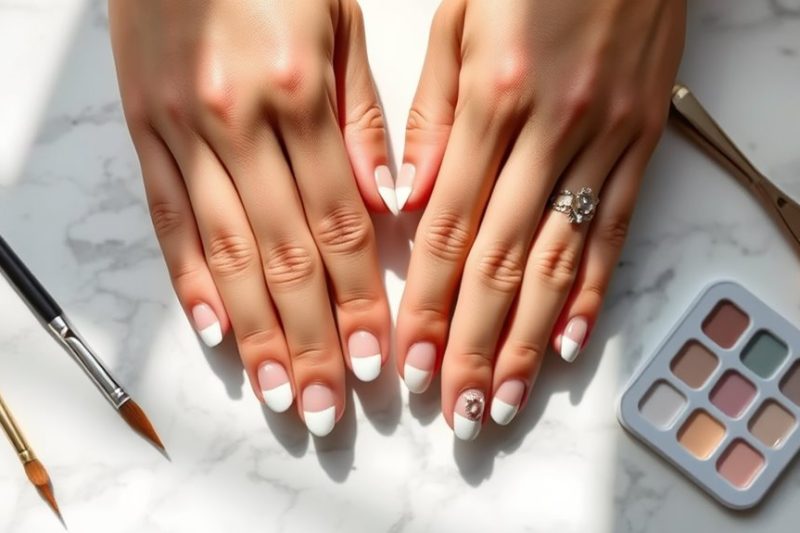
After the soak, dry your hands and push back your cuticles gently. You can use a cuticle pusher or a soft towel. This helps your nails look neat and tidy.

If you see any hangnails, snip them away carefully with some nail scissors. Just be careful—no one wants to cut too deep!

Apply Base Coat

How_to_Achieve_a_Flawless_Solid_Color_Manicure_0003.jpg

Applying a base coat is essential for a flawless manicure. It’s like the primer for your nails—it helps the polish stick better and keeps your nails from staining. Plus, it gives you a smooth surface to work with, making your color pop!

Start by choosing a good quality base coat. You don’t need anything fancy, just something that does the job. Then, take a moment to apply it evenly. Use a brush to spread a thin layer over your nails, making sure to cover the tips too. This helps seal the edges and prevents chipping later on.

Don’t rush this step! Let it dry for a few minutes; you want it to be completely set before moving on.

Here’s a pro tip: if you’re feeling adventurous, you can even use a tinted base coat! It can add a hint of color and make your manicure look extra special.

But remember, the goal here is to create a flawless foundation, so keep it smooth and simple. Once your base coat is dry, you’re all set to plunge into choosing your favorite nail color. Happy painting!
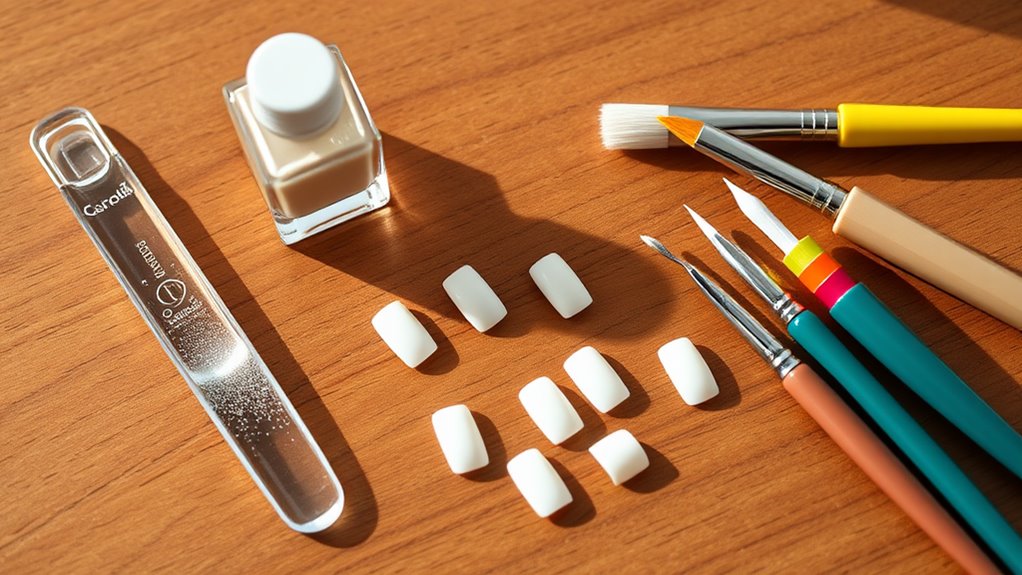
Choose the Right Color

How_to_Achieve_a_Flawless_Solid_Color_Manicure_0004.jpg

Choosing the right color for your manicure can elevate your look and express your personality. With so many shades out there, it can feel a bit overwhelming, but don’t worry!

Start by thinking about occasions. Are you heading to a wedding or a casual hangout? For formal events, classic colors like red or nude can be stunning. If you want to show your fun side, bright colors like electric blue or hot pink can do the trick!

Next, consider your skin tone. Warmer tones often look great with earthy colors like coral and gold, while cooler tones shine with shades like blue and purple. If you’re unsure, you can always test a few colors on your nails.

Just remember, there’s no wrong choice—it’s all about what makes you happy!

Also, think about the season. Pastels are lovely in spring, while deep jewel tones can be perfect for fall.

And don’t forget about nail art! If you want, you can mix and match colors for a unique look. Just have fun with it, and your nails will reflect your fabulous self!

Master the Application Technique

How_to_Achieve_a_Flawless_Solid_Color_Manicure_0005.jpg

Once you’ve picked the perfect color for your manicure, it’s time to focus on how to apply it like a pro. First, make sure your nails are clean and dry. You don’t want any old polish or dirt ruining your masterpiece!

Start by shaking your nail polish bottle gently. This helps mix the color, so it goes on smoothly.

Now, dip the brush in the polish, but don’t overload it—less is more! You’ll want just enough on the brush to cover your nail without drips.

Begin at the base of your nail and stroke the polish towards the tip. Try to make three smooth strokes: one down the center and one on each side. If you go outside the lines, don’t panic! Just wait for it to dry, and you can clean it up later.

Keep your hand steady, and don’t rush. Nail polish isn’t going anywhere! If you need to, take a short break between coats to let the first one dry. Trust me, you’ll thank yourself later.

Seal With Top Coat

How_to_Achieve_a_Flawless_Solid_Color_Manicure_0006.jpg

A glossy top coat is the finishing touch that elevates your manicure from good to stunning. It’s like the icing on a cake or the cherry on top of your sundae!

After you’ve applied your solid color polish and let it dry, grabbing that top coat is essential. Not only does it add a beautiful shine, but it also creates a protective barrier. This helps keep your nails looking fresh and fabulous, and who doesn’t want that?

When applying the top coat, start at the base of your nail and swipe towards the tip. Make sure you cover the edges, too; this helps prevent chipping. You don’t want to spoil your masterpiece, right?

If you’re feeling adventurous, you can even try a matte top coat for a unique look. Just remember that the top coat can make or break your manicure game.

Maintain Your Manicure

How_to_Achieve_a_Flawless_Solid_Color_Manicure_0007.jpg

To keep your manicure looking flawless for days, you’ll need to adopt a few simple maintenance habits.

First, always wear gloves when doing dishes or cleaning. Water and harsh chemicals can chip away at your polish faster than a speeding bullet! It’s like putting your nails on a roller coaster ride—definitely not a fun experience.

Next, try to avoid using your nails as tools. I know, it’s tempting to pry open that stubborn package, but your nails will thank you later! Instead, grab a pair of scissors or tweezers.

And don’t forget to moisturize your cuticles! A little cuticle oil goes a long way in keeping them healthy and happy.

Every few days, apply another layer of top coat to refresh your manicure. It’s like giving your nails a mini spa day!

If you do notice any chips or scratches, don’t panic. Just touch them up with a bit of polish and seal it in with top coat.

Troubleshooting Common Issues

How_to_Achieve_a_Flawless_Solid_Color_Manicure_0008.jpg

Nail polish problems can crop up even with the best of intentions, but don’t worry—most issues are easily fixable. If your polish is bubbling, it could be due to shaking the bottle instead of rolling it. Just roll it gently between your palms next time, and you’ll avoid those pesky bubbles!

Do you see streaks or uneven color? This usually happens when you apply too much polish at once. Try using thinner coats and allow each layer to dry before adding another. Trust me, patience is key here!

If your nails look dull or have a matte finish, you might’ve forgotten a top coat. A good top coat not only adds shine but also protects your manicure.

And don’t fret if you accidentally smudge your nails before they dry. Just dip a small brush in nail polish remover and gently fix the smudge—voilà, back to perfection!

Lastly, if your polish is chipping too soon, it might be time to check the base coat. A strong base coat can make all the difference in keeping your manicure looking fresh.

With these tips, you’ll be troubleshooting like a pro!

Conclusion

Now you’re all set for a flawless solid color manicure! Just remember, practice makes perfect, so don’t worry if it’s not perfect the first time. Enjoy the process, and have fun picking colors that make you happy. With a little care and the right techniques, your nails will look awesome in no time! So grab your polish, turn on some tunes, and let your creativity shine. Happy painting!
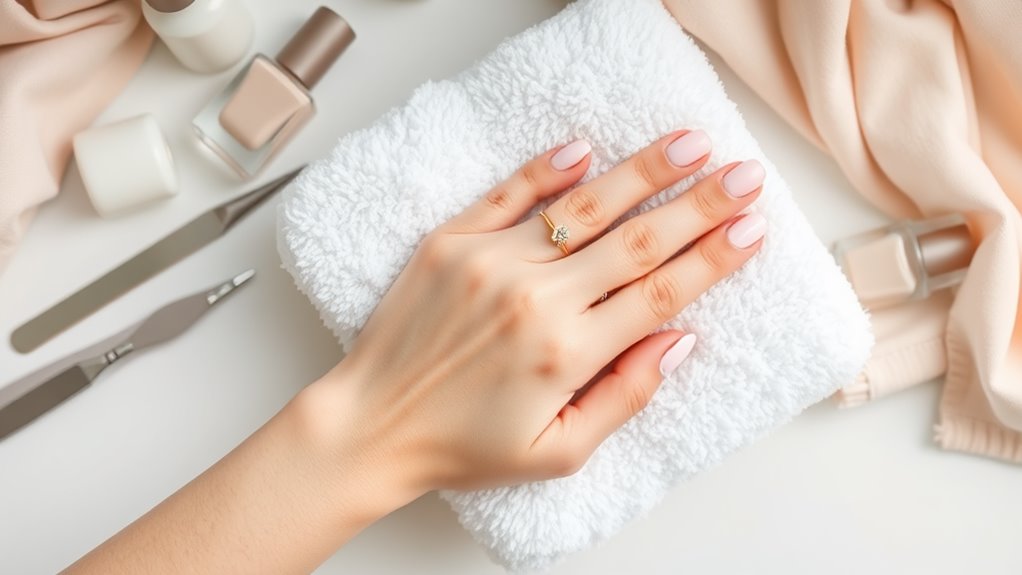
Top Trends in Solid Color Nail Designs for 2023

Top Trends in Solid Color Nail Designs for 2023

In 2023, solid color nail designs are all about having fun with bold shades like bright coral and soft lavender. You can choose between trendy matte finishes for a modern look or glossy finishes to make those colors dazzle. Don’t forget to start with clean, dry nails and apply a base coat for the best results! Plus, seasonal picks like deep emerald for winter and burnt orange for autumn keep your nails fresh year-round. With these tips, your nails will look fabulous! Stick around to discover more ways to elevate your nail game this year!

Popular Shades for 2023

Top_Trends_in_Solid_Color_Nail_Designs_for_2023_0001.jpg

As we plunge into 2023, three popular shades are already stealing the spotlight in nail design.

First up is a bold, bright coral that screams summer vibes, even in the chilly months! This cheerful color can instantly lift your mood, making it perfect for any occasion—from coffee dates to holiday parties.

Next, let’s talk about a soft, muted lavender. This calming shade gives off a serene feel, and it’s great for those who want something stylish yet subtle. You’ll find it pairs beautifully with any outfit, making you look effortlessly chic.

Lastly, we can’t forget about classic navy blue. This deep, rich color adds a touch of sophistication to your nails. It’s perfect for when you want to feel a little fancy, even if you’re just lounging at home.

Matte vs. Glossy Finishes

Top_Trends_in_Solid_Color_Nail_Designs_for_2023_0002.jpg

Choosing the right finish for your nails can greatly influence the overall look of your solid color designs. You’ve got two main options: matte and glossy. Each has its charm, and picking one depends on your mood and style!

Matte finishes give your nails a chic, modern vibe. They can make bold colors look even more striking, almost like a fashion statement. Plus, they’re less likely to show off those pesky smudges or fingerprints. If you want to stand out in a crowd, matte might just be your best friend!

On the flip side, glossy finishes deliver that eye-catching shine. They catch the light beautifully and can make colors pop like nobody’s business. If you’re going for a classic look or a vintage vibe, glossy is your go-to.

Just be prepared for a little extra maintenance, as they can show imperfections more easily.

Application Techniques to Try

Top_Trends_in_Solid_Color_Nail_Designs_for_2023_0003.jpg

Nailing the perfect solid color design requires mastering a few key application techniques. First things first, always start with a clean, dry nail. You don’t want any leftover polish or dust messing up your masterpiece!

Next, a good base coat is essential. It helps the color stick better and protects your nails. Think of it as a cozy blanket for your nails!

When choosing your polish, make sure it’s high-quality. You want a smooth, even application without bubbles or streaks. As you paint, use thin layers. Trust me, nobody wants a thick, gloppy mess! Start from the base of your nail and brush gently to the tip.

If you accidentally go outside the lines, don’t panic! Just use a small brush or a cotton swab dipped in nail polish remover to fix it.

After your color dries, seal it with a top coat. It adds shine and keeps your color looking fresh. Plus, it’s like putting on a superhero cape for your nails!

Nail Care Essentials

Top_Trends_in_Solid_Color_Nail_Designs_for_2023_0004.jpg

Taking care of your nails is just as important as perfecting your solid color designs. If you want those colors to pop and last, you’ve gotta start with healthy nails!

First, always keep your nails clean. Wash your hands regularly and use a gentle soap. You wouldn’t want dirt messing up your fabulous manicure, right?

Next, don’t forget to moisturize! Applying cuticle oil or a nourishing cream can work wonders. Your cuticles are like the gatekeepers to your nails, so treat them well. If your cuticles are dry, it can lead to hangnails, and let’s be honest, nobody likes those.

Also, consider using a base coat before applying your solid color polish. It not only helps the polish stick better but also protects your nails from staining.

And remember, overusing nail polish removers can weaken your nails. Opt for acetone-free removers when possible.

Seasonal Color Trends

Top_Trends_in_Solid_Color_Nail_Designs_for_2023_0005.jpg

After ensuring your nails are in top shape, it’s time to explore the vibrant seasonal color trends for 2023. Each season brings its own palette, and this year, you’ll want to keep up with the latest hues that are making waves.

In spring, think fresh pastels like soft lavender and mint green. These colors are perfect for adding a touch of whimsy to your look!

As summer rolls in, bold and bright neons take center stage. Colors like electric blue and hot pink will make your nails pop, just like the sun!

When autumn arrives, warm tones like burnt orange and deep burgundy become favorites. These shades are cozy and inviting, much like your favorite sweater.

Finally, winter calls for rich jewel tones. Deep emerald and royal purple can add a touch of elegance to your holiday gatherings.

No matter the season, you can mix and match these colors to express your personality. After all, your nails are like little canvases just waiting for your creativity!

Tips for a Polished Look

Top_Trends_in_Solid_Color_Nail_Designs_for_2023_0006.jpg

Achieving a polished look for your nails goes beyond just the color; it involves a few essential steps to guarantee they shine.

First, make sure your nails are clean and dry. You don’t want any leftover soap or lotion messing up your masterpiece!

Next, gently push back your cuticles. This little step makes a huge difference in how neat your nails look.

Now, grab a good quality base coat. It protects your nails from discoloration and helps your polish stick better.

Once that’s dry, it’s time for your favorite solid color. Apply two thin layers for a more vibrant look, and don’t forget to let each layer dry completely.

After your last coat, seal it all in with a shiny top coat. This adds extra gloss and makes your nails last longer.

And here’s a fun tip: if you accidentally get polish on your skin, just dip a small brush in nail polish remover and clean it up.

Conclusion

So, whether you’re rocking a bold shade or a soft pastel, solid color nails are a fantastic way to express yourself. Don’t forget to experiment with finishes and techniques to find your perfect style. With a little care and creativity, your nails can look fabulous all year round. Remember, life’s too short for boring nails! So grab your favorite polish, and let your fingers do the talking. Happy painting!
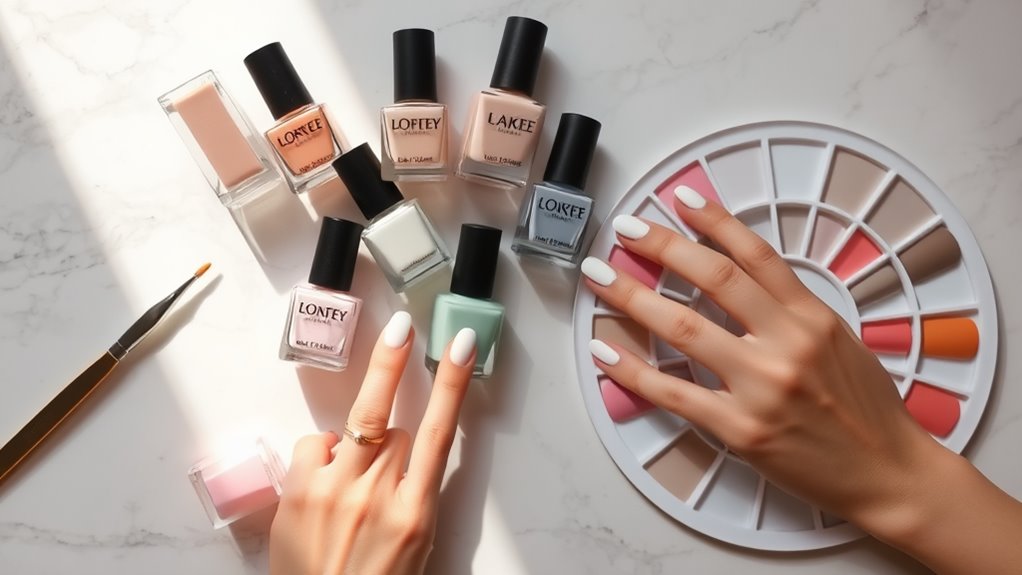
Step-by-Step Guide to DIY French Manicure Designs

Step-by-Step Guide to DIY French Manicure Designs

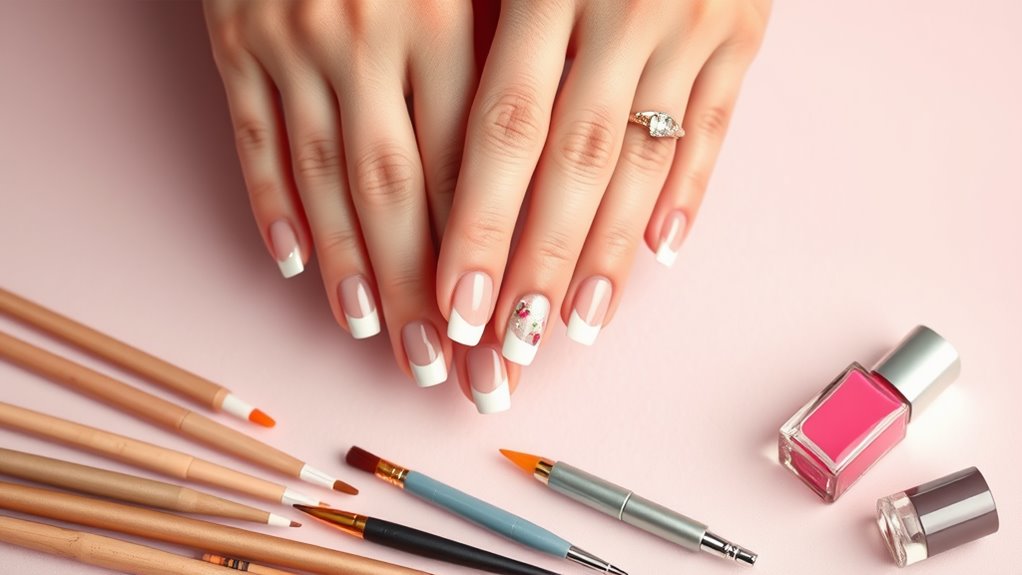
Creating a beautiful DIY French manicure is super fun and easy! First, gather your essential tools: base coat, nude polish, white polish, and a top coat. Start by preparing your nails—clean them, trim, shape, and push back your cuticles. Then, apply a coat of nude polish for the base. Once that’s dry, use white polish to paint the tips—don’t worry if they’re not perfect right away! Seal your design with a top coat, and, voilà, you’re all set! Feeling adventurous? Stick around, and you’ll discover lots of creative ways to customize and maintain your manicure!
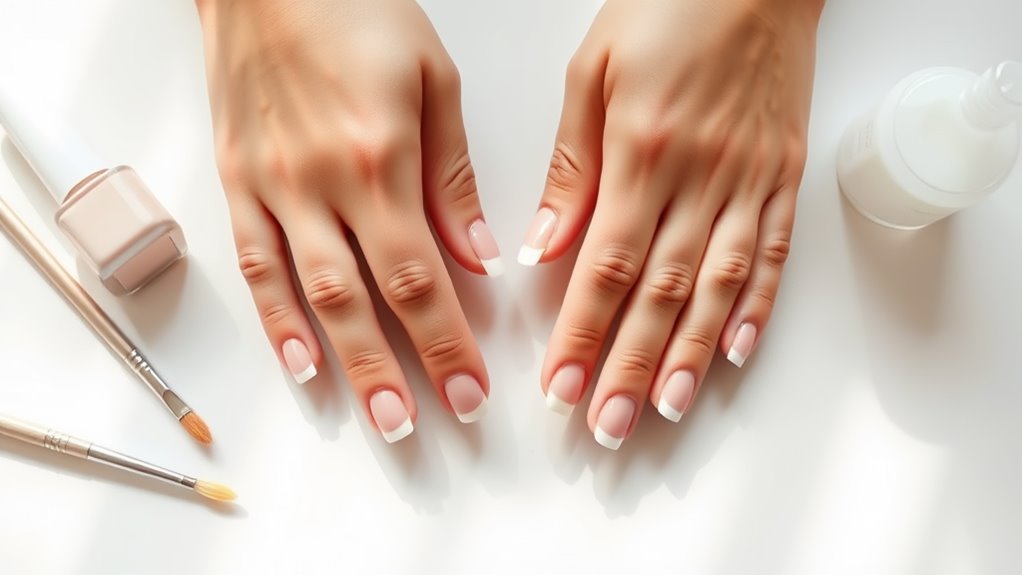
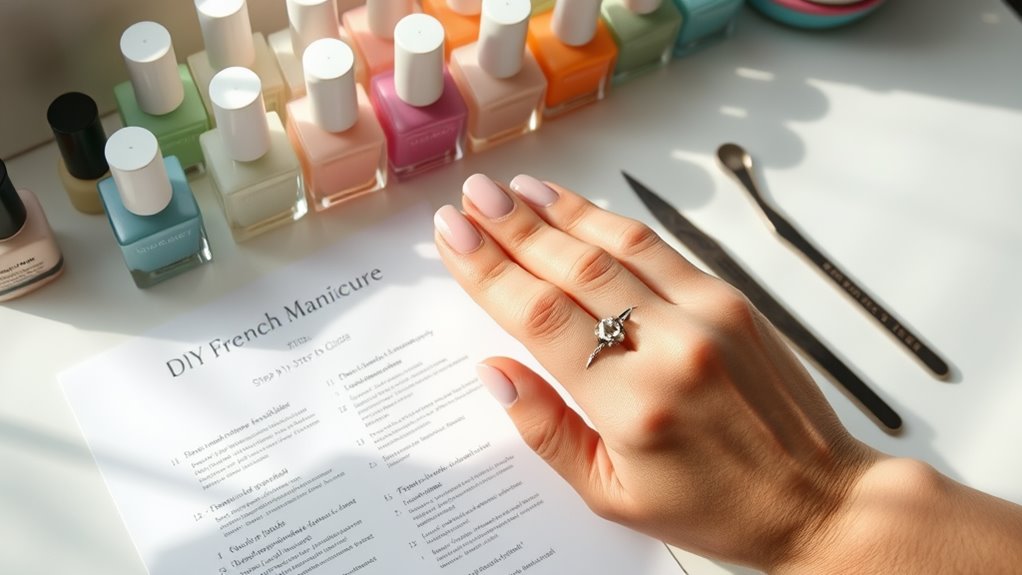
Essential Tools and Materials

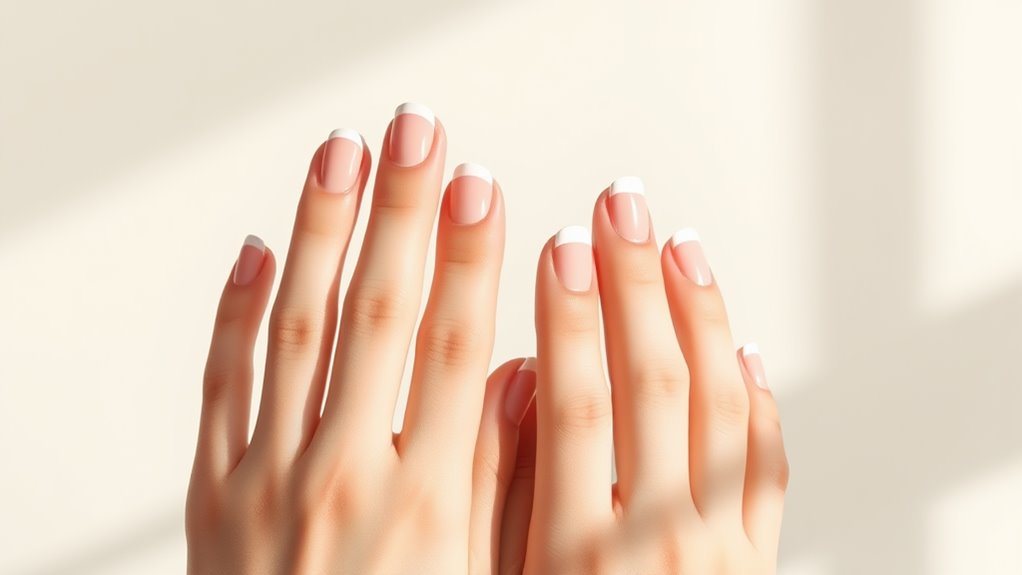
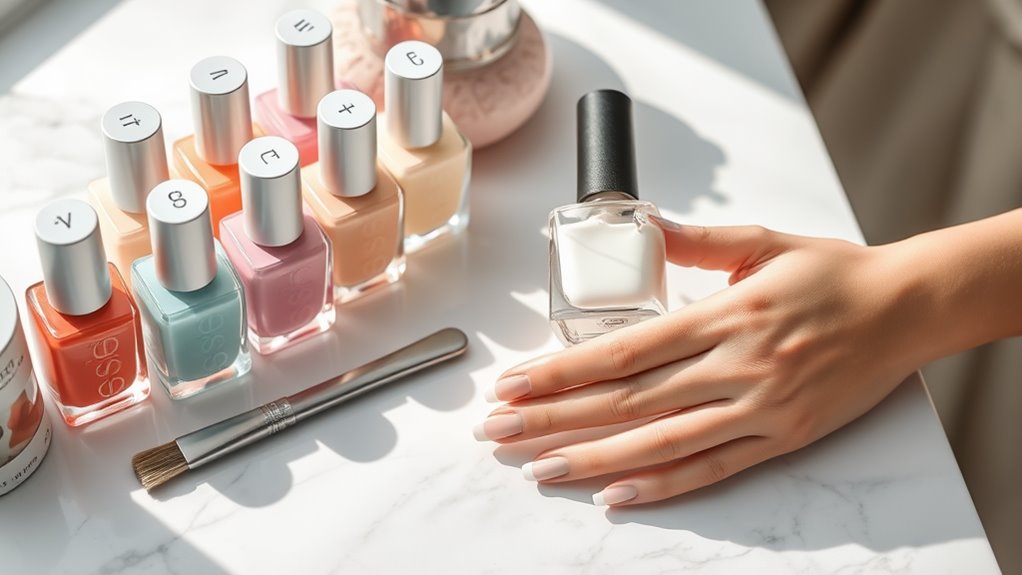
StepbyStep_Guide_to_DIY_French_Manicure_Designs_0001.jpg

To create stunning DIY French manicures, you’ll need just a handful of essential tools and materials. First, grab a good base coat; it protects your nails and helps the polish stick.

You’ll also want a white nail polish for that classic French tip look. Don’t forget a nude or light pink polish for the main color; it’ll give you that elegant finish.

Next, you’ll need a top coat. This shiny layer seals everything in and makes your nails pop!

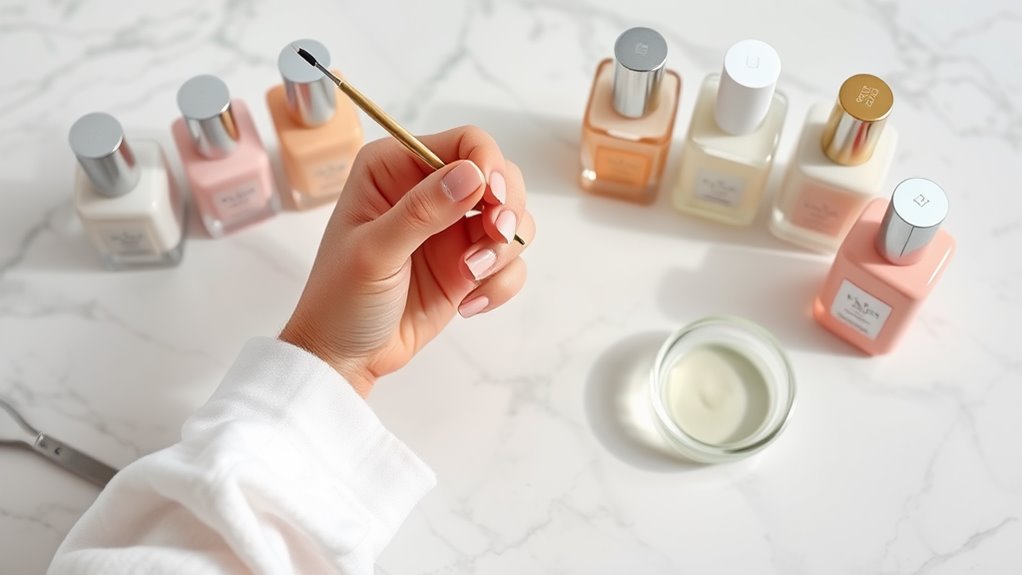
For precision, a thin brush or nail art pen is super helpful when you’re painting those tips. You could also use nail striping tape if you’re feeling fancy—it helps create clean lines.

Preparing Your Nails

StepbyStep_Guide_to_DIY_French_Manicure_Designs_0002.jpg

Before diving into your DIY French manicure, it’s crucial to prepare your nails properly. You want your nails to be clean and healthy, so start by removing any old polish. Use a gentle nail polish remover, and don’t forget to wash your hands afterward!

Next, trim your nails to your desired length. Whether you like them short and neat or a bit longer, make sure they’re even.

After trimming, it’s time to shape them. You can choose square, round, or even a trendy almond shape—pick what feels right for you!

Now, grab your nail file and smooth out any rough edges. This step helps avoid snags and keeps your nails looking polished.

Once you’ve shaped your nails, it’s important to push back the cuticles gently. This gives your nails a clean look and helps with the polish application.

Choosing Your Color Palette

StepbyStep_Guide_to_DIY_French_Manicure_Designs_0003.jpg

Choosing your color palette can make or break your DIY French manicure, so it’s essential to ponder what suits your style. You might want to stick with classic white tips, but why not have a little fun? Think about adding a pop of color! Pastels, bolds, or even glitter can all jazz up your look.

When choosing colors, consider the occasion. A soft pink is great for a wedding, while a bright blue could be perfect for a party. Don’t forget to match your outfit, too! If you’re going for a special look, you might want to coordinate your nails with your shoes or bag.

You can also experiment with different shades for the tips. A light lavender with a dark purple tip can be super chic. Or, if you’re feeling adventurous, try a rainbow of colors! Just remember, too many colors can clash, so keep it balanced.

Lastly, think about your skin tone. Warm tones like peach or coral look fantastic on warmer skin, while cooler tones like blue or silver work well for cooler skin tones.

Have fun and let your personality shine through your colors!

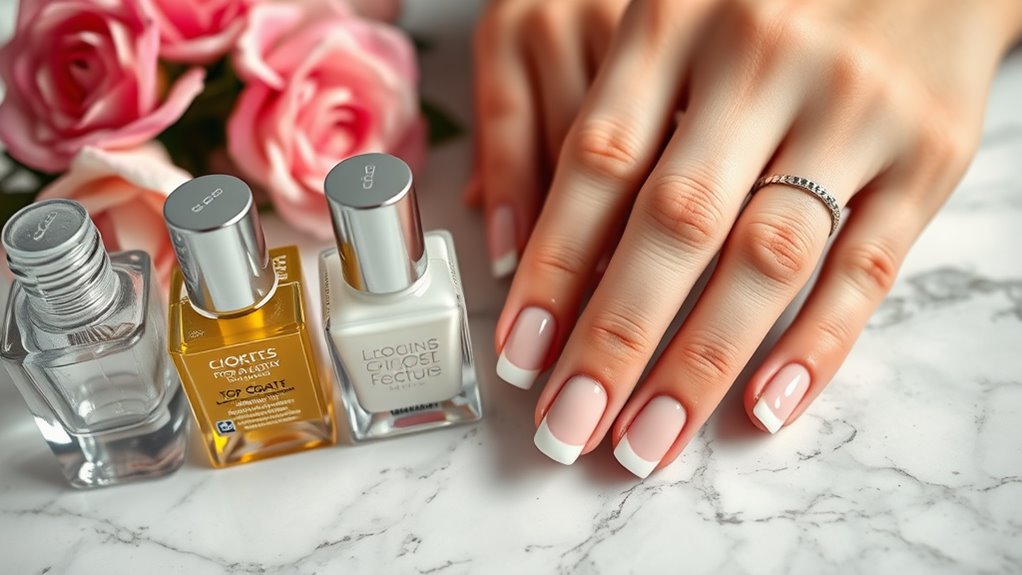
Classic French Manicure Technique

StepbyStep_Guide_to_DIY_French_Manicure_Designs_0004.jpg

Achieving a flawless classic French manicure requires precision and a steady hand.

First, start with clean, dry nails. Apply a base coat to protect your nails and help your polish last longer. Once that’s dry, choose a soft pink or nude polish for your nail bed. Apply one or two coats, letting each layer dry completely.

Now, it’s time for the fun part! Grab a white nail polish for the tips. Use a nail brush or a steady hand to paint a thin line across the tip of each nail. Don’t worry if it’s not perfect on the first try; practice makes perfect! If you mess up, just use a cotton swab dipped in nail polish remover to clean the edges.

After the white polish is dry, seal your masterpiece with a top coat. This not only adds shine but also keeps your nails looking fresh.

Remember, a little patience goes a long way! And voilà, you’ve got a classic French manicure that’ll impress everyone.

Now, go show off those fabulous nails, and remember, you’re always just one polish away from fabulous!

Creative Design Variations

StepbyStep_Guide_to_DIY_French_Manicure_Designs_0005.jpg

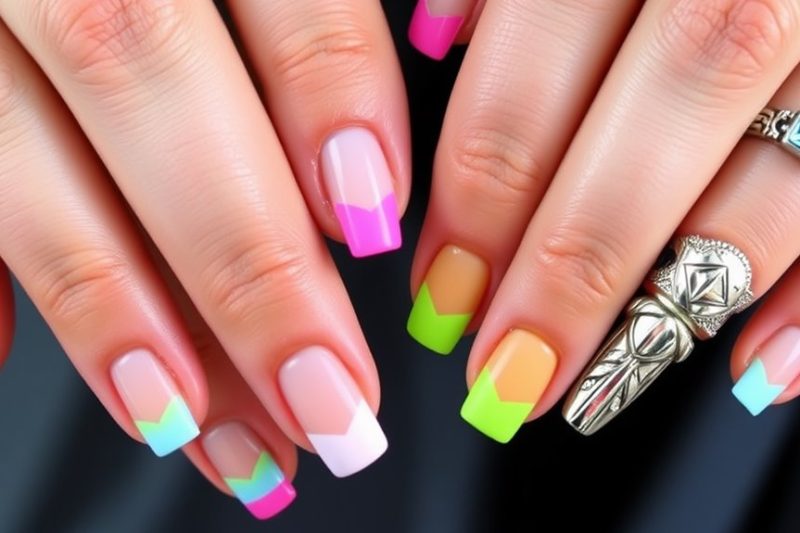
If you’re looking to add a twist to your classic French manicure, there are countless creative design variations to explore. You can start by switching up the colors. Instead of the usual white tips, try vibrant colors like neon pink or a soft pastel yellow. This simple change can really make your nails pop!

Another fun idea is to play with shapes. Instead of the traditional straight line, why not try a curved or zigzag tip? It’s like giving your nails a little dance party!

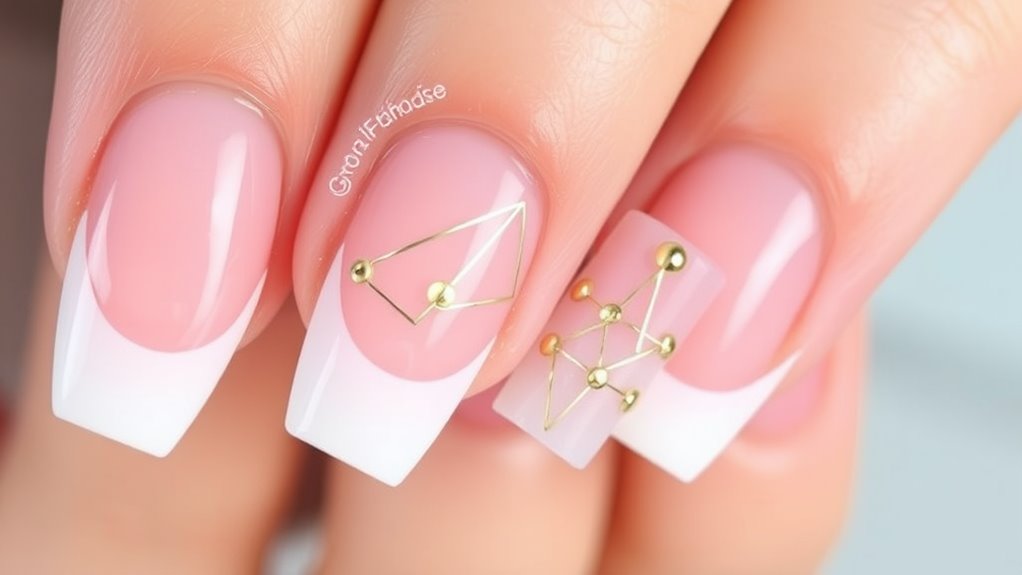
If you’re feeling even bolder, consider adding some glitter or metallic accents to your tips. Just a little shimmer can turn heads.

You can also mix and match your nail designs. For example, paint some nails with a classic French tip, while others showcase a fun geometric design. It’s like having a mini art gallery on your hands!

Lastly, don’t forget about adding some small stickers or decals. A tiny flower or star can add a cute touch.

With these creative variations, your French manicure will be anything but boring, and you’ll have fun showing off your unique style!

Nail Art Techniques for French Manicures

StepbyStep_Guide_to_DIY_French_Manicure_Designs_0006.jpg

Nail art techniques can elevate your French manicure from simple to stunning with just a few clever tricks.

First off, consider adding some fun designs to your tips. You can use a thin brush or nail art pen to create swirls, dots, or even tiny hearts. These little details can make your manicure pop like a rainbow!

Next, try using different colors for your tips. Instead of classic white, go for pastel shades or metallics. Imagine a soft pink tip paired with a glittery gold base—a total showstopper!

You can also play with textures. Adding some matte topcoat to your tips while keeping the base shiny creates a fabulous contrast. It’s like a secret surprise for anyone who gets close enough to admire your nails!

Don’t forget about stickers or nail stamps! They’re super easy to use and can add intricate designs without the hassle. Just stick them on your dried tips, seal them with topcoat, and voilà!

With these nail art techniques, your French manicure will be anything but ordinary. Get ready to show off your creative flair, and have fun while doing it!

Tips for Perfecting Your Application

StepbyStep_Guide_to_DIY_French_Manicure_Designs_0007.jpg

Five essential tips can help you perfect your French manicure application and achieve a salon-quality finish at home.

First, start with clean, dry nails. Make sure you remove any old polish and wash your hands. Trust me, nobody wants to apply polish over leftover glitter!

Next, use a base coat. This not only protects your nails but also helps your polish stick better. You don’t want your masterpiece chipping away in a day!

When it’s time for the white tips, use a steady hand or a striping brush. Remember, practice makes perfect. If you mess up, just use a cotton swab dipped in polish remover to clean it up.

Also, don’t forget to let each layer dry completely before applying the next one. Patience is key here; rushing could lead to smudges that’ll make you want to cry.

Finally, finish with a top coat to seal everything and add shine. You’ll look down at your nails and think, “Wow, I did that!”

Finishing Touches and Top Coats

StepbyStep_Guide_to_DIY_French_Manicure_Designs_0008.jpg

After you’ve perfected your application and let each layer dry, it’s time to focus on the finishing touches that will elevate your French manicure.

First, grab a good quality top coat. This is like the superhero cape for your nails! It protects your beautiful design and adds a glossy shine. Apply it carefully to avoid smudging your hard work. Don’t forget to cover the tips, too; this helps seal everything in and gives that professional look.

Next, if you want to add a little extra flair, consider using a nail art pen or a fine brush to draw tiny designs or glitter. Just be sure to keep it simple so it doesn’t steal the spotlight from your French tips.

Once you’ve finished your designs, let everything dry completely. Nobody wants a smudged masterpiece!

If you’ve got any cuticle oil handy, apply a bit around your nails to keep your cuticles looking fresh.

Maintaining Your Manicure

StepbyStep_Guide_to_DIY_French_Manicure_Designs_0009.jpg

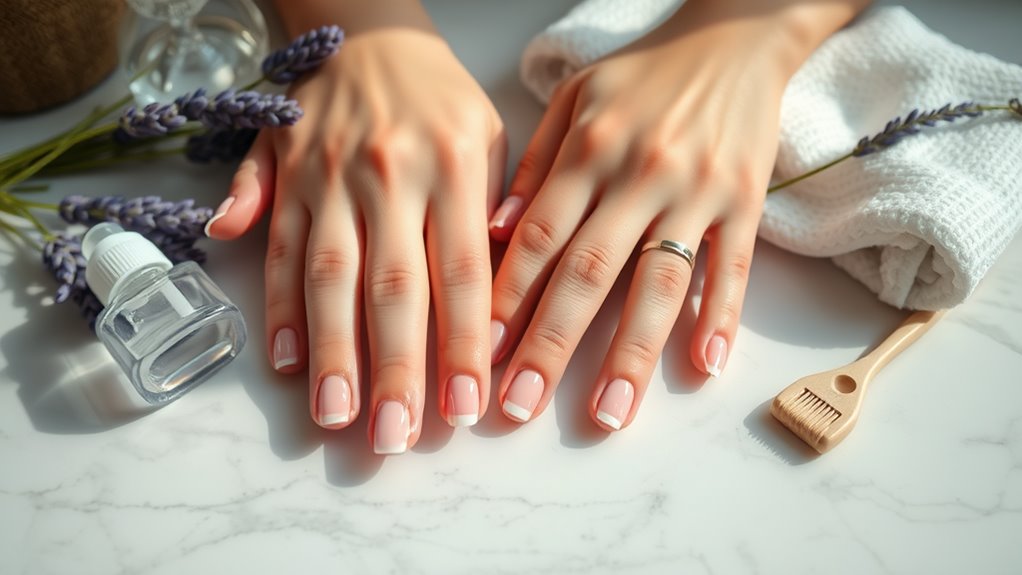
A stunning French manicure deserves proper care to guarantee it lasts as long as possible. To keep your nails looking fresh, start by avoiding harsh chemicals. This means steering clear of strong cleaning products and wearing gloves when you wash dishes. Your nails will thank you for it!

Next, remember to moisturize your nails and cuticles regularly. A little bit of cuticle oil goes a long way. Apply it daily to keep everything hydrated and prevent cracking. You wouldn’t want your lovely manicure to look dry and sad, right?

In addition, try to avoid using your nails as tools. Opening cans or scratching things might seem harmless, but it can lead to chips and breaks. If you feel the urge to do so, just grab a proper tool instead!

Lastly, schedule regular touch-ups. Even the best manicures need a little love after a week or two. A quick refresh on the tips can restore that perfect look.

Conclusion

Now that you’ve got the tools and techniques for your DIY French manicure, it’s time to get creative! Remember, practice makes perfect, so don’t worry if your first try isn’t flawless. Have fun experimenting with colors and designs that show off your personality. With a little patience and some laughs along the way, you’ll have fabulous nails in no time. So grab your polish and let your creativity shine—your nails are ready for their close-up!

Modern Takes on the French Manicure

Modern Takes on the French Manicure

Modern takes on the French manicure are all about letting your creativity shine! You can go wild with bold colors like bright pinks or cool blues, or try geometric patterns for a trendy twist. Ever hear of negative space? It’s where parts of your nail stay bare, adding a chic contrast. Don’t forget about textures, like glitter or matte finishes, to give your nails that wow factor. If you’re a fan of minimalist styles, soft pastels or a simple stripe can look super classy. Ready to explore other fun ideas? There’s so much more to discover!

Bold Color Variations

Modern_Takes_on_the_French_Manicure_0001.jpg

Bold color variations are taking the classic French manicure to new heights, transforming the traditional soft pink and white into a vibrant expression of individuality. You can now mix and match colors that reflect your personality, from bold blues to bright yellows. Instead of the usual tips, why not try a neon green or a sparkly silver? It’s like a party for your nails!

Imagine stepping into a room, and everyone notices your fabulous nails. You’ll feel confident and ready to shine!

Plus, these colorful designs can be as simple or as intricate as you want. You could go for a classic color combo or blend different shades for a unique twist.

And let’s not forget about the seasonal fun! Picture having pastel colors for spring or warm reds and oranges for fall. It’s a great way to celebrate each season without saying a word.

Remember, nail polish is like art; your nails are the canvas. So, grab your favorite colors and let your creativity run wild! You’ll be amazed at how something as small as a manicure can brighten your day and showcase your style.

Happy painting!

Geometric Patterns

Modern_Takes_on_the_French_Manicure_0002.jpg

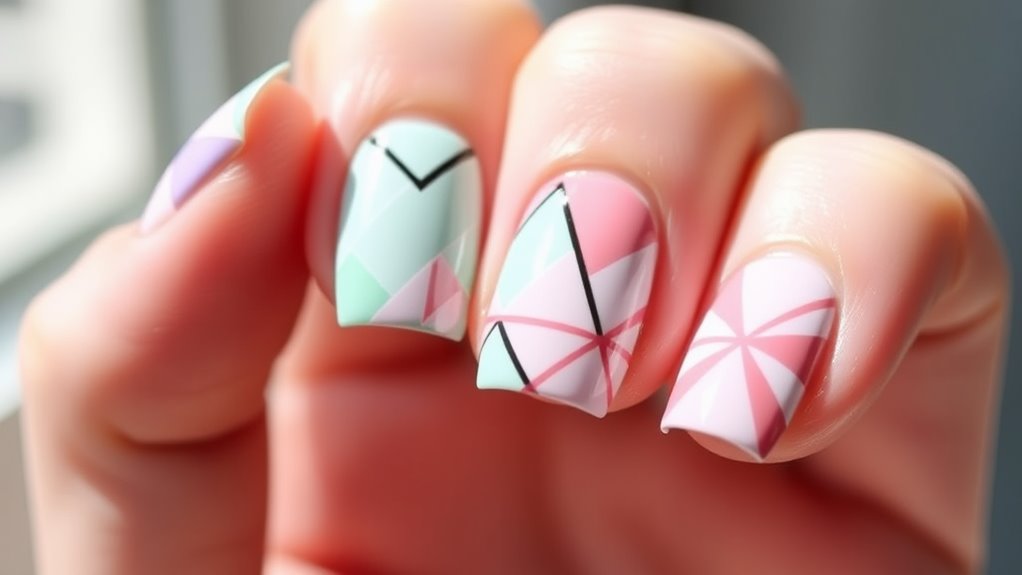
Geometric patterns are making waves in the world of nail art, adding a modern twist to the classic French manicure. Instead of just a simple white tip, you can play with shapes like triangles, stripes, and chevrons. It’s all about getting creative!

Imagine painting a bold color as your base and adding a fun geometric design on top. You’ll have a manicure that’s not just classy but also super trendy.

To get started, pick a color palette that speaks to you. Maybe you love pastels, or perhaps you’re all about bright neon shades. Once you’ve chosen your colors, sketch out some designs on paper. This way, you can see what looks good and what doesn’t before you plunge into painting.

When you’re ready, use striping tape to create those clean lines. It’s like having a tiny assistant to help you get it just right.

And don’t forget to add a top coat to seal in your masterpiece! Geometric patterns are a fun and fresh way to express yourself, so go ahead, let your nails become your canvas, and show off your unique style!

Negative Space Designs

Modern_Takes_on_the_French_Manicure_0003.jpg

For those who appreciate a minimalist aesthetic, negative space designs offer a chic alternative to traditional nail art. Instead of covering your entire nail, these designs leave parts of your nail bare, creating a cool contrast. It’s like wearing a stylish outfit with just the right amount of skin showing—super classy!

You can play with shapes, lines, and even colors to make your nails pop. Think of simple triangles, stripes, or half-moons that reveal your natural nail. This technique allows your nails to breathe while still looking fabulous. Plus, it’s super easy to DIY! Grab some tape, paint on your favorite polish, and peel away the tape for a stunning effect.

Negative space designs aren’t just for the shy and understated, either. They can be bold and eye-catching or delicate and subtle, depending on how you style them. You might even mix them with other designs for a fun twist!

Textured Finishes

Modern_Takes_on_the_French_Manicure_0004.jpg

Textured finishes can transform your manicure from simple to stunning, adding depth and dimension that catches the eye. Imagine your classic French tips, but with a fun twist! You can try adding a matte topcoat to your glossy polish, creating a cool contrast that’s sure to impress.

Or, how about a glitter finish? Just a sprinkle of glitter can take your nails from basic to dazzling in seconds!

You could also explore using sand or velvet finishes for a unique touch. These textures feel as fun as they look! You might find yourself running your fingers over your nails just to enjoy the sensation.

If you’re feeling adventurous, why not mix textures? Picture glossy tips with a matte base or even a shimmer effect on a classic white tip.

The best part is that textured finishes can be as subtle or bold as you want. So, don’t be afraid to get creative!

Whether you stick to soft hues or go for vibrant colors, textured finishes bring your nails to life. Go ahead, give your French manicure a fresh, exciting update that shows off your personality!

Minimalist Approaches

Modern_Takes_on_the_French_Manicure_0005.jpg

Simplicity often speaks volumes, and when it comes to modern French manicures, a minimalist approach can be both chic and sophisticated. Imagine a classic French tip, but instead of bright whites, you choose soft pastels or even a nude shade. This twist makes your nails look fresh and polished without being too flashy.

You might want to try a single stripe at the tip instead of the traditional curved line. It’s a fun way to switch things up while keeping it simple.

Or, how about a subtle gradient? Start with a pale color at the base and let it softly fade to white at the tips. It’s like a little surprise for your nails!

Don’t forget about shape! Square or almond shapes can enhance that minimalist vibe. A matte finish can also add a modern touch. You’ll feel trendy without screaming for attention.

Whether you’re going to school or a casual gathering, these minimalist styles are perfect. They say, “I put thought into this,” without being over the top.

Conclusion

To sum up, modern takes on the French manicure are super fun and creative! You can choose bold colors, try cool geometric patterns, or even play with negative space. Textured finishes add a unique twist, while minimalist designs keep it classy. With so many options, there’s a style for everyone to rock! So grab your nail polish and get ready to express yourself. Who knew nails could be such a canvas for creativity? Happy painting!

Tips for Maintaining Your French Manicure at Home

Tips for Maintaining Your French Manicure at Home

To keep your French manicure looking fab at home, start with quality nail products like a good base coat and a high-quality white polish for those tips. Remember to keep your nails clean and dry—wash your hands often and use gloves when cleaning. Don’t forget to apply a top coat every few days; it helps prevent chips and keeps your nails shiny. Also, steer clear of harsh chemicals and treat your nails to some moisturizer now and then. By following these tips, you’ll have nails that knock their socks off! And there’s more handy info just around the corner!

Choose Quality Nail Products

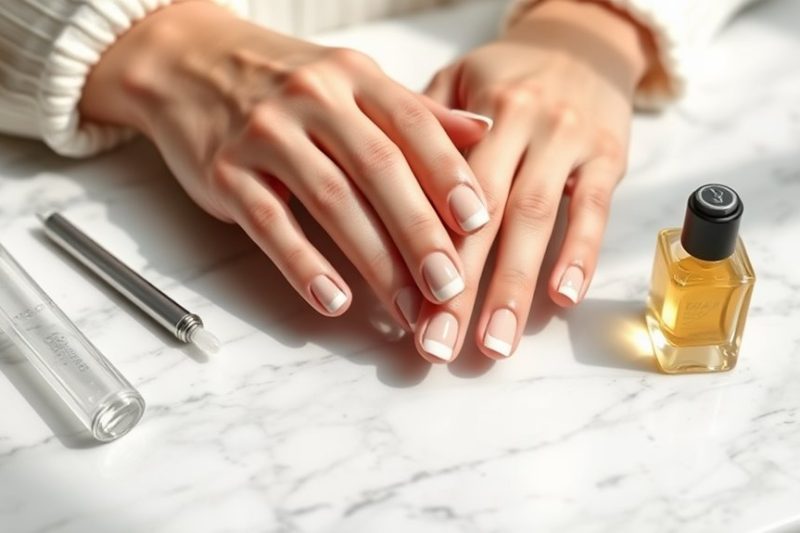
Tips_for_Maintaining_Your_French_Manicure_at_Home_0001.jpg

Choosing quality nail products is essential for achieving a flawless French manicure at home. You wouldn’t use a crayon to paint a masterpiece, right? The same goes for your nails!

Start with a good base coat. It protects your nails and helps the polish stick better. Look for one that’s quick-drying, so you won’t be sitting there for ages waiting to start the fun part!

Next, pick a high-quality white nail polish for the tips. A bright, opaque white will make your French manicure pop. You want your tips to stand out, not look like a faint whisper!

For the base color, a soft pink or nude is perfect. It should complement your skin tone and give that classic look.

Keep Nails Clean and Dry

Tips_for_Maintaining_Your_French_Manicure_at_Home_0002.jpg

To maintain a stunning French manicure, keeping your nails clean and dry is essential. Think of your nails as little canvases, and just like any artist, you want them spotless!

Start by washing your hands regularly with soap and water. This not only removes dirt but also helps prevent any pesky germs from crashing your nail party.

After washing, make sure to dry your nails thoroughly. Water can be your manicure’s worst enemy, causing chips and lifting. Use a soft towel and gently pat your nails dry. Avoid rubbing too hard; nobody wants to create a mini tornado on their nails!

If you spend time doing dishes or cleaning, consider wearing gloves. This helps protect your nails from water and harsh chemicals. Plus, you’ll feel like a superhero while doing chores!

Also, keep an eye on your nails for any debris or buildup. If you spot something, use a soft brush or a nail file to remove it.

Regularly Apply Top Coat

Tips_for_Maintaining_Your_French_Manicure_at_Home_0003.jpg

A top coat is your French manicure‘s best friend, providing that essential layer of protection and shine. You might think it’s just an extra step, but applying a top coat regularly can make all the difference!

It helps keep your polish from chipping and fading, which means your nails will look fresh longer. Nobody wants to deal with a chipped manicure, right?

Aim to apply a top coat every few days. It’s super easy! Just brush it on over your existing polish, and it’ll give your nails that glossy, salon-finished look.

Plus, it creates a barrier against dirt and daily wear, keeping your nails looking pristine.

If you notice your polish starting to dull, don’t panic! A quick coat will revive that shine, making it look like you just walked out of the nail salon.

And here’s a little secret: if you’re in a hurry, just throw on a top coat instead of redoing your entire manicure. You’ll save time and still look fabulous!

Avoid Harsh Chemicals

Tips_for_Maintaining_Your_French_Manicure_at_Home_0004.jpg

Harsh chemicals can wreak havoc on your French manicure, so it’s crucial to steer clear of them. You mightn’t realize it, but many household cleaners, nail polish removers, and even some beauty products contain ingredients that can chip away at your lovely nails.

If you want your manicure to last, you need to treat your nails like royalty!

Instead of using strong chemicals, opt for gentle, eco-friendly products. Look for nail polish removers that are acetone-free; they’re less likely to dry out your nails.

And when it comes to cleaning, consider using natural alternatives like vinegar and baking soda. Not only are they safer for your nails, but they’re also better for the planet. Win-win!

Practice Proper Nail Care

Tips_for_Maintaining_Your_French_Manicure_at_Home_0005.jpg

Healthy nails are the foundation of a stunning French manicure. If you want your nails to look fabulous, you need to give them some TLC. Start by keeping them clean and dry. Washing your hands is great, but remember to dry them well, too. Dampness can lead to breakage, and nobody wants that!

Next, keep your nails trimmed and shaped. You don’t have to go for a fancy shape; just keep them neat. Use a gentle nail file to smooth any rough edges, and be careful not to file too aggressively. Ouch!

Don’t forget to moisturize! Just like your skin, your nails need hydration. So, grab a good hand cream, and give your cuticles some love. You can even use oils specifically made for nails.

Also, remember to take breaks from nail polish. Let your nails breathe a bit. It’s like giving them a mini vacation!

And when you do wear polish, make sure to use a good base coat. It protects your nails and makes your French tips pop!

With these simple steps, you’ll keep your nails looking healthy and your French manicure fresh! Happy pampering!

Conclusion

With a little love and care, you can keep your French manicure looking fabulous right at home. Remember to choose good products, keep your nails clean, and don’t skip that top coat. Avoiding harsh chemicals is super important too. Your nails deserve the best! Now, go show off those lovely tips and enjoy your gorgeous manicure. After all, great nails can make you feel like a superstar!

Incorporating Nail Art into Your French Manicure

Incorporating Nail Art Into Your French Manicure

You can easily jazz up your classic French manicure by adding fun nail art techniques that let your personality shine through. Try using a dotting tool to create colorful dots on your nude base or add some glitter to your tips for that extra sparkle. Feeling adventurous? Go for bold colors instead of the traditional white tips! You could also mix pastel shades for a soft look or seasonal designs like flowers in spring. Don’t forget, the right tools, like nail brushes and striping tape, make all the difference! Stick around to discover more inspired ideas for a stunning look.

History of French Manicures

Incorporating_Nail_Art_Into_Your_French_Manicure_0001.jpg

The history of French manicures is quite fascinating and shows how beauty trends evolve over time. You might think that this classic look started in France, but it actually has roots in Hollywood during the 1970s. A savvy nail technician named Jeff Pink created the style to give actresses a polished look that would go with any outfit. He wanted a simple way for them to look fabulous without worrying about matching colors!

The idea caught on quickly, and soon everyone wanted that chic, natural look. A French manicure features a nude base with white tips, creating an elegant contrast. It’s like wearing a little black dress for your nails—timeless and versatile!

Over the years, the French manicure has transformed. You can now find it in various colors and styles, making it perfect for any occasion. Whether you’re heading to a party or just hanging out with friends, this nail style can fit right in.

Popular Nail Art Techniques

Incorporating_Nail_Art_Into_Your_French_Manicure_0002.jpg

While French manicures set the stage for classic nail elegance, today’s nail art scene is bursting with creativity and innovation. You can easily jazz up your French tips with some fun techniques!

One popular method is the dotting tool technique. Just grab a dotting tool or even a toothpick, and create colorful dots along your tips or at the base of your nails. It adds a playful touch!

Another fun option is the striped nail art. Using striping tape, you can create neat lines or zigzags on your French manicure. Choose contrasting colors for a bold statement!

If you’re feeling a bit adventurous, try out the ombre effect. Blend two or more colors seamlessly, making your nails look like a beautiful sunset.

For a bit of sparkle, add some glitter on top of your tips or use nail stickers for easy designs. You can also experiment with negative space, leaving parts of your nails bare for a modern twist.

Color Combinations to Try

Incorporating_Nail_Art_Into_Your_French_Manicure_0003.jpg

When it comes to color combinations for your French manicure, the possibilities are endless! You can stick to classic white tips, but why not shake things up a bit? Try painting your tips in a bold color like electric blue or hot pink. These vibrant shades can make your nails pop and show off your personality!

If you’re feeling adventurous, consider a pastel color palette. Soft lavender or mint green tips look adorable against a nude base. It’s a sweet and subtle way to add some flair without going overboard.

You could even mix and match colors on different nails for a fun, playful vibe!

For a chic look, think about metallic shades. Gold or silver tips can add a touch of glam, perfect for a night out.

And don’t forget about glitter! A little sparkle at the tips can make your French manicure shine like a star.

Whatever colors you choose, just have fun with it. Your nails are a canvas, so let your creativity flow. Experiment, mix, and match until you find the combination that makes you smile the most!

Seasonal Nail Art Ideas

Incorporating_Nail_Art_Into_Your_French_Manicure_0004.jpg

As the seasons change, so can your nail art, offering a fun way to express your style throughout the year. For spring, think pastel colors and cute floral designs. You could paint tiny daisies or butterflies on your French tips, making your nails feel fresh and lively.

Summer calls for bright colors like neon pink or sunny yellow. Add some palm trees or sunshine to your manicure for that beachy vibe!

When autumn rolls around, warm tones like deep reds and burnt oranges can really stand out. Why not try some leaf patterns or even a pumpkin design? It’s a great way to celebrate the season!

Finally, winter gives you the chance to shine with glitter. You could create snowflakes or even a cozy sweater pattern to keep your nails looking festive.

No matter the season, you can easily switch up your French manicure by adding these fun nail art ideas. Just remember, it’s all about having fun and showing off your personality.

Tools for Nail Art Application

Incorporating_Nail_Art_Into_Your_French_Manicure_0005.jpg

To create stunning nail art, having the right tools at your fingertips is essential. You won’t need a magic wand, but a few basic items will make your nail art journey a lot easier.

First, grab a set of nail brushes. These come in different shapes and sizes, perfect for creating fine lines or bold designs. A dotting tool is also a must-have. It helps you create those adorable dots that can add a fun twist to your French manicure.

Next, consider using nail striping tape. This nifty little tape can help you create clean lines and geometric patterns without the mess. You can also use sponges for blending colors, giving your nails that ombre effect.

Don’t forget about nail polish remover and cotton swabs! They’re your best friends for correcting little mistakes.

Lastly, invest in a good top coat. It seals in your design and gives it a beautiful shine.

With these tools, you’re ready to plunge into the world of nail art. So, roll up those sleeves, and let your creativity shine! Your French manicure is about to get a fabulous upgrade.

Tips for Perfecting the Look

Incorporating_Nail_Art_Into_Your_French_Manicure_0006.jpg

Achieving perfection in your nail art requires a blend of patience and precision. First, start with clean, dry nails. Make sure to push back your cuticles and apply a base coat to protect your nails. This base coat is like a protective shield; it keeps your nails healthy and helps the colors pop!

When you’re ready to add your nail art, use a steady hand. If you’re nervous, rest your elbow on a table for support. This little trick can make a big difference!

Another tip? Don’t rush. Taking your time can help avoid those pesky mistakes that make you cringe later.

To create designs, think about using dotting tools or fine brushes. They help you create detailed patterns, like cute flowers or stripes, that really stand out on your French manicure.

And remember, practice makes perfect! If your first attempt doesn’t look exactly how you envisioned, that’s okay—just keep trying.

Lastly, finish with a topcoat to seal in your design. Plus, it gives your nails that shiny, salon-fresh look.

Inspirational Examples and Trends

Incorporating_Nail_Art_Into_Your_French_Manicure_0007.jpg

When it comes to nail art in French manicures, inspiration is everywhere, from runways to social media feeds. You can find amazing examples that’ll spark your creativity.

For instance, think about adding colorful tips instead of the classic white. Imagine a bright teal or a soft pink at the edge of your nails—so fresh!

Another fun trend is the use of tiny designs, like flowers or stars, right at the base of your nails. It’s a cute touch that makes your French manicure pop.

You might also try mixing textures, like a matte finish with shiny tips. It’s a simple way to stand out without going overboard.

Don’t forget about patterns! Stripes, polka dots, or even a little glitter can transform your French mani into a work of art.

And if you’re feeling adventurous, why not experiment with negative space? Leaving part of your nail bare can create a chic, modern look.

Conclusion

So, there you have it! You can totally jazz up your French manicure with fun nail art. Whether you’re trying out cool colors or seasonal designs, the possibilities are endless. Just grab your tools, get a little creative, and don’t be afraid to show off your unique style. Remember, your nails are like a canvas, and with a sprinkle of imagination, you can turn them into tiny masterpieces. Happy nail painting!

Trending French Manicure Techniques You Need to Know

Trending French Manicure Techniques You Need to Know

If you’re looking to jazz up your nails, there are some super fun French manicure techniques to check out! You can try colorful tips with bright shades or even cute pastels. Negative space designs let your natural nail peek through for a chic twist. Ombre French tips blend colors beautifully for a trendy gradient effect. Want to get bold? Go for geometric patterns that will really stand out! Add some textured nail art or floral accents for that extra flair. There are endless creative ways to express yourself! Stick around, and you’ll discover even more fabulous ideas.

Colorful Tip Variations

Trending_French_Manicure_Techniques_You_Need_to_Know_0001.jpg

When it comes to French manicures, colorful tip variations can add an invigorating twist to the classic look. You might think French tips are just white, but that’s so last season! Imagine bright pink, electric blue, or even sparkly gold tips. The options are endless! You can mix and match colors to fit your mood or the season. Feeling playful? Go for a rainbow effect!

To get started, pick a base color that suits your style. A nude shade works great for a classic vibe, or you can choose a pastel for something softer.

Once you’ve applied your base coat, it’s time to let your creativity shine. Use tape to create clean lines for your tips, or try freehand if you’re feeling adventurous. Don’t worry if it’s not perfect; those little quirks make it unique!

Finish with a top coat to seal in your fabulous design. Now, you’ve transformed a simple French manicure into something fun and fresh. Friends will be asking where you got your nails done, and you can proudly say, “I did it myself!”

Negative Space Designs

Trending_French_Manicure_Techniques_You_Need_to_Know_0002.jpg

Negative space designs offer a striking contrast to the colorful tip variations you’ve explored, allowing your natural nail to shine through in creative ways. This technique uses the bare parts of your nail as a part of the art, creating fun and unique patterns. It’s like letting your nails wear a cool outfit while still showing off their natural beauty!

You can mix and match shapes, lines, or even dots to create eye-catching designs. Imagine bold stripes or geometric shapes that stand out beautifully against your nail’s natural color. The best part? You don’t need to be a nail artist to try this out! Grab some tape and a steady hand, and you’re ready to go.

To really make your negative space pop, consider using a clear or nude polish as your base. This way, the negative space stands out even more. Plus, it creates a modern, chic look that’s super trendy right now.

You can easily change it up for special occasions or everyday wear, and it’s perfect for showing off your unique style. Immerse yourself in the world of negative space designs, and your nails will thank you with every glance!

Ombre French Manicure

Trending_French_Manicure_Techniques_You_Need_to_Know_0003.jpg

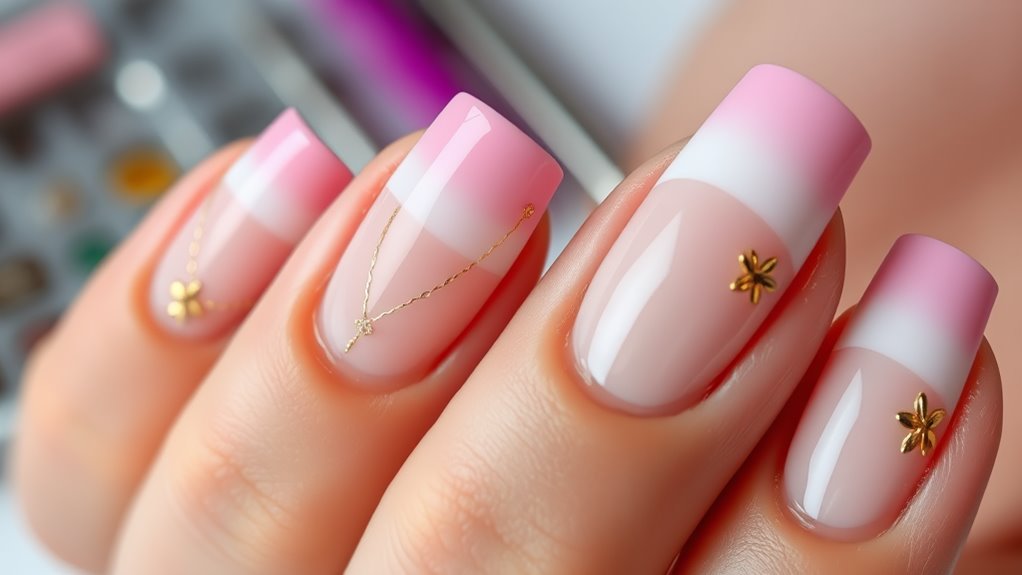
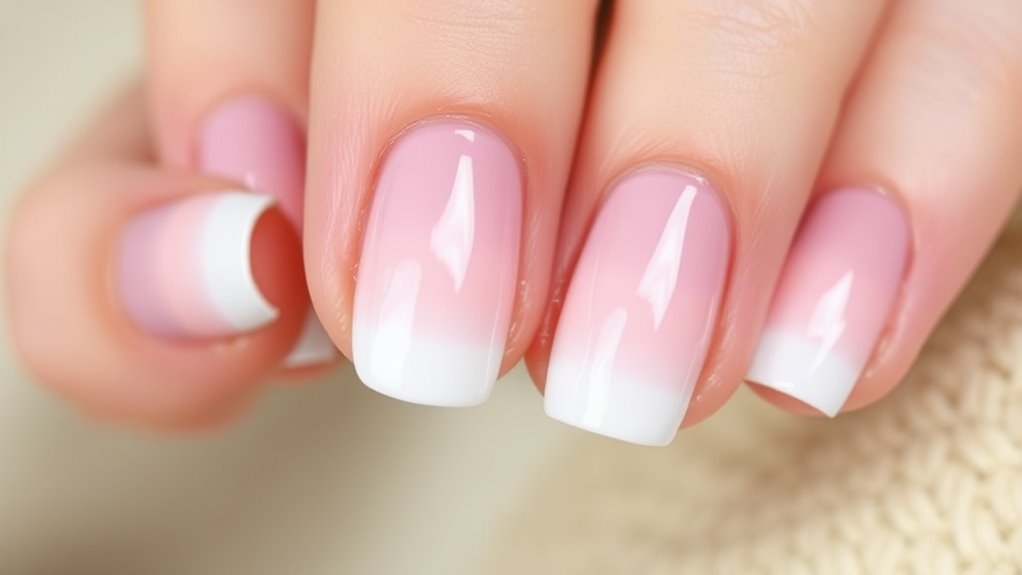
The ombre French manicure combines the classic elegance of a traditional French tip with a modern twist, creating a stunning gradient effect that shifts smoothly from your natural nail color to the tip.

It’s like giving your nails a little glow-up! Instead of the usual stark white tips, you can choose any shade that complements your skin tone.

To achieve this look, start with a nude or light-colored base. Then, pick a color for your tips. Using a makeup sponge, dab the color onto the tips of your nails. This technique helps blend the two colors and gives you that beautiful ombre gradient.

You can even experiment with fun colors like pinks or blues—whatever makes you smile!

Once you’re happy with the look, seal it all in with a top coat to keep it shiny and fresh.

Remember, practice makes perfect, so don’t worry if it doesn’t turn out right the first time. With a bit of patience, you’ll have a fabulous ombre French manicure that will make your friends jealous!

Geometric Patterns

Trending_French_Manicure_Techniques_You_Need_to_Know_0004.jpg

Geometric patterns bring a bold and modern flair to your manicure, making a striking contrast to the soft elegance of ombre designs. If you’re looking to shake things up, geometric shapes are the way to go! You can mix triangles, lines, and squares for a striking effect. The best part? You don’t need to be a nail artist to pull this off!

Start by picking two or three colors that complement each other. You might choose classic black and white for a chic look or bright colors for a fun twist. Once you’ve got your colors, paint your nails with a base coat.

Then, using tape or nail striping tools, create your shapes. Just place the tape on your nail to form the design and paint over it. When you peel off the tape, you’ll reveal crisp lines that’ll make your nails pop!

Don’t be afraid to experiment! You can create a different geometric design on each nail or even do a mix-and-match style. With geometric patterns, you’ll always have a unique and trendy look that stands out, so go ahead and express your creativity!

Textured Nail Art

Trending_French_Manicure_Techniques_You_Need_to_Know_0005.jpg

When it comes to adding dimension to your nails, textured nail art is a fantastic way to elevate your manicure. You can easily transform your basic French tips into something truly eye-catching! Instead of sticking to flat colors, why not try adding a fun texture? You could use a sponge to create a soft, ombre look, or sprinkle some glitter for that dazzling effect.

One popular technique is using a matte topcoat for a different feel. Imagine soft, velvety nails that stand out! Or, if you’re feeling adventurous, you can try nail foils that create a unique, metallic shine.

Just remember, less can be more. Adding too much texture can make your nails feel busy, so pick one or two techniques to keep it chic.

If you’re worried about how to pair textures with your classic French manicure, don’t fret! A textured accent nail can be just the thing to tie it all together.

Floral Accents

Trending_French_Manicure_Techniques_You_Need_to_Know_0006.jpg

Floral accents can instantly elevate your French manicure, adding a touch of elegance and whimsy. Imagine delicate flowers blooming right on your nails, making your hands look playful and pretty! You can choose from tiny daisies, bold roses, or even cute little tulips. The best part? You don’t need to be a pro to create these lovely designs.

Start with a classic French tip. Once your base is dry, grab a nail art brush or a dotting tool. Dip it in your favorite nail polish color and gently paint or dot your floral designs. It’s like painting a mini garden on your fingertips!

If you want a simpler look, you can add just one flower to an accent nail. Trust me, it’ll stand out beautifully.

Don’t forget to seal in your masterpiece with a top coat. This keeps your floral art fresh and prevents chipping. Plus, it adds a lovely shine!

Conclusion

Now that you know these trendy French manicure techniques, it’s time to get creative! Whether you go for colorful tips or a cool ombre effect, there’s so much fun to be had. Don’t forget about adding floral accents or geometric patterns to really show off your style. So grab your nail polish and let your imagination run wild—your nails are about to become the life of the party! Happy painting!