How to Fix Common Ombre Nail Mistakes

How to Fix Common Ombre Nail Mistakes

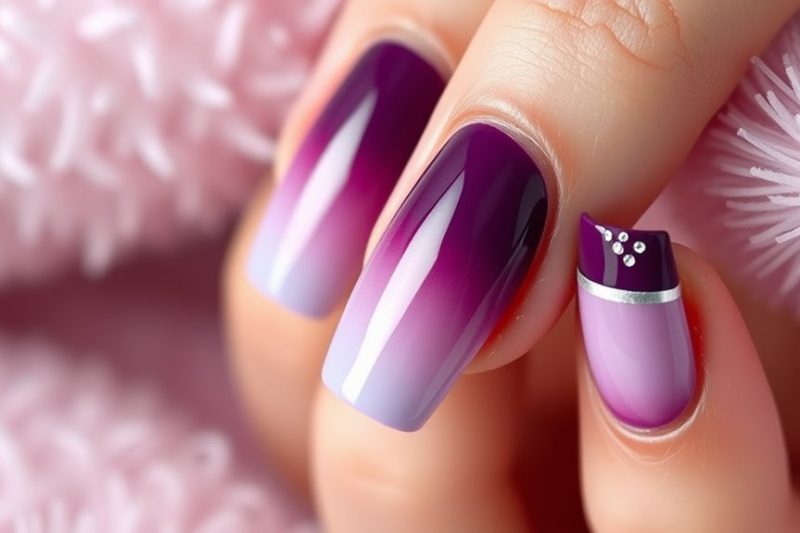
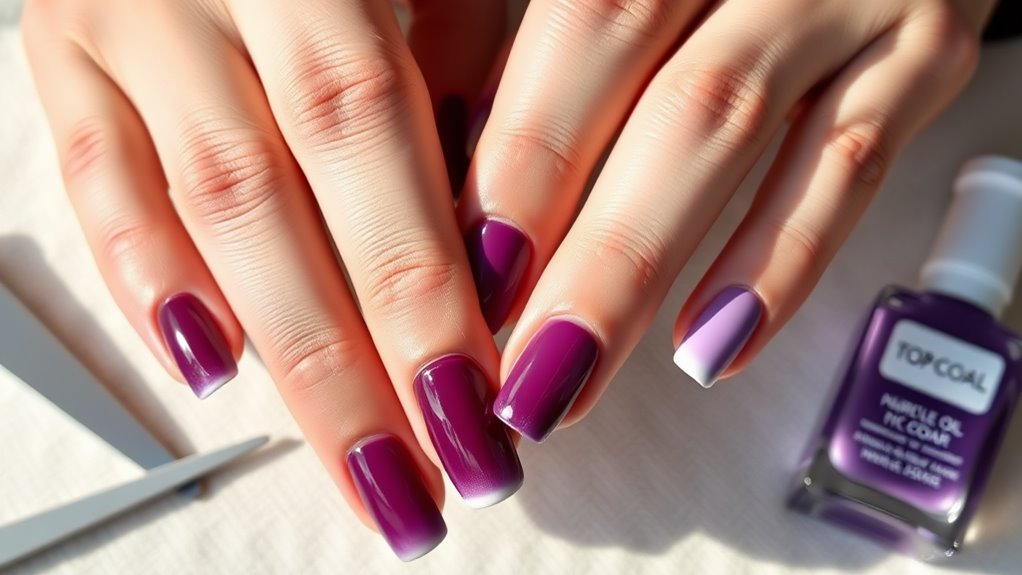
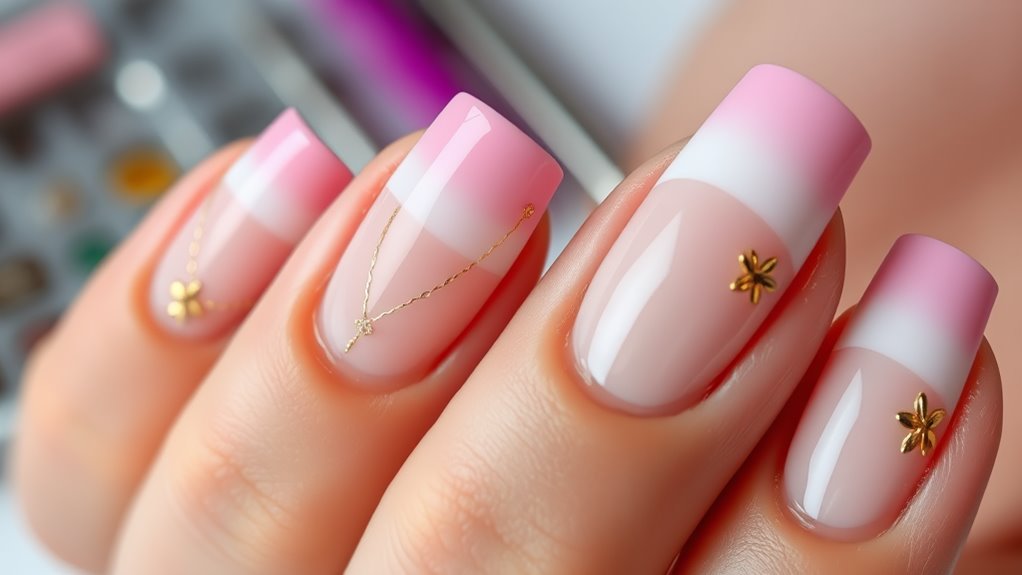
Fixing ombre nail mistakes is easier than you think! First, make sure you’re blending colors well; harsh lines are a no-go. Use a makeup sponge for that perfect gradient, and don’t overload it with polish—less is more! If your layers get thick and lumpy, try applying thinner coats instead. Always start with a base coat to protect your nails, and be cautious with color choices; contrasting shades work best. Finally, wait before applying a topcoat to avoid smudging. With these tips, your nails will look fab! Want to up your ombre game even more? Keep scrolling for extra gems!

Identifying Common Mistakes
How_to_Fix_Common_Ombre_Nail_Mistakes_0001.jpg

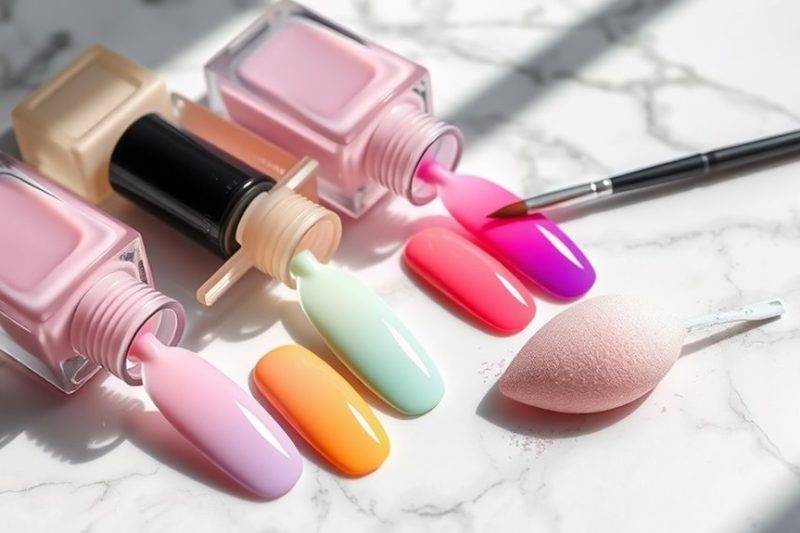
When it comes to ombre nails, you might run into a few common mistakes that can throw off your look. One biggie isn’t blending the colors well. If you see harsh lines instead of a smooth gradation, it’s like trying to mix orange juice with toothpaste—not a good combo!

Make sure you’re using a good sponge or brush to blend those colors nicely.

Another mistake is applying too much polish. If your layers are thick, you’ll end up with a lumpy mess. Instead, use thin coats and build up the color gradually. Patience really pays off here!

You might also forget to prep your nails properly. Neglecting a base coat can lead to staining or uneven color. Always start with a clean, dry nail and a good base coat.

Lastly, check your color choices. If you pick shades that are too similar, your ombre may not pop as you want it to. Try contrasting colors for a more stunning effect.

Choosing the Right Tools
How_to_Fix_Common_Ombre_Nail_Mistakes_0002.jpg

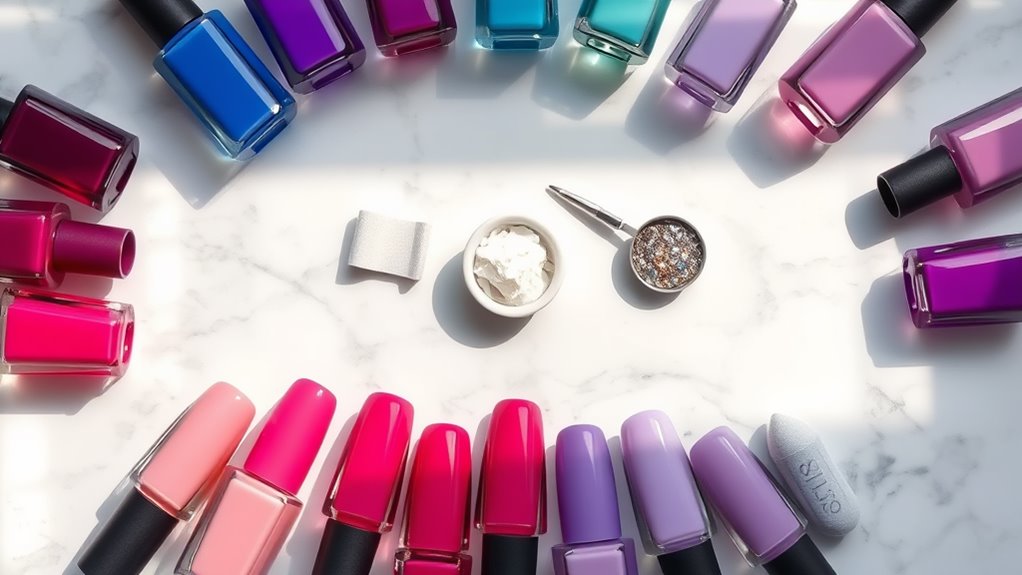
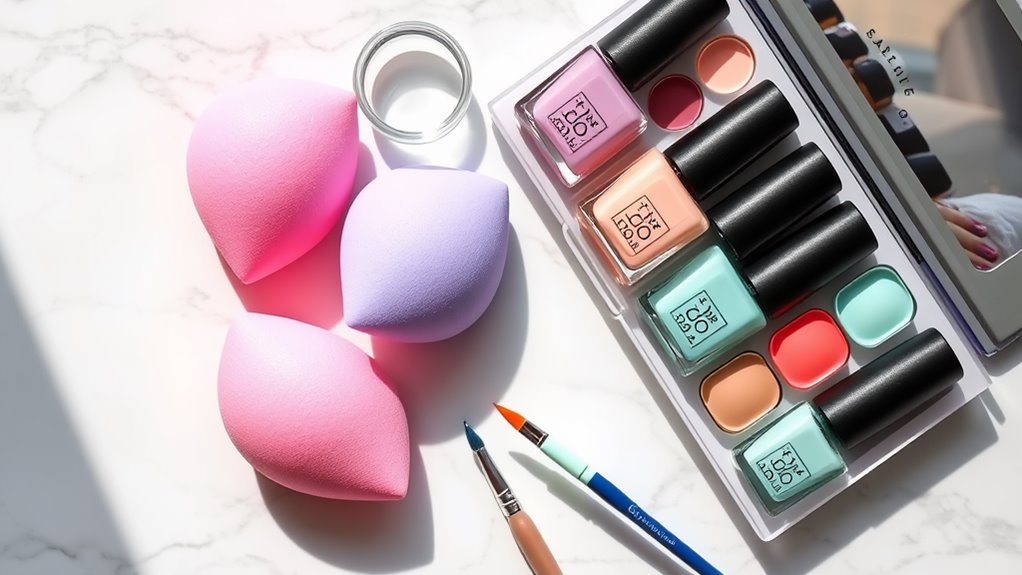
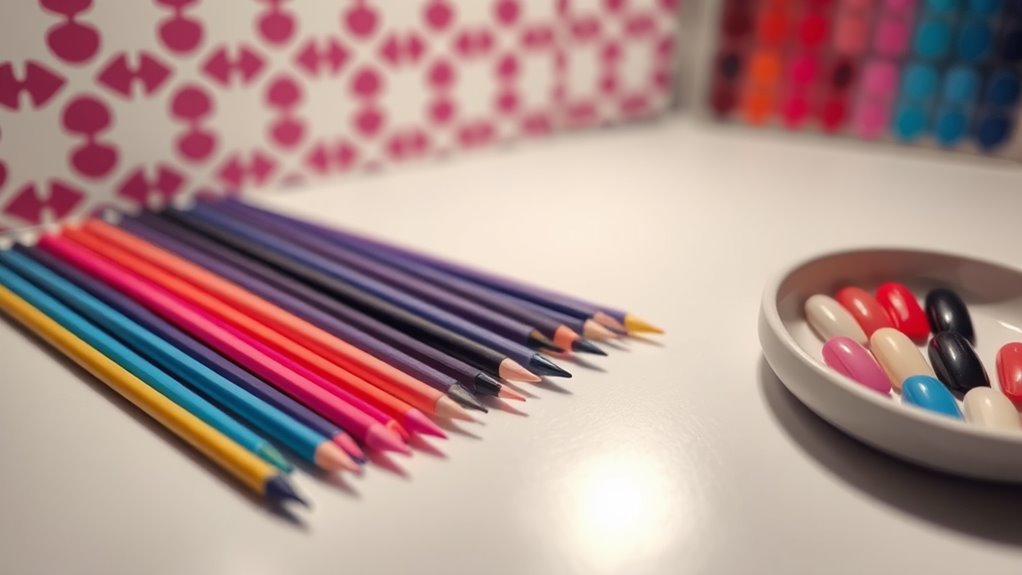
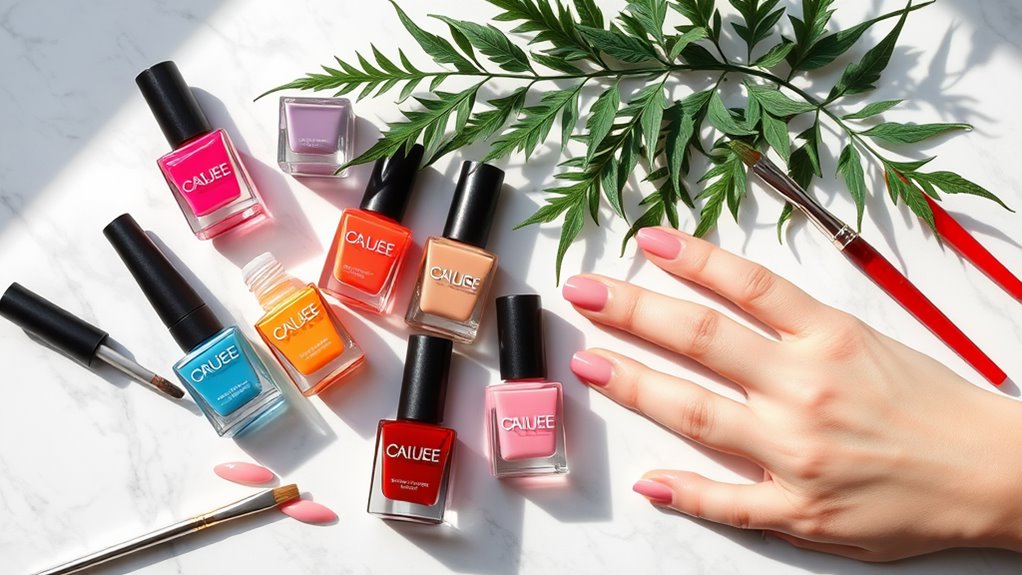
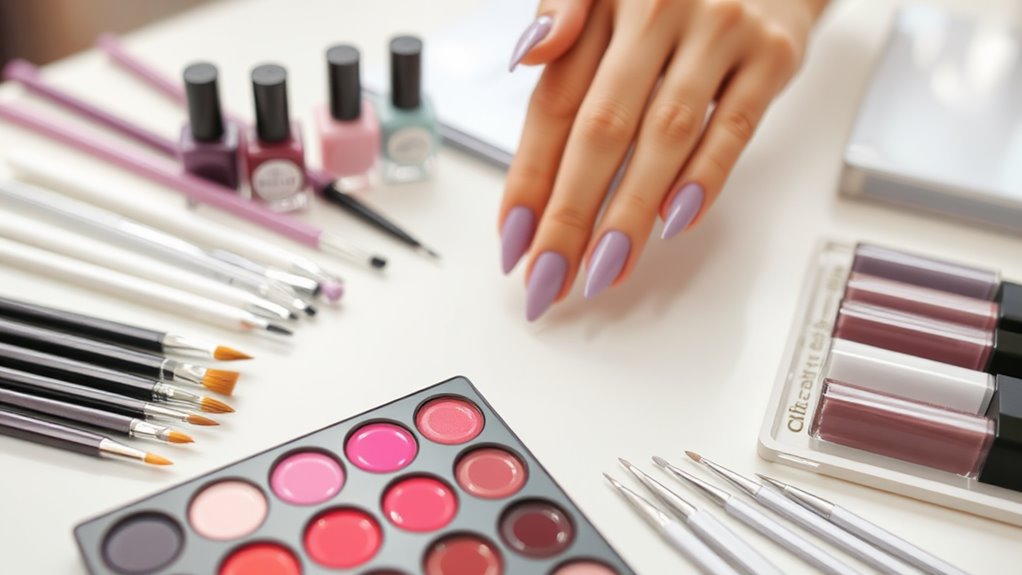
The right tools can make all the difference in achieving flawless ombre nails. First off, you’ll need a good quality set of nail polish brushes. A small, flat brush works wonders for blending colors smoothly, while a detail brush can help with those tricky edges.

Don’t forget about a makeup sponge! It’s your best friend for that gradient effect. Simply dab your chosen colors onto the sponge, and gently press it onto your nails.

Next, grab some nail tape or liquid latex. These will save your cuticles from getting messy. Just apply them around your nails before you start painting. Trust me, it’ll make cleanup a breeze!

Also, pick up a top coat for that shiny finish. It’ll seal in your masterpiece and make your ombre nails pop. And hey, don’t skimp on quality—cheap polishes can ruin your hard work.

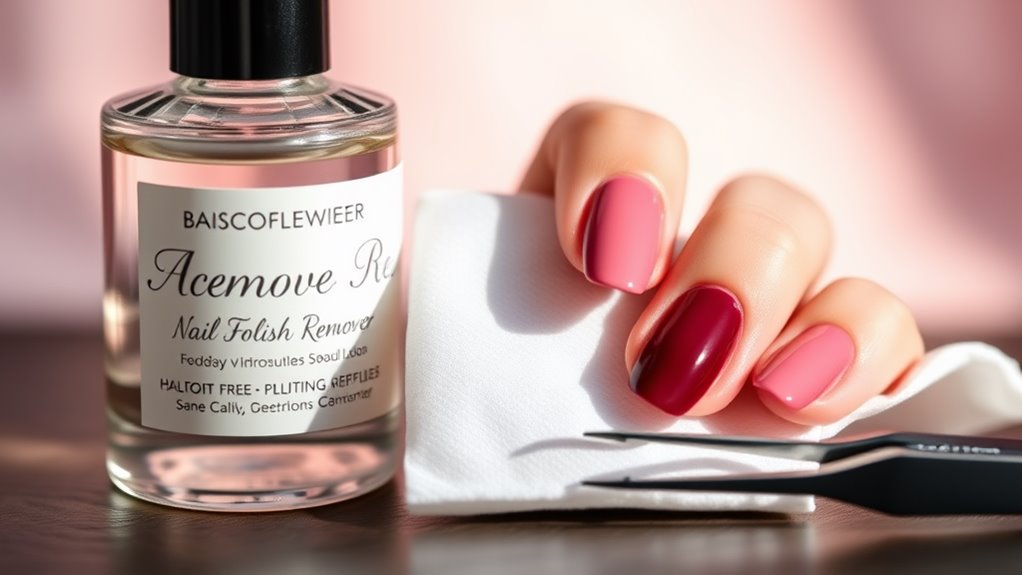
Lastly, have some cotton balls and remover handy. Mistakes happen, and that’s okay! You’ll want to fix them quickly without ruining the whole look.

With these tools in your arsenal, you’re ready to create stunning ombre nails that’ll impress everyone!

Preparing Your Nails Properly
How_to_Fix_Common_Ombre_Nail_Mistakes_0003.jpg

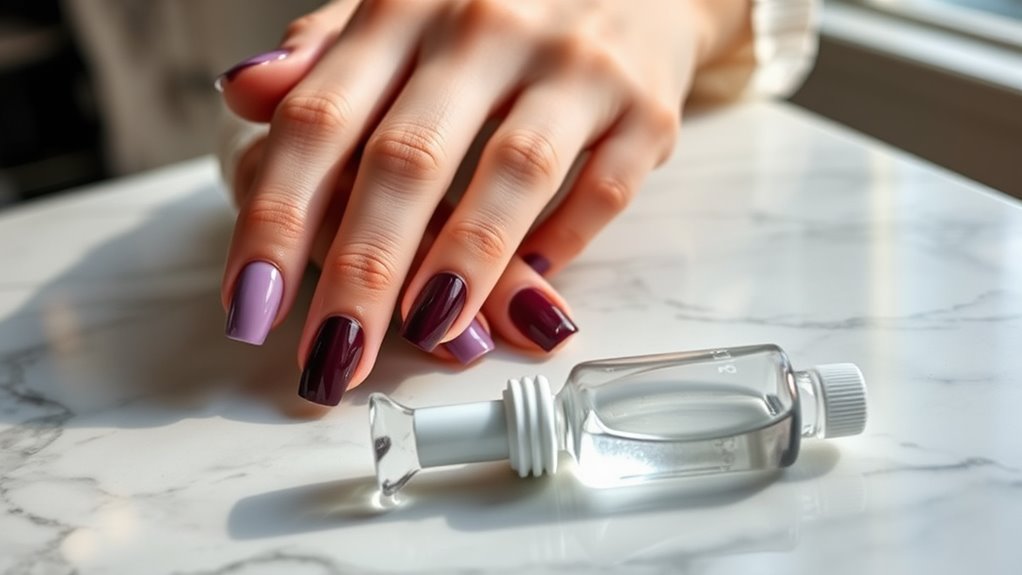
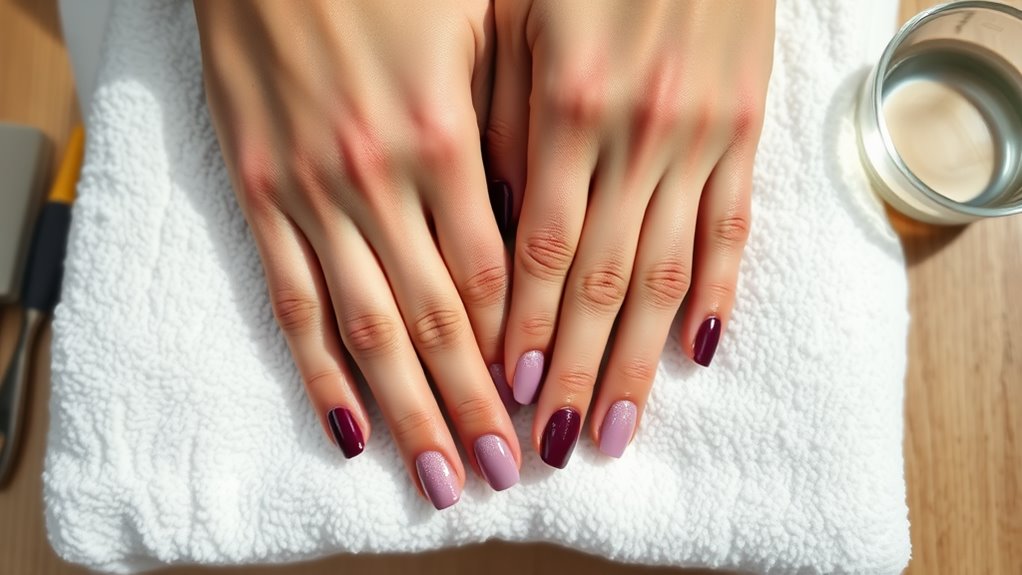
With the right tools ready, it’s time to focus on preparing your nails properly. First, start by giving your nails a good clean. Wash your hands and nails to remove any dirt or old polish. If you’re feeling fancy, use a nail brush to scrub under your nails.

Next, trim and shape your nails to your liking. You want them looking neat, so grab your nail clippers and file them into a smooth shape.

Now, it’s time for some pampering! Push back your cuticles gently with a cuticle pusher. This step helps your nails look longer and gives you a cleaner canvas for that ombre effect.

Don’t forget to apply a bit of cuticle oil afterward—it keeps your nails healthy and happy.

Once that’s done, buff your nails lightly to remove any ridges. This makes it easier for the polish to stick.

Finally, apply a base coat. It’s like a protective shield for your nails, preventing staining and helping your polish last longer.

With your nails prepped and primed, you’re all set to plunge into creating a stunning ombre look! Enjoy the process; it’s all about having fun!

Selecting Compatible Colors
How_to_Fix_Common_Ombre_Nail_Mistakes_0004.jpg

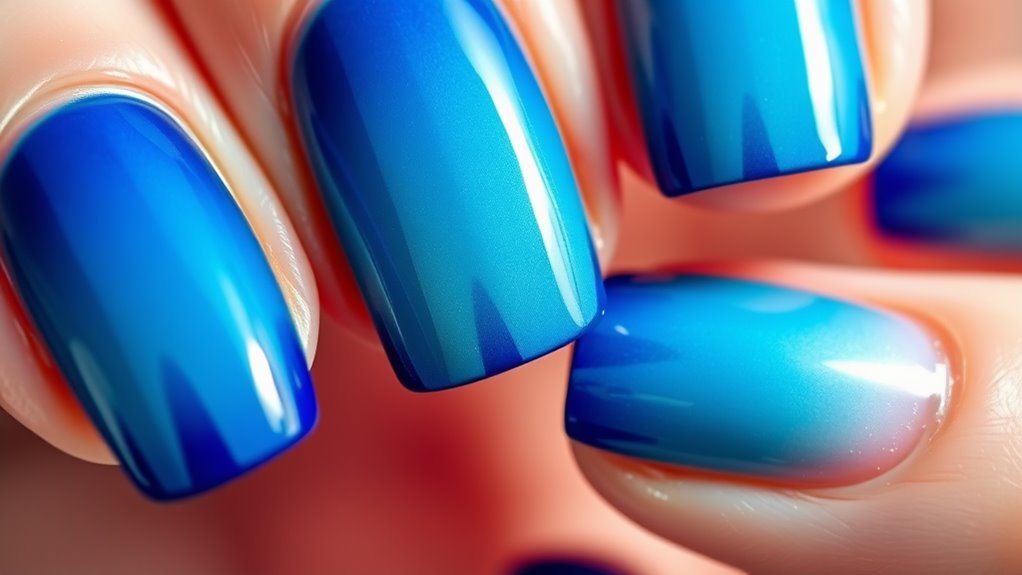
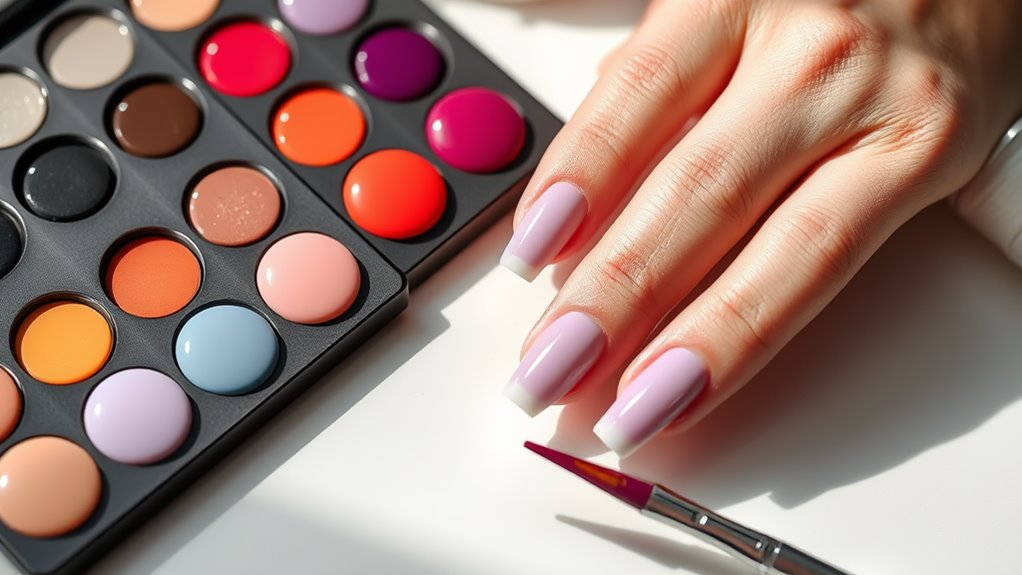
Choosing the right colors is essential for achieving a beautiful ombre effect. You want to pick shades that look good together and create a smooth gradient. It’s like picking the right toppings for your sundae; the wrong choice can ruin the whole thing!

Start by considering colors that are close on the color wheel. For instance, if you choose a light pink, a slightly darker pink or a peachy shade can work wonders. This way, you’ll create a soft gradient that’s pleasing to the eye.

Don’t forget about contrast! Sometimes, pairing a bold color with a lighter one can make your nails pop. Think of navy blue with a baby blue or a vibrant orange with a pale yellow. Just remember, too much contrast can be jarring, so balance is key.

Lastly, test your colors together before you commit. You can even swatch them on a piece of paper to see how they blend. It’s a little like mixing paint; you want to get it just right!

With the right color selection, you’ll be well on your way to achieving that stunning ombre look you’ve been dreaming of!

Blending Techniques to Try
How_to_Fix_Common_Ombre_Nail_Mistakes_0005.jpg

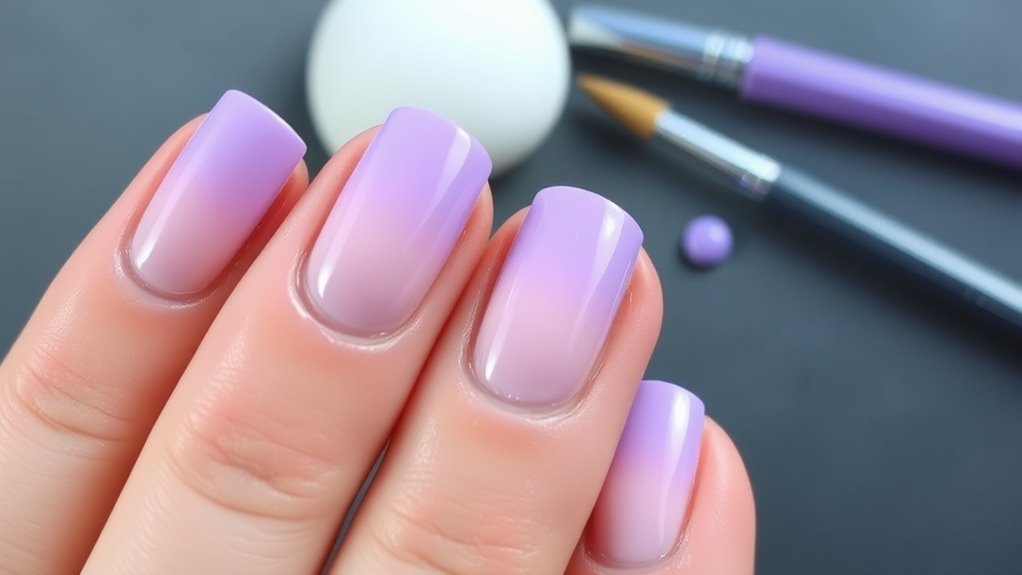
When it comes to achieving a flawless ombre effect, mastering blending techniques is key. You’ll want to make sure those colors shift smoothly, so grab a makeup sponge or a small brush.

Start by applying your lightest color at the tip of your nails and then the darker shade towards the base. Now, here comes the fun part! Use your sponge to dab the area where the two colors meet. This technique helps blend them together, creating that dreamy gradient look.

Don’t be afraid to layer! If you think the colors aren’t blended well enough, just add another coat. Remember, practice makes perfect. You might feel like a mad scientist at first, but it’ll get easier!

Another trick is to use a small, round brush. Dip it in the darker color and gently swirl it where the two meet. This circular motion can work wonders in blending.

Lastly, keep a steady hand and don’t rush. You want to create a masterpiece, not a hot mess! Once you’ve got that blend just right, seal it all in with a top coat, and you’re all set for compliments. Happy painting!

Fixing Uneven Application
How_to_Fix_Common_Ombre_Nail_Mistakes_0006.jpg

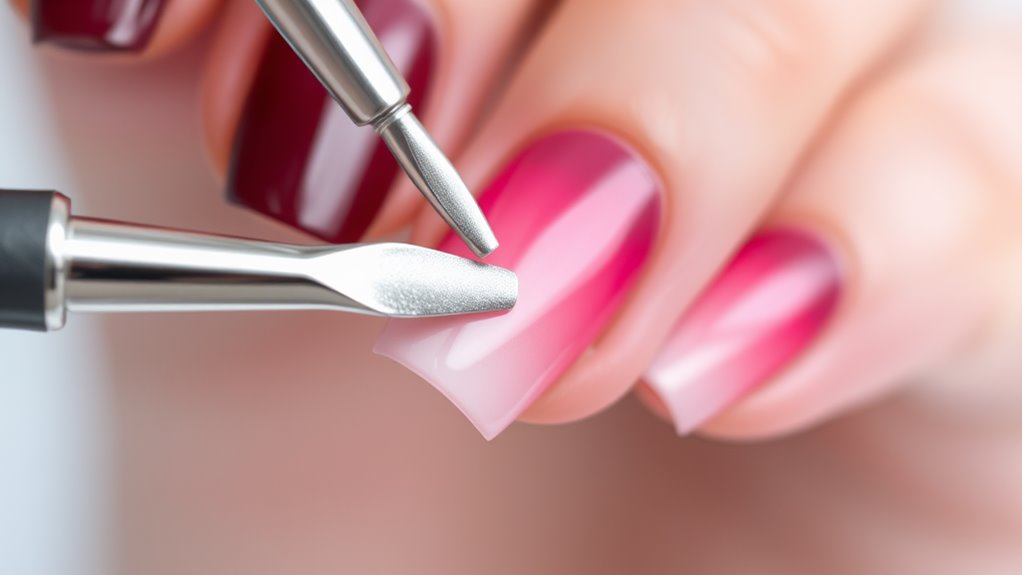
Uneven application can be a frustrating hurdle in achieving that perfect ombre look. Don’t worry, though! You can easily fix it with a few handy tips.

First, take a close look at your nails. If one color seems thicker or darker than the other, you’ll want to even that out. Grab a nail file and gently buff the uneven areas. Just be careful not to overdo it; you want to keep your nails healthy!

Next, you might need to add another coat of polish. If the lighter color is lacking, apply a thin layer to balance it out. Let it dry completely before checking again.

Sometimes, a little extra blending can do wonders. Use a makeup sponge to dab on some more polish, blending the colors together. This can help smooth out any harsh lines or spots.

If all else fails, don’t be afraid to start fresh! You can always remove the polish and try again. Remember, practice makes perfect!

With these tricks, you’ll be on your way to those stunning ombre nails in no time. Just keep at it, and soon enough, you’ll be the ombre nail pro among your friends!

Correcting Color Overlap
How_to_Fix_Common_Ombre_Nail_Mistakes_0007.jpg

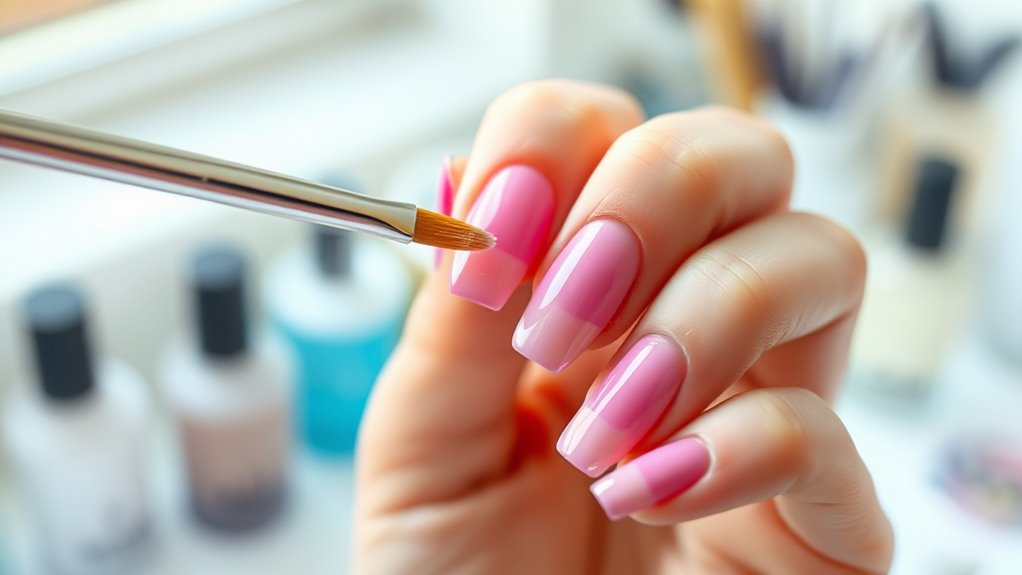
After you’ve tackled uneven application, you might notice another common issue: color overlap. This happens when your two nail colors mix together too much, creating a muddy look instead of that gorgeous gradient you were aiming for.

Don’t worry, though; fixing it’s easier than you think!

First, grab a small brush or a toothpick. You’ll want to carefully go around the area where the colors meet. If you see a lot of mixed color, try to gently lift the overlapping paint. You can do this by lightly scraping it off with the brush.

If the colors are too blended, you might need to reapply one of the shades. When you do this, make sure to use a light hand and blend the new color into the old one.

Sealing for Longevity
How_to_Fix_Common_Ombre_Nail_Mistakes_0008.jpg

To guarantee your ombre nails last, sealing them properly is essential. After you’ve perfected that beautiful gradient, you don’t want all your hard work to chip away.

So, let’s explore sealing techniques that will keep your nails looking fabulous!

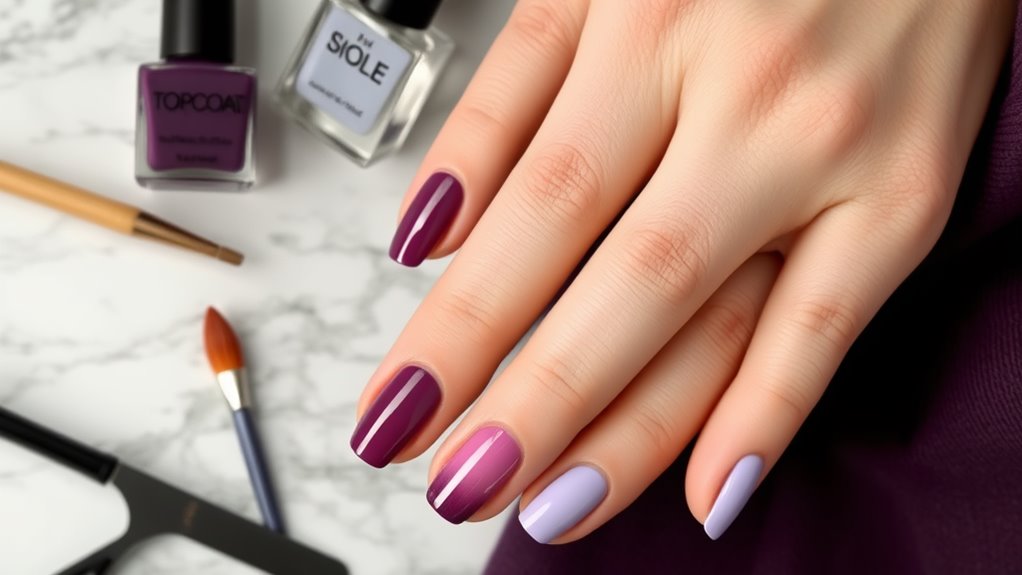
First, grab a good quality topcoat. This step is like adding icing to a cake— it makes everything look smoother and more polished. Apply a generous layer, making sure to cover the tips of your nails, too. This helps prevent chipping, which is the enemy of any nail art.

Next, don’t rush! Let each coat dry completely before applying the next. Patience is key here. If you’re feeling fancy, consider a quick-dry topcoat for that speedy finish.

Lastly, remember to reapply your topcoat every few days. Think of it like watering a plant; your nails need a little love to stay vibrant.

With these sealing tips, your ombre nails will stay stunning for longer. So, go ahead, flaunt those nails, and enjoy the compliments that come your way! Who wouldn’t love a little nail envy?

Conclusion

Now that you know how to fix those common ombre nail mistakes, you’re ready to rock that gradient look! Remember, practice makes perfect, so don’t be afraid to try again if things don’t go as planned. With the right tools and techniques, you’ll have beautiful ombre nails in no time. And hey, if you make a little mess, just laugh it off—nails are meant to be fun! Happy painting, and let your creativity shine!

The Best Tools for Ombre Nail Art

The Best Tools for Ombre Nail Art

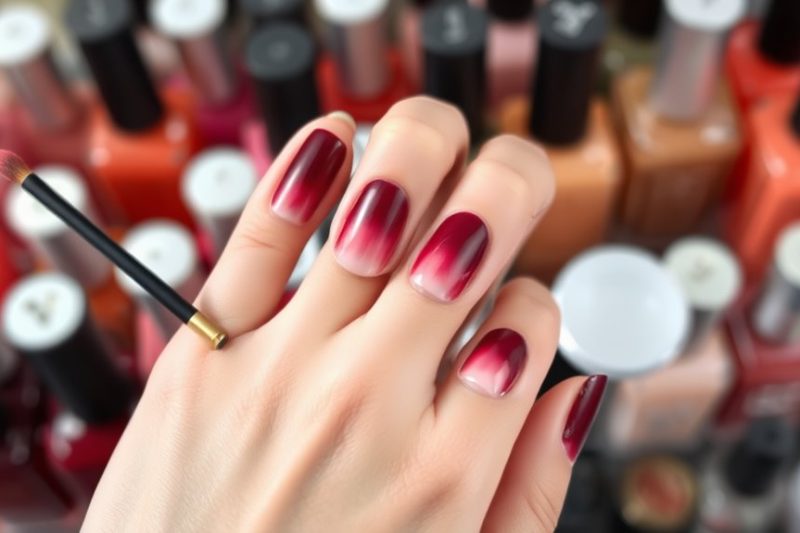
To nail that ombre look, you’ll want a few key tools! Start with three nail polish colors—base, mid-tone, and accent. A clean makeup sponge is perfect for dabbing the colors together, while a gradient brush can help blend them smoothly. Don’t forget dotting tools to add fun designs. A top coat seals it all in for shine, and make sure you have cotton pads and nail polish remover handy for quick clean-ups. With these supplies, your ombre nails will be fabulous! Stick around, and you’ll discover even more tips and tricks to elevate your nail art game!

Nail Polish Selection

The_Best_Tools_for_Ombre_Nail_Art_0001.jpg

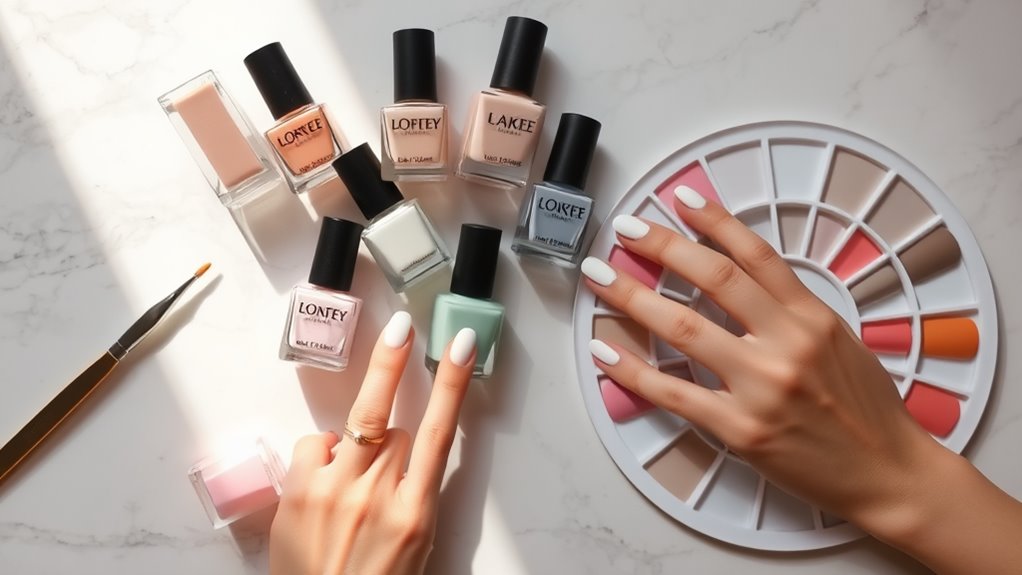
When it comes to nail polish selection for your ombre nail art, choosing the right colors is essential. You want to pick shades that blend well together, creating that dreamy gradient effect.

Start by thinking about the colors you love. Do you fancy bright, bold hues or soft pastels? A good rule of thumb is to choose three colors: a base, a mid-tone, and an accent. This combo makes blending a breeze!

Next, consider the finish. Matte, glossy, or shimmer? Each finish gives your ombre a different vibe. Shimmer can add a fun twist, while matte feels more sophisticated.

Don’t forget about the season, too! Warm colors for summer and cooler tones for winter can make your nails pop and feel festive.

Once you’ve picked your colors, test them out! Swatch a small amount on a nail wheel or a piece of paper to see how they blend. If you don’t love it, swap one out for something else.

Makeup Sponge Techniques

The_Best_Tools_for_Ombre_Nail_Art_0002.jpg

To achieve that smooth ombre effect on your nails, mastering makeup sponge techniques can make a significant difference.

First, grab a clean makeup sponge—yes, that little squishy thing you might’ve lying around! Start by applying a base coat to your nails. Once it dries, paint two contrasting colors on a piece of foil or a palette.

Now, dip your sponge into the first color, then the second. You want both colors on there, but not too much. Gently dab the sponge onto your nail, rolling it from the tip to the base. Keep dabbing until you see that beautiful blend appear!

If the colors aren’t merging as you’d like, you can add a bit more polish to the sponge. Just remember, less is more!

After you’ve got that ombre effect down, seal it all in with a top coat for shine and longevity.

And hey, if you mess up, don’t worry—nail polish remover is your best friend. Just have fun with it!

Practice makes perfect, and soon you’ll be a pro at creating stunning ombre nails that everyone will admire.

Gradient Brushes

The_Best_Tools_for_Ombre_Nail_Art_0003.jpg

Gradient brushes are essential tools for creating flawless ombre nails with ease. These brushes have soft, fluffy bristles that help blend colors seamlessly. When you use them, it feels like painting a masterpiece on your nails!

You’ll want to pick a brush that fits comfortably in your hand, so you can achieve the perfect gradient without any fuss.

To get started, grab two or three nail polish colors that you love. Apply a base coat first, then use your gradient brush to mix the colors on a palette or the edge of a nail polish bottle.

Dip the brush into the first color and gently swipe it onto your nail. Then, switch to the next color and blend them together! You might need to practice a bit, but don’t worry; it’s all part of the fun.

If you mess up, just remember: nail polish is forgiving! You can always add another layer or start over.

Nail Art Dotting Tools

The_Best_Tools_for_Ombre_Nail_Art_0004.jpg

After mastering the art of blending with gradient brushes, it’s time to elevate your nail designs with nail art dotting tools. These nifty little gadgets are perfect for adding fun details to your ombre nails.

With a dotting tool, you can create dots, swirls, or even tiny flowers that really make your nails pop. You might wonder how they work. Well, dotting tools come in various sizes, so you can choose one that fits your design needs.

For small dots, use a fine tip, and for larger ones, go with a bigger end. Just dip the tool into your nail polish, then gently press it onto your nail. Voila! You’ve got a perfect dot!

Using these tools is super easy, and they’re great for layering with your ombre look. You can create patterns or even add some sparkle by dotting glitter polish on top.

Plus, it’s a chance to let your creativity shine! So grab your dotting tools, and let your imagination flow. You’ll be amazed at how a few simple dots can transform your nails into a masterpiece! Happy dotting!
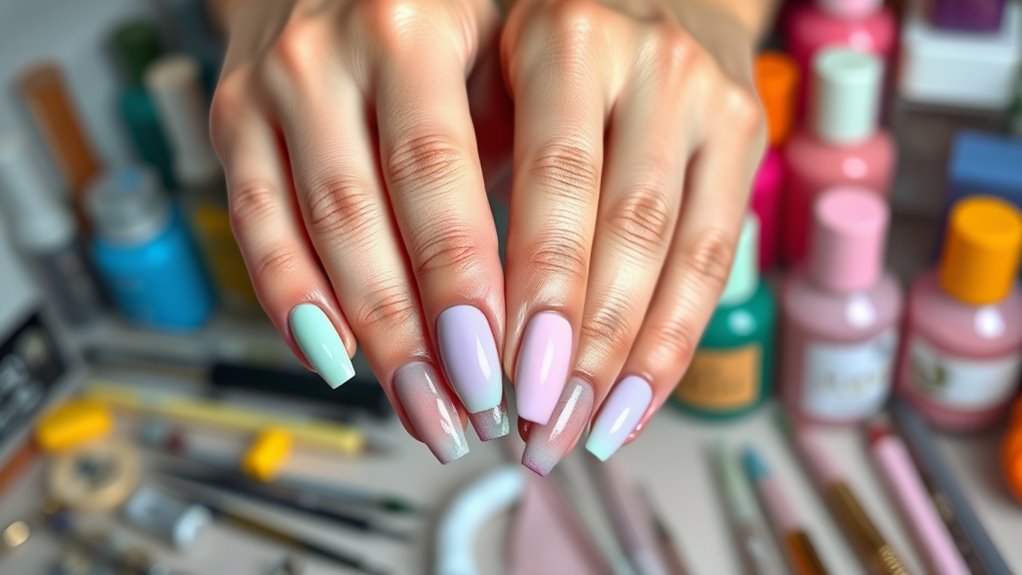
Tape and Stencils

The_Best_Tools_for_Ombre_Nail_Art_0005.jpg

Adding tape and stencils to your nail art toolkit can greatly enhance your ombre designs. These tools help you create clean lines and fun patterns, which can make your nails really stand out!

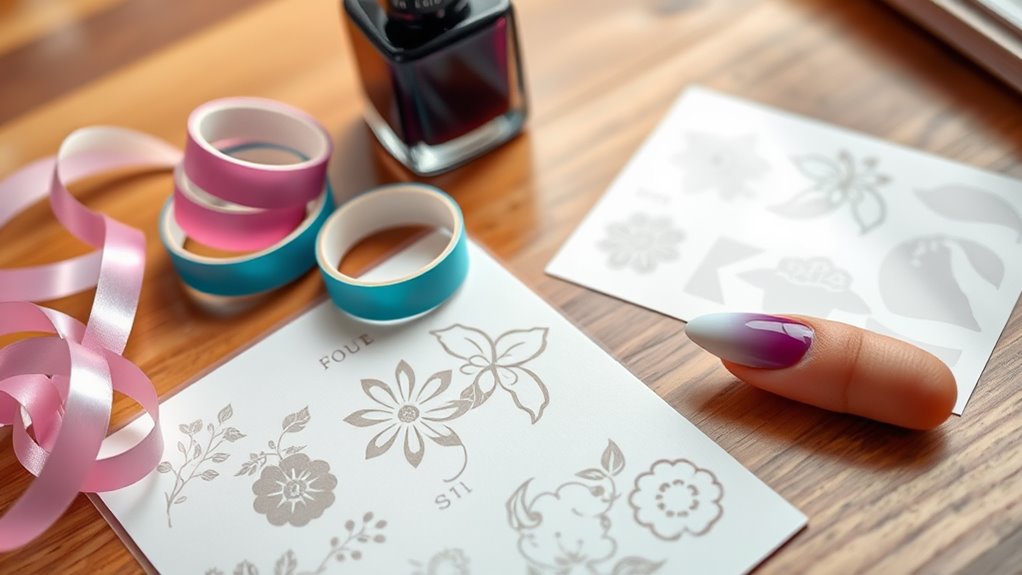
First, let’s talk about tape. You can use regular painter’s tape or nail tape to mask off sections of your nails. This way, you can keep one area free from polish while blending colors in another. Just remember to remove the tape slowly when you’re done, so you don’t mess up your masterpiece.

Now, onto stencils. Stencils come in all sorts of shapes and sizes, from flowers to geometric patterns. Simply place a stencil on your nail, apply your ombre colors, and lift it off to reveal a cool design underneath. It’s like magic!

Using these tools can seem tricky at first, but don’t worry—practice makes perfect. You might even find that you enjoy experimenting with different techniques.

Top Coat Application

The_Best_Tools_for_Ombre_Nail_Art_0006.jpg

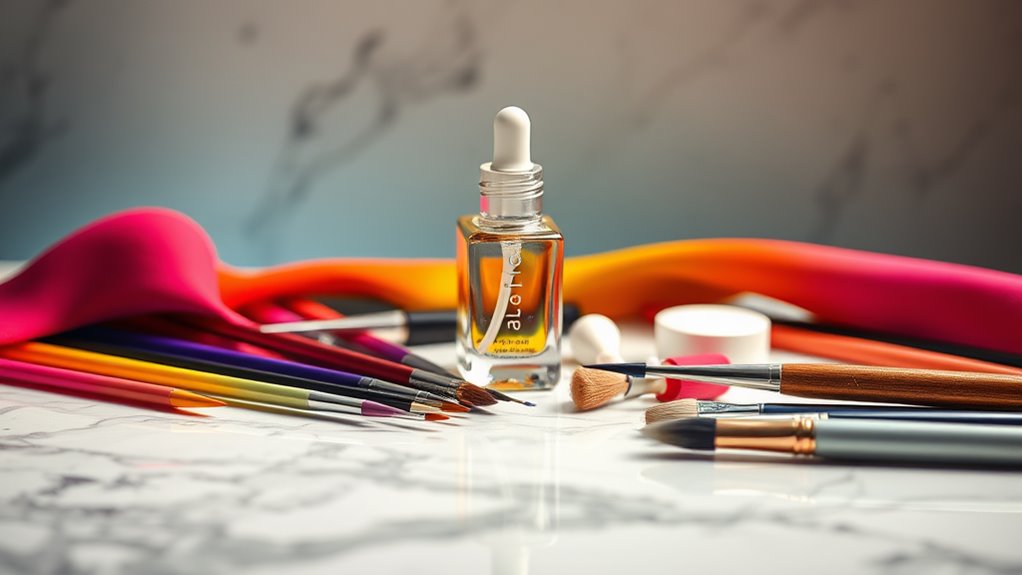
To achieve a flawless finish on your ombre nails, applying a top coat is essential. A top coat not only adds shine, but it also seals in your artwork, making it last longer. So, let’s explore how to do this!

First, make sure your ombre nails are completely dry. You don’t want to smudge all your hard work! Once they’re dry, grab your favorite top coat. You can use a brush or a dropper for application.

If you’re using a brush, start from the base of your nails and swipe it toward the tips. This helps to keep the colors blended and smooth.

Don’t forget the edges! You want to coat the sides of your nails too, so they look super neat. If you accidentally get some on your skin, don’t worry—just let it dry, and you can clean it up later.

Clean-Up Supplies

The_Best_Tools_for_Ombre_Nail_Art_0007.jpg

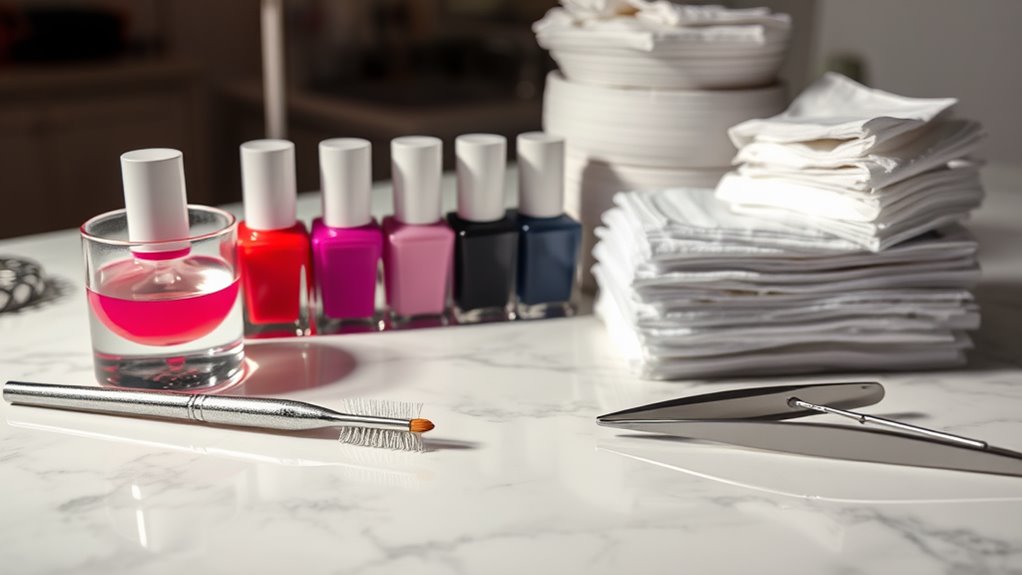
Keeping your workspace tidy while doing ombre nail art is essential, so having the right clean-up supplies on hand is a must.

You’ll want to grab some cotton pads or balls, as they’re perfect for wiping off any polish that gets a little messy. Nail polish remover is your best friend here, so don’t forget that!

Next, consider getting a small brush—like an old eyeliner brush—dipped in remover. It’s fantastic for fixing those tiny details around your nails. You can also use a small makeup brush for a gentle touch.

Paper towels are super handy, too. They’re great for catching spills or wiping your tools.

And if you really want to be prepared, keep some tape on the side. You can use it to create clean lines or even catch any extra polish drips.

Lastly, having a designated trash bin nearby can help you stay organized. Tossing away used supplies immediately keeps clutter at bay.

Conclusion

Now that you know the best tools for creating ombre nail art, it’s time to get creative! Whether you’re using a makeup sponge or some fancy gradient brushes, have fun experimenting with colors. Don’t forget your top coat for that shiny finish! And remember, if things get a bit messy, it’s all part of the fun. So grab your supplies, invite some friends, and let your nails shine like the stars they are! Happy painting!

Tips for Long-Lasting Ombre Nail Designs

Tips for Long-Lasting Ombre Nail Designs

To make your ombre nail designs last, start with high-quality products. Use a good base coat for protection and choose vibrant, smooth polishes. Don’t skip the top coat, as it seals everything in and adds shine! When you apply the ombre, pick 2-3 colors and use a makeup sponge for blending. Prep your nails by washing, trimming, and buffing them. Remember to be gentle with your nails and keep them moisturized. Also, avoid soaking them for too long. With these tips, your nails will look fabulous for days, and there’s more to discover about keeping them stunning!

Choose Quality Nail Products

Tips_for_LongLasting_Ombre_Nail_Designs_0001.jpg

When it comes to achieving stunning ombre nail designs, choosing quality nail products is essential for success. You wouldn’t want to paint a masterpiece with cheap paint, right? The same goes for your nails!

Start by picking a good base coat. It protects your natural nails and helps the color stick better. Look for brands that are known for their durability.

Next, when you choose your polishes, go for high-quality ones. You’ll notice the difference right away! They glide on smoothly, and the colors are vibrant. You can mix and match shades to create that beautiful gradient effect.

Don’t forget a top coat, either! A reliable top coat seals the deal by adding shine and making your design last longer.

If you’re feeling fancy, consider investing in some nail art tools. A makeup sponge can work wonders for blending colors together.

Just remember, using the right products is like having the right tools for a job—it makes everything easier and more fun!

Master the Ombre Technique

Tips_for_LongLasting_Ombre_Nail_Designs_0002.jpg

Mastering the ombre technique can transform your nails into a stunning work of art. It’s easier than you might think! Start by picking two or three complementary colors. You want them to blend well, so choose shades that work together, like pink, purple, and white.

Once you’ve got your colors, grab a makeup sponge. Yes, the same one you might use for your foundation!

Paint a stripe of each color side by side on the sponge. Then, gently dab the sponge onto your nail, moving it up and down. This helps the colors mix together nicely. Don’t worry if it looks a bit messy at first; that’s part of the fun! Just keep dabbing until you get the gradient you love.

After you’re happy with the blend, let it dry for a minute. You can add a top coat to seal in your masterpiece and give it a nice shine.

Prepare Your Nails Properly

Tips_for_LongLasting_Ombre_Nail_Designs_0003.jpg

Before diving into your ombre nail design, it’s crucial to prepare your nails properly. Start by giving your nails a good wash to remove dirt and oils. You wouldn’t want any sneaky residue messing up your masterpiece, right?

Next, trim and file your nails to your desired shape. Whether you like them square, round, or something in between, make sure they’re even.

Once that’s done, it’s time to push back your cuticles gently. This step helps create a clean canvas for your design. If you’ve got any hangnails, snip those away, too. Nobody wants a little snag ruining their style!

Now, take a moment to buff your nails lightly. This helps the polish to stick better, so your ombre look lasts longer. Just don’t go overboard; you want them smooth, not paper-thin!

Lastly, give your nails a quick wipe with some rubbing alcohol or nail polish remover. This removes any leftover oils and guarantees your design has a strong foundation.

With your nails prepped and ready, you’re all set to create a stunning ombre look that’ll turn heads!

Apply a Base Coat

Tips_for_LongLasting_Ombre_Nail_Designs_0004.jpg

Now that your nails are prepped and ready, it’s time to apply a base coat. This step is super important because it protects your nails from stains and helps your polish stick better. Think of it as a primer for your nails—just like you’d use before painting a wall!

Grab your favorite base coat and give it a good shake. Apply a thin layer to each nail, making sure to cover the entire surface. Don’t forget the tips! That’ll give your nails a polished look and prevent chipping.

Also, try not to apply it too thick; a little goes a long way!

Once you’ve coated all your nails, let them dry completely. You can wave your hands around like a magician or just sit back and relax for a few minutes. Trust me, it’s worth the wait!

Applying a base coat might seem like a small step, but it really makes a big difference in how your ombre nails turn out. Plus, it’ll help your design last longer, so you can show off those fabulous nails without worry.

Now, let’s get ready to add some color!

Seal With a Top Coat

Tips_for_LongLasting_Ombre_Nail_Designs_0005.jpg

Sealing your stunning ombre design with a top coat is essential for that flawless finish. This magical layer protects your hard work and helps your nails shine like a diamond. You wouldn’t want all that effort to fade away, right?

First things first, make sure your ombre design is completely dry before applying the top coat. You know how annoying it’s when your nail art gets smudged!

Once it’s dry, grab your favorite top coat and apply a thin layer over each nail. You can use a brush or a bottle with a wand—whatever floats your boat!

Make sure to cover the tips of your nails, too. This helps seal the edges and prevents chipping. Plus, it gives your nails that extra glossy finish that makes them look like they just stepped out of a salon.

Let the top coat dry completely before you go about your day. You’ll want to show off your beautiful ombre nails without worrying about ruining them.

Maintain Your Manicure

Tips_for_LongLasting_Ombre_Nail_Designs_0006.jpg

After you’ve applied that shiny top coat, keeping your ombre nails looking fresh requires some simple maintenance.

First, be gentle! Avoid using your nails as tools, whether you’re opening a can or scratching an itch. Trust me, your nails will thank you!

Next, always keep your nails hydrated. Apply a nourishing cuticle oil every few days. This helps prevent dryness and keeps your manicure looking fresh. You can even massage it into your cuticles while you binge-watch your favorite show.

Also, try to avoid soaking your hands in water for too long. Long baths or washing dishes without gloves can chip your polish faster than a speeding bullet. Use gloves when washing dishes or cleaning to keep your nails safe.

Lastly, if you notice any chips or wear, don’t fret. Just touch them up with a little polish. It’s like giving your nails a mini makeover!

Remove and Reapply Safely

Tips_for_LongLasting_Ombre_Nail_Designs_0007.jpg

Removing and reapplying your ombre nails doesn’t have to be a hassle; in fact, it can be a rejuvenating ritual. Start by gathering your supplies: a good nail polish remover, cotton balls, and some fresh nail polish in your favorite ombre shades.

Sit down somewhere comfy, maybe with a fun movie playing in the background.

First, soak a cotton ball in the remover and press it against your nail for a few seconds. This helps break down the polish. Wipe from the cuticle to the tip, and watch that old color disappear!

Don’t rush it; taking your time will make the process smoother.

Once your nails are clean, give them a quick wash to remove any leftover remover, then dry them well.

Now it’s time for the fun part! Apply a base coat to protect your nails before diving into your ombre design. Use a makeup sponge to blend your colors for that perfect ombre look.

Conclusion

With the right products and a little practice, you can rock some fabulous ombre nails that last. Remember to prep your nails, use a base and top coat, and keep them maintained. Your nails can look amazing while you tackle your day—whether you’re studying, playing, or just hanging out. So go ahead, show off those colorful tips, and let your nails steal the spotlight! Happy nail painting!

Tips for Maintaining Vintage-Inspired Nail Art

Tips for Maintaining Vintage-Inspired Nail Art

To keep your vintage-inspired nail art shining bright, start with quality nail products. Use a strong polish, a base coat, and finish with a good top coat for added shine. Don’t forget to prep your nails first—wash them well, trim, and buff them smooth. Protect them from water too; wearing gloves while cleaning helps! Regular touch-ups are key, so set aside some fun “me-time” each week to fix any chips and refresh the look. Trust me, with these tips, your nails will be the talk of the town, and there’s more to uncover ahead!

Choose Quality Nail Products

Tips_for_Maintaining_VintageInspired_Nail_Art_0001.jpg

Choosing quality nail products is essential for keeping your nail art looking fresh and vibrant. You wouldn’t want to spend hours creating a beautiful design only for it to chip the next day, right?

Start by picking good nail polish that has a strong formula. Look for ones that say “long-lasting” or “chip-resistant” on the label. Trust me, your nails will thank you!

Next, consider a base coat and a top coat. These guys are like the superheroes of nail care. A base coat helps your polish stick better and prevents staining, while a top coat seals everything in and adds that shiny finish.

And don’t skimp on quality here!

Also, check out the ingredients. You want polishes that are free from harmful chemicals like formaldehyde. It’s just better for your health and your nails!

Prepare Your Nails Properly

Tips_for_Maintaining_VintageInspired_Nail_Art_0002.jpg

Before applying your nail art, preparing your nails properly makes a world of difference. First things first, you want to start with clean nails. So, wash your hands and remove any old polish. Don’t worry, we all have those days when we forget!

Next, trim and file your nails to your desired shape. Whether it’s square, round, or almond, just make certain you’re happy with it. Your nails should be smooth and even, so take the time to buff away any rough spots.

If your cuticles are looking a bit wild, it’s a good idea to push them back gently with a cuticle stick. Please don’t go too crazy with the cuticle clippers; we’re not trying to start a nail war here!

Once your nails are all ready, apply a base coat. This step is essential because it protects your nails from staining and helps your nail art stick better. Plus, it makes everything look more polished!

Just remember to let each layer dry before moving on. Following these steps will help guarantee your vintage-inspired nail art stays fabulous for longer. Happy painting!

Apply a Top Coat

Tips_for_Maintaining_VintageInspired_Nail_Art_0003.jpg

Applying a top coat is essential for keeping your nail art looking fresh and vibrant. It’s like giving your nails a protective shield against chips and scratches. You’ve put in all that effort to create a beautiful design, so let’s make it last!

When you apply your top coat, make sure to do it carefully. Start at the base of your nail and gently brush toward the tip. This way, you cover the edges, which are the most vulnerable spots. Don’t forget to seal the edges! It’s a small step that makes a big difference.

Plus, a good top coat can give your nails that shiny, salon-finish look that’ll make you feel like a million bucks.

You can choose between glossy and matte finishes, depending on your style. Feeling adventurous? Try a glittery top coat for some extra sparkle!

Avoid Excessive Moisture

Tips_for_Maintaining_VintageInspired_Nail_Art_0004.jpg

Even with a great top coat, excessive moisture can wreak havoc on your nail art.

Think about it—when your nails get too wet, the polish can peel, chip, or smudge. You don’t want your hard work to go down the drain, right? So, here are some tips to keep your nail art looking fabulous.

First, when you’re washing dishes or cleaning the house, wear gloves. It might feel a little silly, but your nails will thank you!

If you love long showers, try to keep your hands out of the water as much as possible.

Next, consider the weather. If it’s super humid outside, be mindful of how it might affect your designs. You might want to skip the outdoor activities or find a cozy spot indoors.

Lastly, avoid soaking your nails in water for long periods. Yes, that means no nail baths!

Instead, opt for a quick rinse when needed.

Touch Up Regularly

Tips_for_Maintaining_VintageInspired_Nail_Art_0005.jpg

To keep your nail art looking fresh and vibrant, regular touch-ups are essential. Just like a vintage car needs a little polish now and then, your nails deserve the same love! If you notice any chips or fading, don’t wait too long to fix them. Grab your favorite nail polish and give those nails a quick refresh. It’s super easy and can be done in just a few minutes.

Make it a fun ritual! You could set aside some time each week to sit down with your nail supplies, maybe even put on your favorite music. While touching up, pay attention to the edges—those can wear out faster than you think.

If you’re feeling fancy, add a little sparkle or a design to take it up a notch!

And don’t forget about your top coat! A good top coat not only adds shine but also protects your art from chipping. So, if your nails start looking a little dull, that’s your cue to give them some TLC.

Conclusion

So, there you have it! By using quality nail products, prepping your nails right, and adding that top coat, you can keep your vintage-inspired nail art looking fabulous. Don’t forget to avoid too much moisture and touch up when needed. Your nails deserve all the love! With just a little care, you’ll rock those retro designs like a pro and maybe even get a few compliments. Happy painting, and may your nails shine like the stars!

Tips for Long-Lasting Striped Nail Designs

Tips for Long-Lasting Striped Nail Designs

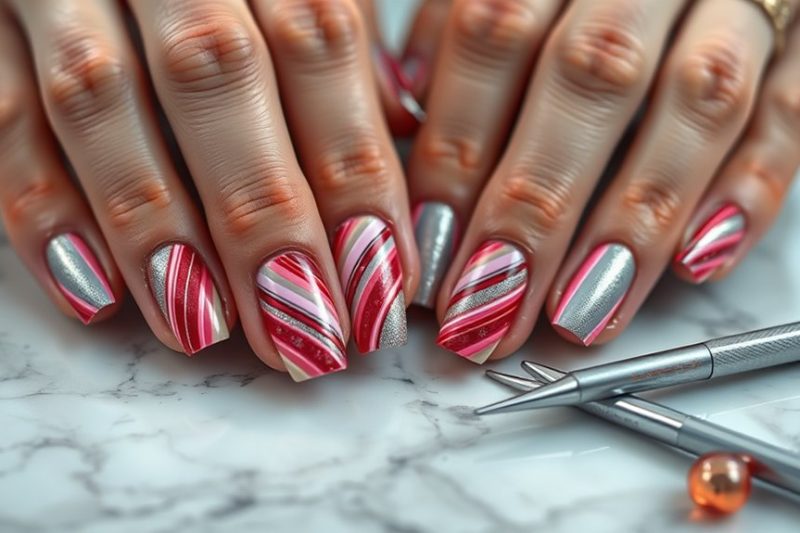
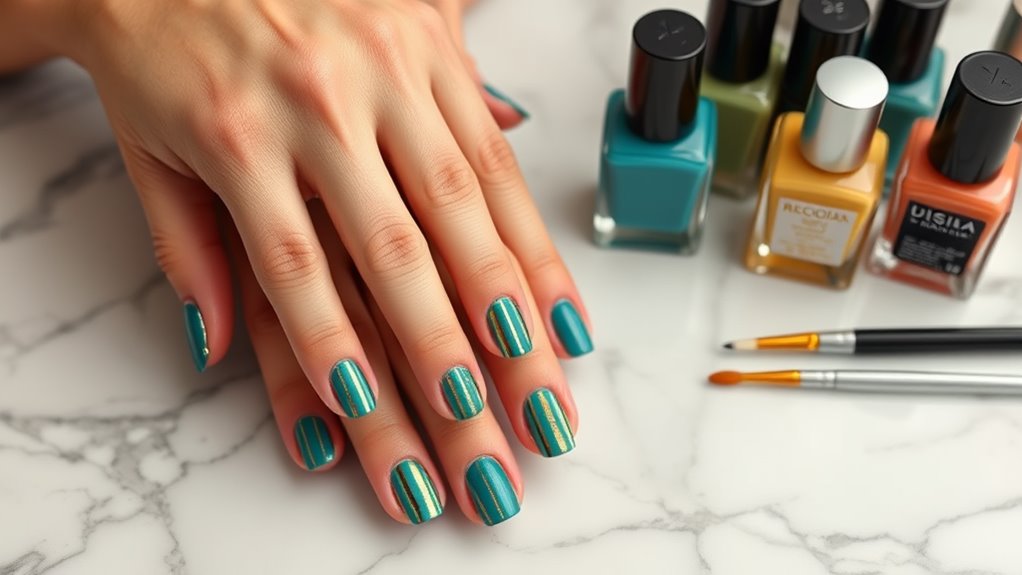
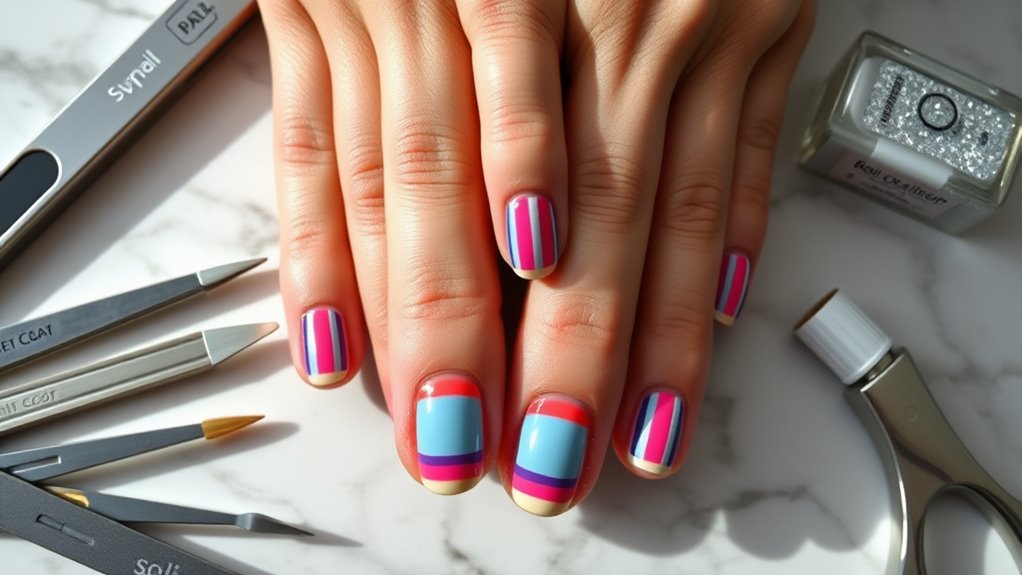
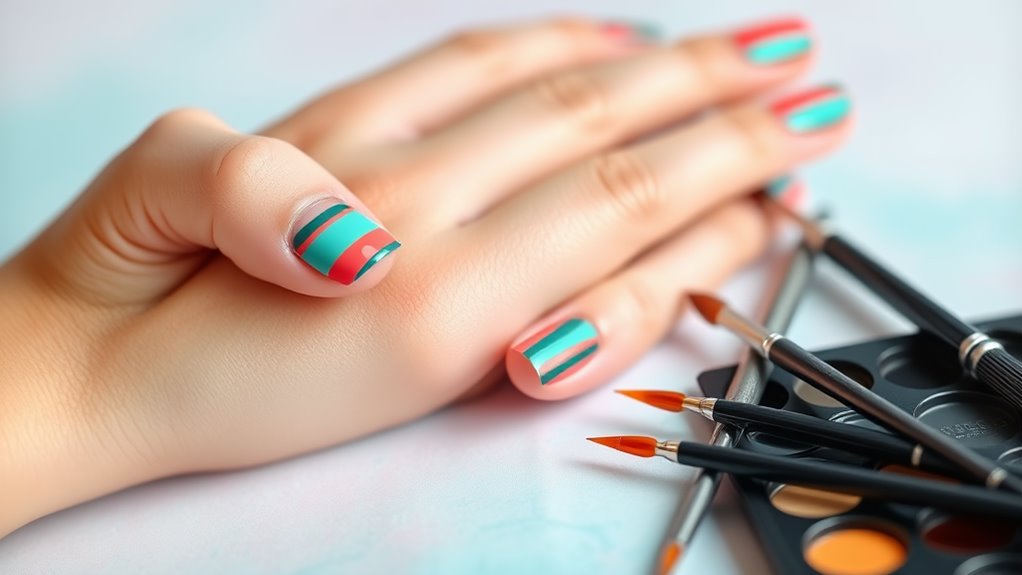
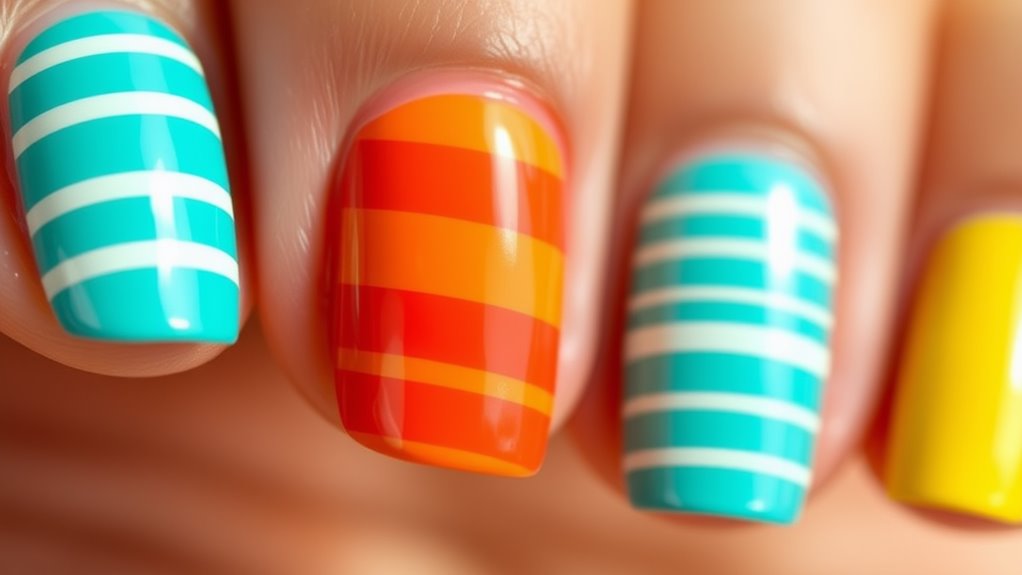
To make your striped nail designs last longer, start with quality nail products. Always prep your nails well by removing old polish and filing them into shape. A thin base coat is your best friend; it keeps colors from staining and helps your polish stick. When painting stripes, use fine-tipped brushes and nail tape for crisp lines. Don’t forget that top coat! It adds shine and protection. Finally, touch up chips and keep your cuticles moisturized for a neat finish. Try different color combos to keep things fresh. Stick around, and you’ll discover even more handy tips!

Choose Quality Nail Products

Tips_for_LongLasting_Striped_Nail_Designs_0001.jpg

When it comes to creating stunning striped nail designs, choosing quality nail products is essential. You wouldn’t want to paint a masterpiece with dull brushes, right? So, when you’re picking nail polishes, look for brands that have a good reputation. High-quality polishes not only last longer but also give you that vibrant color you crave.

Don’t forget about your base coat! It’s like the foundation of a house. A good base coat helps your stripes stick and prevents chipping. Plus, it keeps your natural nails protected, which is a win-win.

Top coat, anyone? This nifty product seals your design and adds that glossy finish. You’ll feel like a nail art superstar!

Also, keep an eye on the tools you use. A fine-tipped brush can make all the difference when you’re painting those delicate lines. If you’re using striping tape, make sure it’s sticky enough to hold its place without causing a fuss.

Investing in quality nail products might cost a bit more, but it’s totally worth it for those gorgeous, eye-catching stripes. Remember, your nails are your canvas, so treat them right!

Prepare Your Nails Properly

Tips_for_LongLasting_Striped_Nail_Designs_0002.jpg

Your nails deserve the best preparation before diving into striped nail designs. First, start with a clean slate. Remove any old polish using a gentle nail polish remover. This helps your new design stick better and look fresh.

Next, give your nails a little TLC by soaking them in warm, soapy water for a few minutes. This softens your cuticles, making it easier to push them back gently with a cuticle pusher.

Don’t forget to file your nails! Choose a shape that suits you, whether it’s square, oval, or something fun. A smooth edge helps prevent snags and breaks, which is a real bummer when you’re trying to show off your stripes.

Once your nails are in tip-top shape, apply a base coat. This step is essential! It protects your nails from staining and provides a nice surface for your polish.

Plus, it helps your design last longer—who doesn’t want that?

Master Striping Techniques

Tips_for_LongLasting_Striped_Nail_Designs_0003.jpg

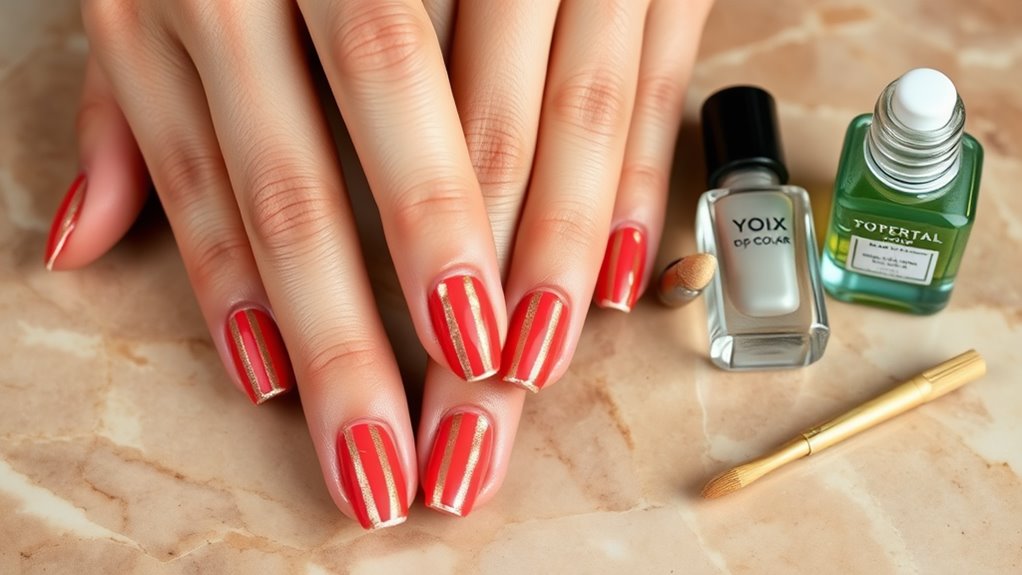
Precision is key when mastering striping techniques that can elevate your nail art to the next level. First, you’ll want to gather your tools. A striping brush, nail tape, or even a toothpick can work wonders. Just think of it as picking your favorite paintbrush for a masterpiece!

Next, practice makes perfect. Start with a steady hand and take your time. If you rush, your lines might end up looking more like squiggles than stripes. You don’t want that! Instead, try to create smooth, even strokes. It’s like drawing a straight line in art class—focus is everything.

You can also experiment with different widths. Thin stripes can look sleek and modern, while thicker ones can add a bold touch. Just remember, if you make a mistake, don’t panic! You can always fix it with a little nail polish remover and a steady hand.

Lastly, use contrasting colors to make your stripes pop! Bright and dark shades create eye-catching designs that everyone will admire.

Use a Base Coat

Tips_for_LongLasting_Striped_Nail_Designs_0004.jpg

Applying a base coat is essential for achieving a flawless striped nail design. It’s like the superhero cape for your nails! A good base coat not only helps the polish stick better but also protects your natural nails from stains. Think of it as a barrier against those bold colors you’re about to apply.

Before you plunge into your stripe-tastic adventure, make sure your nails are clean and dry. Just paint on a thin layer of base coat and let it dry completely. This step might seem small, but it makes a big difference in how your stripes look and how long they last.

Plus, it helps the colors pop, making your design even more eye-catching. You wouldn’t want to put a beautiful painting on a rough canvas, right? So, treat your nails with some TLC by using a base coat!

It’ll save you from any nail disasters down the road. Remember, a little prep goes a long way in nail art. Now that you’ve got your base coat ready, you’re all set to release your creativity with those stripes! Happy painting!

Apply a Top Coat

Tips_for_LongLasting_Striped_Nail_Designs_0005.jpg

Once those stunning stripes are in place and completely dry, it’s time to seal the deal with a top coat. This magical layer not only adds a beautiful shine but also protects your nail art from chips and scratches. Trust me, you don’t want all that hard work to go to waste!

When you apply the top coat, use long, even strokes to cover the entire nail. Start from the base and glide to the tip. Make sure you get the edges too; this helps prevent any peeling later.

If you notice any bubbles, don’t panic! Just let the top coat dry completely, and they’ll usually disappear as it sets.

Now, remember to let the top coat dry thoroughly before you dive back into your daily activities. A little patience goes a long way! You might want to do a little happy dance while you wait because your nails are going to look fabulous!

Maintain Your Manicure

Tips_for_LongLasting_Striped_Nail_Designs_0006.jpg

To keep your striped nail designs looking fresh and fabulous, regular maintenance is key. Start by checking your nails every few days. If you notice any chips or wear, don’t panic! Just touch them up with a little polish. You can use the same colors or switch it up for a fun twist.

Next, remember to moisturize your cuticles. Dry cuticles can make your manicure look messy, and nobody wants that! A good cuticle oil or cream can work wonders. Just a dab will do.

Also, try to avoid doing heavy-duty tasks without gloves. Water, cleaning products, and rough surfaces can ruin your design faster than you can say “nail art.”

Lastly, don’t forget to reapply your top coat every few days. This step keeps your stripes shiny and helps protect against chips. If you notice any fading, don’t worry; just a quick refresh can bring back the sass!

Experiment With Color Combinations

Tips_for_LongLasting_Striped_Nail_Designs_0007.jpg

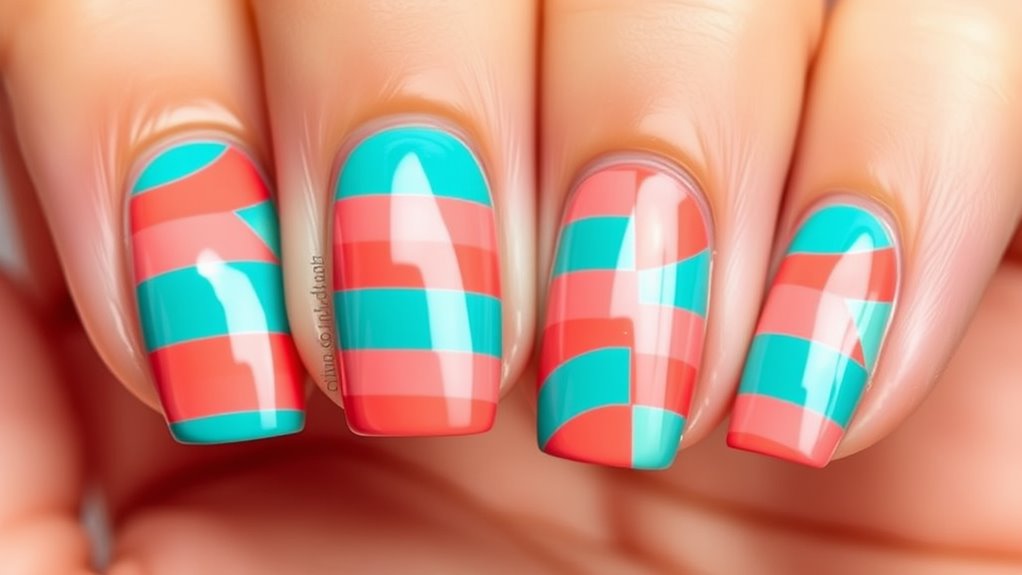
Keeping your striped nails fresh is just the beginning; now it’s time to have fun with color combinations! You can really let your creativity shine by mixing and matching different shades. Think about your favorite colors or even the season. For example, bright colors scream summer, while warm tones are perfect for fall.

Don’t be afraid to try unexpected combos! Pair a bold blue with a soft pink, or mix a vibrant yellow with a deep purple. You might think they clash, but sometimes the wildest combinations make the best art!

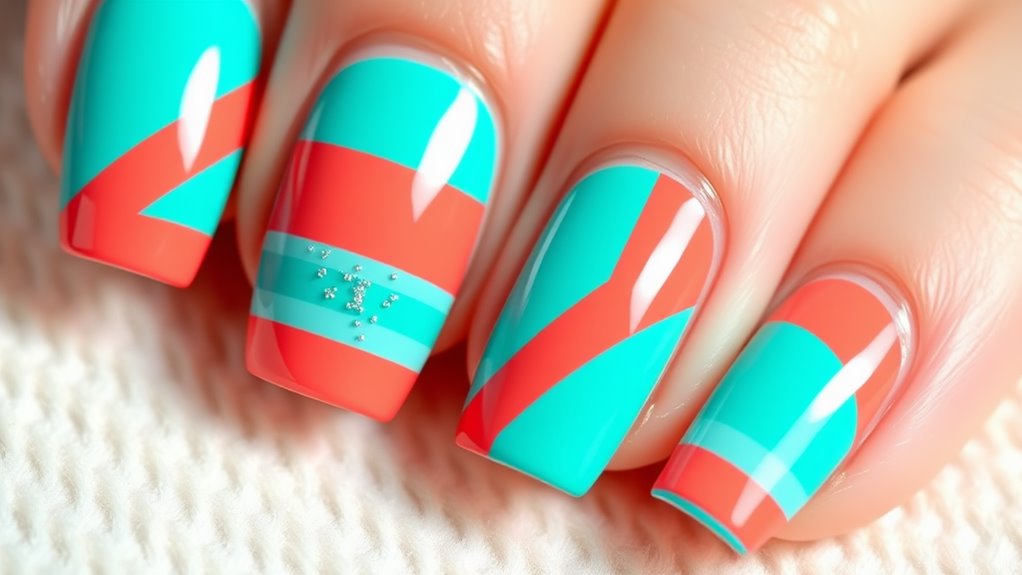
If you’re feeling unsure, start with colors that are next to each other on the color wheel, like blue and green, for a more harmonious look. Feeling adventurous? Try contrasting colors, like orange and teal, to really make your nails pop!

Remember to keep your stripes consistent. You can alternate colors in stripes or create patterns with different widths.

And when you find a combo you love, snap a pic. You’ll want to remember your masterpiece! So grab those polish bottles, release your inner artist, and have fun experimenting with your striped nail designs!

Conclusion

With the right products and a little practice, you can rock those striped nail designs like a pro. Remember to prep your nails, use a base and top coat, and don’t be afraid to mix up those colors. Keep your manicure fresh, and soon you’ll be the envy of all your friends. Nail art is all about having fun, so let your creativity shine! Happy striping, and may your nails always look fabulous!
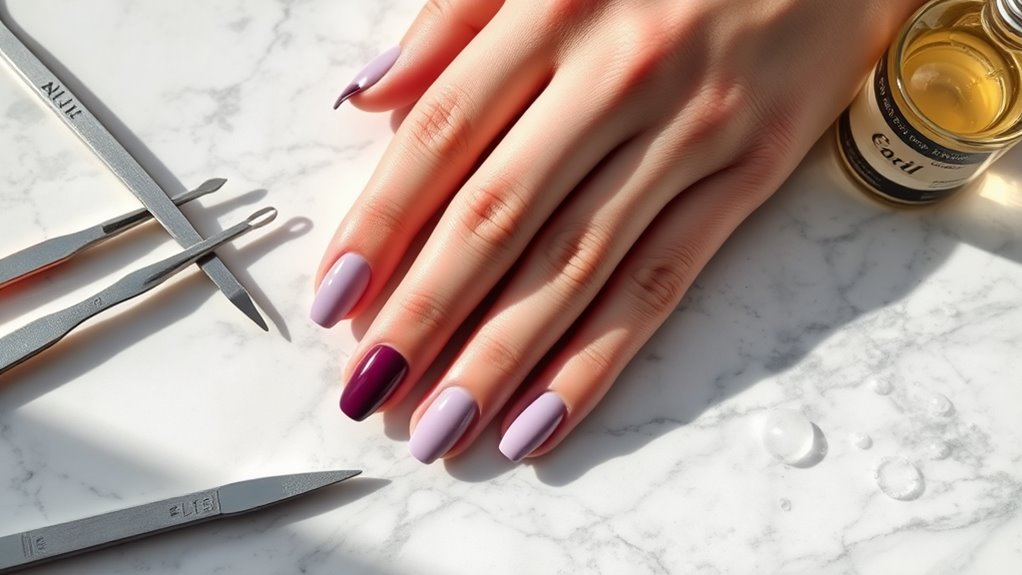
Polka Dot Nail Art- Tips for Beginners

Polka Dot Nail Art- Tips for Beginners

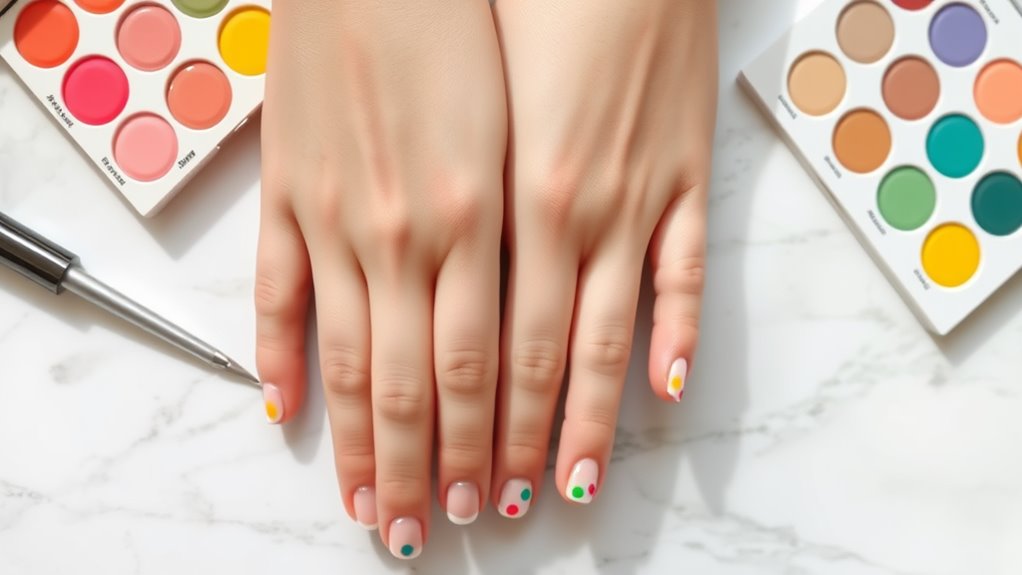
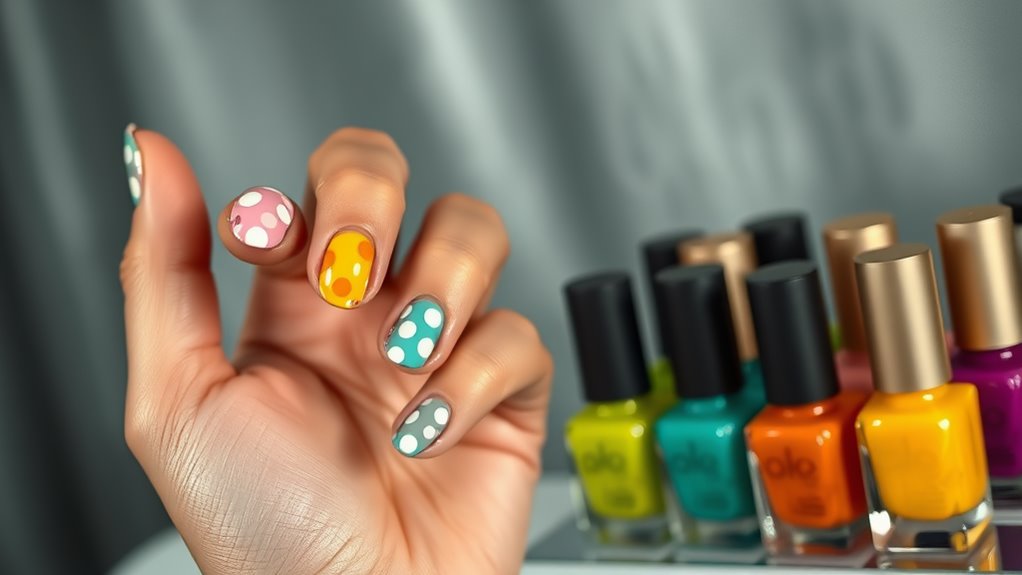
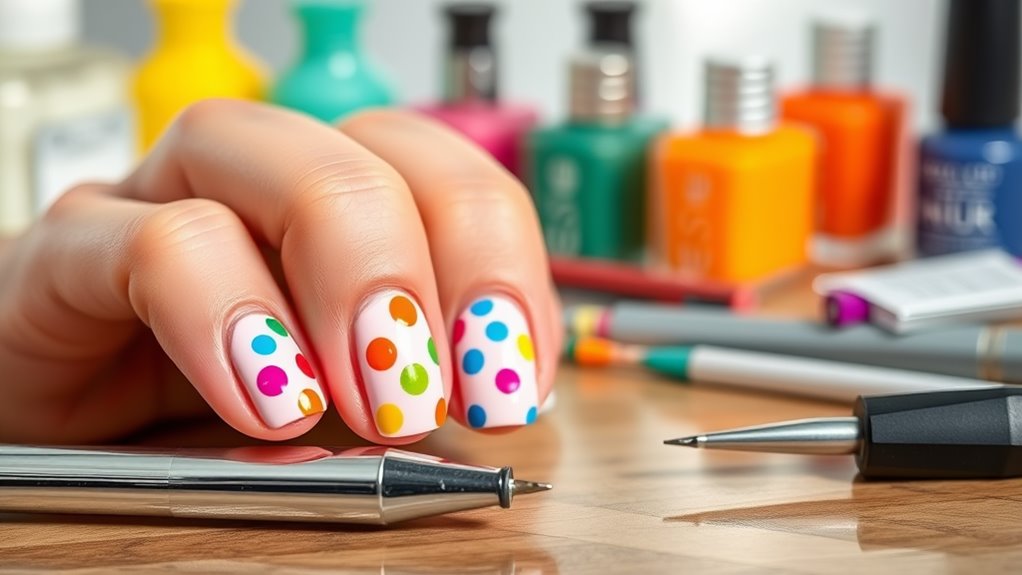
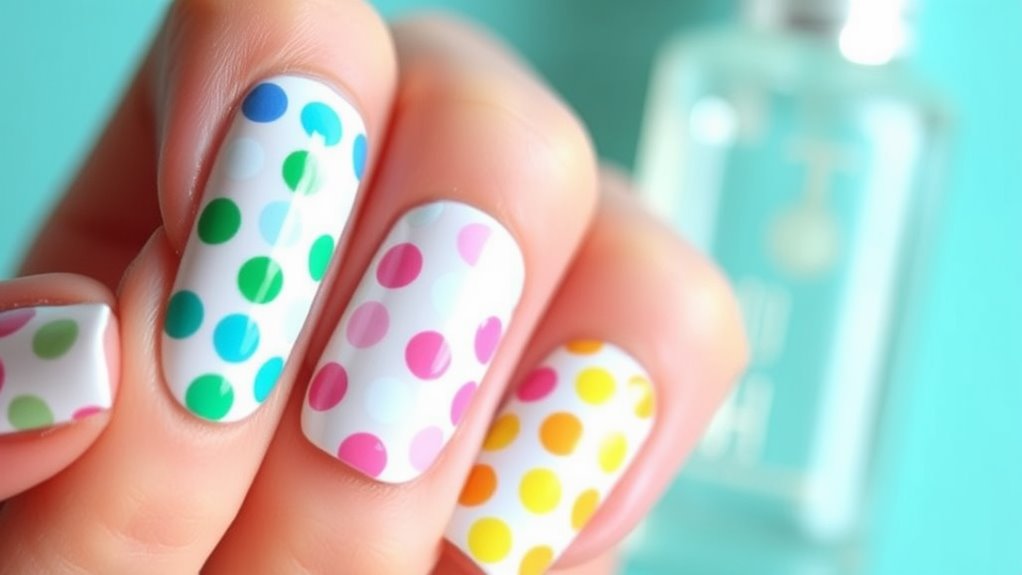
Polka dot nail art is super fun and easy to try out! First, grab some dotting tools; they’re perfect for making neat dots. Choose a bright nail polish, like pink or white, for a pop of color. Remember to clean your nails and apply a base coat before starting. When you dot, lightly dip your tool and press straight down—lift without dragging! Don’t sweat the small stuff; each dot doesn’t have to be perfect. Enjoy the process and try different patterns! If you stick around, you’ll discover even more tips for polishing your nail art skills!

Essential Tools for Nail Art

Polka_Dot_Nail_Art_Tips_for_Beginners_0001.jpg

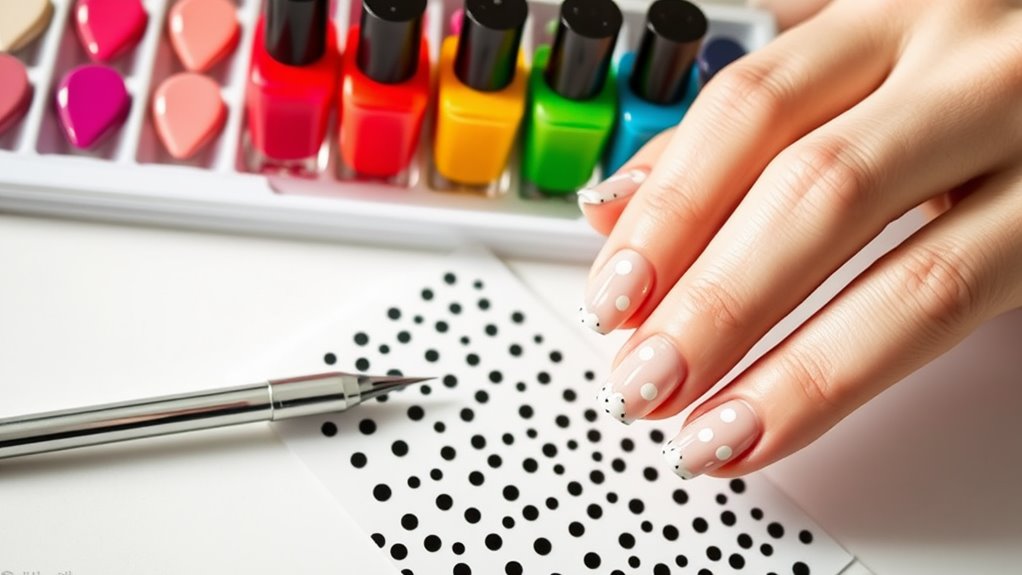
To create stunning polka dot nail art, you’ll need a few essential tools in your arsenal. First up, grab some dotting tools. These handy gadgets come in various sizes, so you can make tiny or large dots, depending on your mood.

If you don’t have dotting tools, don’t worry! A bobby pin or a toothpick works just as well.

Next, you’ll want to stock up on nail polish. Choose a base color that makes your polka dots pop! You can go for classic white, bright pink, or even a sparkly gold—whatever tickles your fancy.

Make sure to have contrasting colors for the dots themselves.

You’ll also need a good top coat to seal in your masterpiece and keep those dots looking fresh.

And don’t forget some nail tape or stickers, which can help make crisp lines if you want to add extra flair.

Lastly, keep a few cotton balls and nail polish remover nearby for any little mistakes—because let’s be real, nobody’s perfect!

With these tools, you’re all set to start creating your fabulous polka dot designs. Happy painting!

Preparing Your Nails

Polka_Dot_Nail_Art_Tips_for_Beginners_0002.jpg

Before you start painting those polka dots, take a moment to prepare your nails for the best results. Trust me, a little prep can make a big difference!
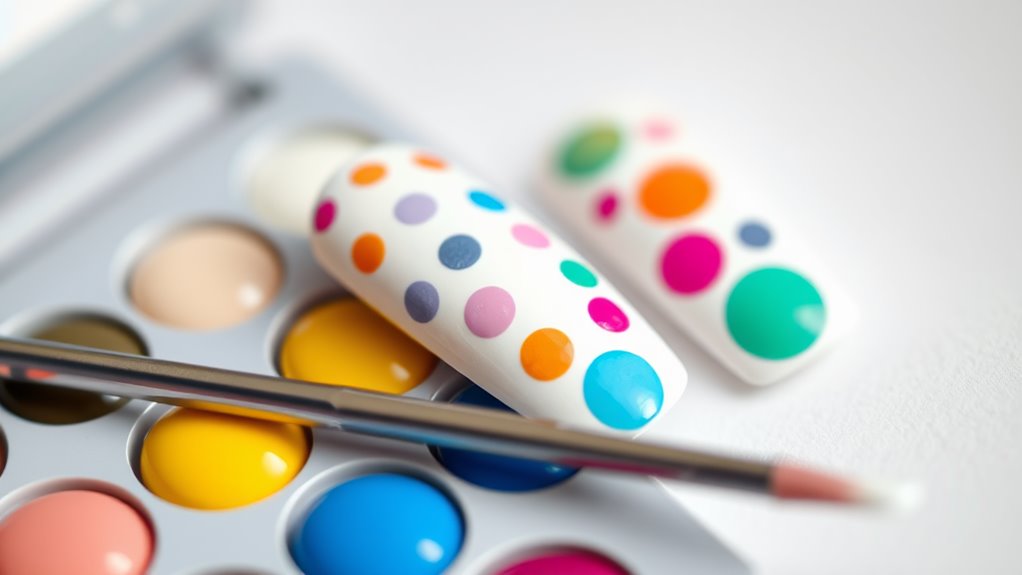
First, give your nails a good wash with soap and water. This removes any dirt or oils that could mess with your polish.

Next, dry them off and check for any rough edges. If your nails feel jagged, grab a nail file and smooth them out.

Now, it’s time to push back those cuticles. Use a cuticle stick or your fingers to gently push them back. This step helps your polish stick better and makes your nails look neater.

Once you’ve got everything looking spiffy, apply a base coat. This isn’t just a fancy extra—base coats protect your nails and help the polish adhere better.

Choosing the Right Polish

Polka_Dot_Nail_Art_Tips_for_Beginners_0003.jpg

Your polish choice can make or break your polka dot nail art, so pick wisely! When you’re diving into the world of nail art, the type of polish you select is super important.
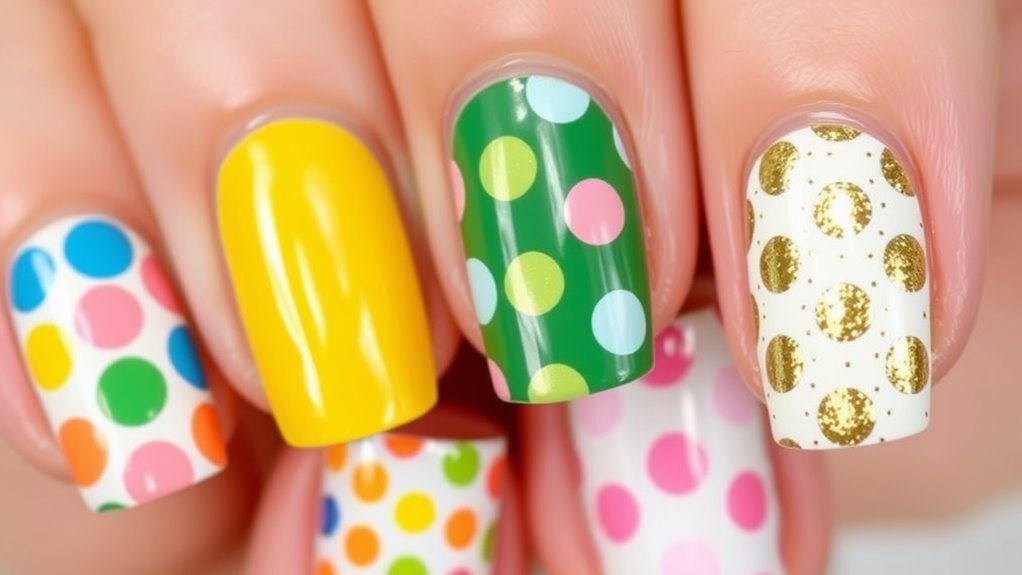
You’ll want to choose polishes that are opaque and vibrant. Pastel colors can look lovely, but if they’re too sheer, your dots mightn’t pop!

Think about the finish, too. Do you want a glossy shine, or are you feeling a matte look? Glossy polishes tend to make your dots stand out more, while matte can give a unique vibe.

Don’t forget about the drying time! Some polishes dry faster than others, and you don’t want to spend ages waiting between coats. If you’re impatient like me, look for quick-dry formulas; they’re a game-changer!

Also, consider using a base and top coat. A good base coat helps your polish stick better and makes your colors look bolder.

A top coat not only adds shine but also seals your design, keeping it looking fresh longer. Remember, the right polish can boost your nail art game, so have fun experimenting with colors and finishes!

Basic Dotting Techniques

Polka_Dot_Nail_Art_Tips_for_Beginners_0004.jpg

Mastering basic dotting techniques is essential for achieving stunning polka dot nail art. First, grab your dotting tool or a simple toothpick. You don’t need fancy tools; just something with a rounded tip will do.

Next, dip your tool into your nail polish, but don’t overload it. Too much polish can create a messy dot, and nobody wants that!

Now, gently press the tool onto your nail. If you want to create a perfect dot, lift it straight off without dragging. It’s like magic! Don’t worry if your dots aren’t perfect at first; practice makes progress. You can start with one color and then add more once you feel comfortable.

If you want to spice things up, try varying your dot placement. Arrange them in neat rows or scatter them randomly for a fun look.

And remember, patience is key. If you’re in a hurry, your dots might end up looking like squished bugs!

Creating Different Dot Sizes

Polka_Dot_Nail_Art_Tips_for_Beginners_0005.jpg

Once you’ve got the hang of basic dotting techniques, you can easily create different dot sizes to elevate your nail art. This is where the fun really begins!

To make tiny dots, try using a toothpick or a fine-tipped dotting tool. Just dip it into your nail polish and gently press it onto your nail. The smaller the tool, the tinier the dot!

For larger dots, you can grab a bobby pin or the end of a paintbrush. Dip it in polish and give it a good press on your nail. You’ll be amazed at how different tools can create such varying sizes. It’s like magic, but without the wand!

Don’t forget to practice! The more you try, the better you’ll get at controlling dot sizes. You can even mix up the sizes on one nail for a playful look.

Just remember, if you mess up, nail polish remover is your best friend!

Color Combinations and Patterns

Polka_Dot_Nail_Art_Tips_for_Beginners_0006.jpg

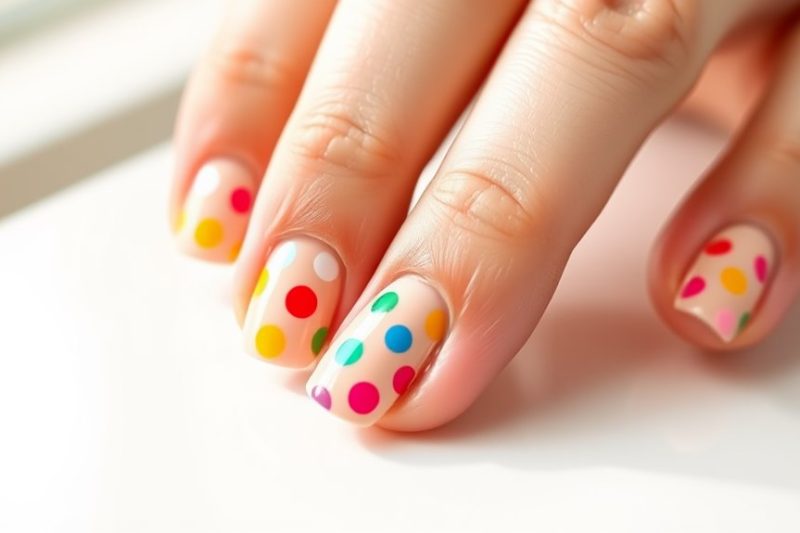
When it comes to nail art, choosing the right color combinations and patterns can make all the difference in achieving a stunning look. You want your polka dots to pop, right? Start by picking a base color that you love. Light colors like pastel pink or mint green are great for a fresh look, while bold shades like deep purple or bright red can really make your dots stand out.

Now, think about your dot colors! You could go for classic black and white for a chic vibe or mix in a fun contrast like yellow dots on a navy background. Don’t be afraid to experiment! Try using three colors for a playful twist—maybe a pink base with white and gold dots.

Patterns can also spice things up. Instead of placing dots randomly, create a pattern like stripes or zigzags. You can even mix different sizes of dots for added flair!

Finishing Touches and Topcoat

Polka_Dot_Nail_Art_Tips_for_Beginners_0007.jpg

After perfecting your polka dot design, it’s time to focus on the finishing touches and topcoat. This step is like putting the cherry on top of your nail art sundae!

First, let your polish dry completely. No one wants smudged dots, right? Once dry, grab your favorite clear topcoat. A good topcoat not only adds shine but also helps protect your design from chips and scratches.

When applying the topcoat, use smooth strokes and try not to disturb your polka dots. You want to seal them in, not swirl them around like a milkshake! If you notice any tiny bubbles forming, don’t panic; just wait a moment and gently tap the brush on your nail to smooth it out.

After applying the topcoat, let your nails dry thoroughly. You might be tempted to do something right away, but patience is key!

Once they’re dry, your polka dot nails will look fabulous and last longer. You can even show them off to your friends and say, “I did this myself!” Trust me, they’ll be impressed!

Enjoy your beautiful nails, and remember, practice makes perfect!

Common Mistakes to Avoid

Polka_Dot_Nail_Art_Tips_for_Beginners_0008.jpg

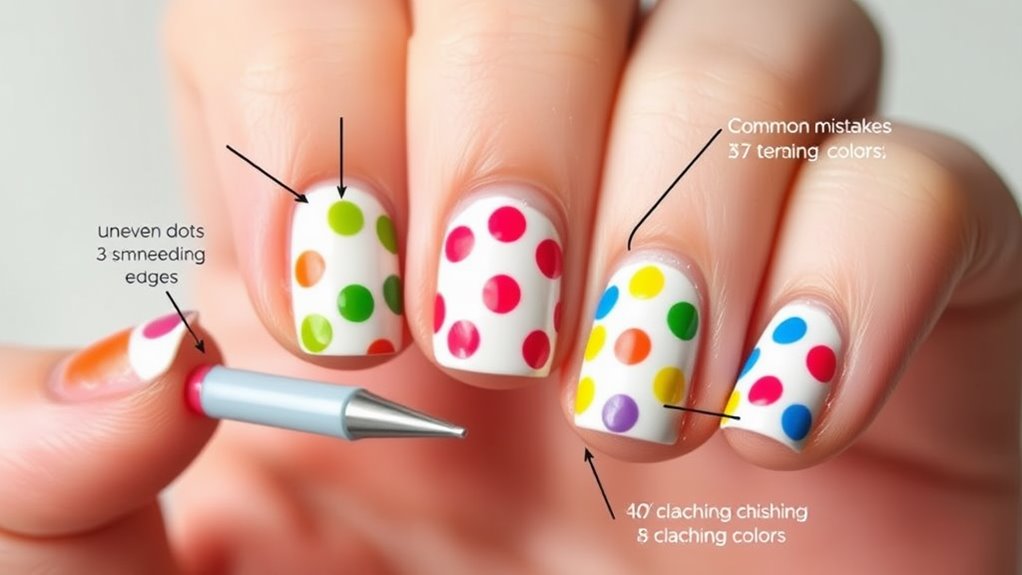
Nail art can be a delightful experience, but there are common mistakes you should steer clear of to achieve that perfect polka dot look.

First off, using the wrong tools can really mess things up. If you think a regular brush will do the trick, think again! Grab a dotting tool or a bobby pin for those neat little dots.

Next, don’t rush the drying time. You might be tempted to move on to the next color too quickly, but trust me, letting each layer dry is key. Smudged dots aren’t as cute as they sound!

Also, be careful with your dot size. Too big, and your dots might look like blobs; too small, and they’ll disappear. Find a happy medium!

Lastly, remember to have fun! If you stress too much about perfection, you might forget to enjoy the process. Nail art is all about creativity, so embrace those little imperfections—they add charm!

With these tips, you’ll be well on your way to rocking those polka dots without a hitch. Happy painting!

Conclusion

Now that you’ve got the basics down, it’s time to release your creativity! Remember, practice makes perfect, so don’t worry if your first polka dots aren’t perfect. Keep experimenting with colors and patterns until you find what you love. And hey, if you make a mistake, just call it “abstract art”! So grab those tools, get painting, and show off your fabulous polka dot nails. You’ve got this! Happy nail art!

Step-by-Step Guide to DIY French Manicure Designs

Step-by-Step Guide to DIY French Manicure Designs

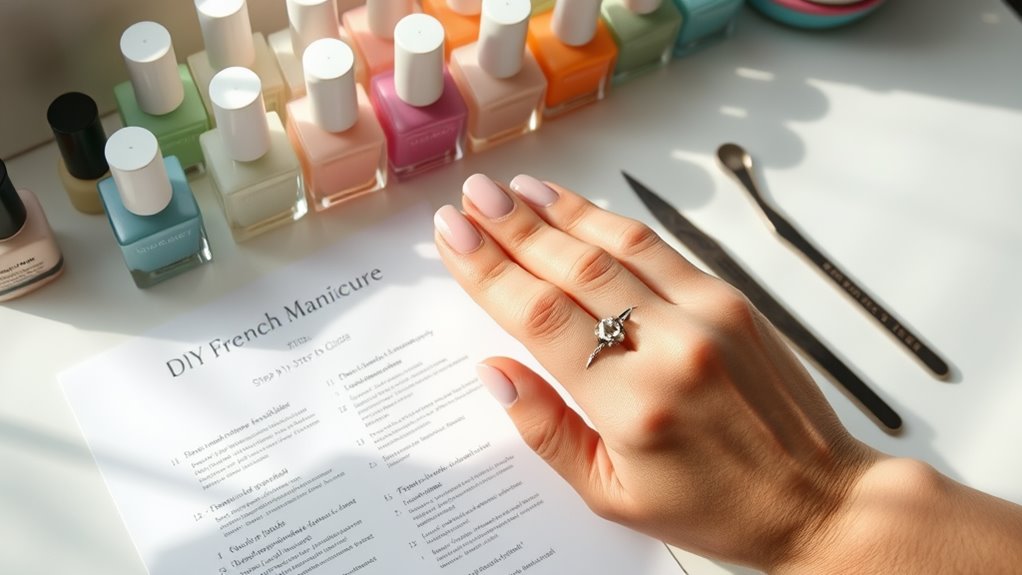
Creating a beautiful DIY French manicure is super fun and easy! First, gather your essential tools: base coat, nude polish, white polish, and a top coat. Start by preparing your nails—clean them, trim, shape, and push back your cuticles. Then, apply a coat of nude polish for the base. Once that’s dry, use white polish to paint the tips—don’t worry if they’re not perfect right away! Seal your design with a top coat, and, voilà, you’re all set! Feeling adventurous? Stick around, and you’ll discover lots of creative ways to customize and maintain your manicure!

Essential Tools and Materials

StepbyStep_Guide_to_DIY_French_Manicure_Designs_0001.jpg

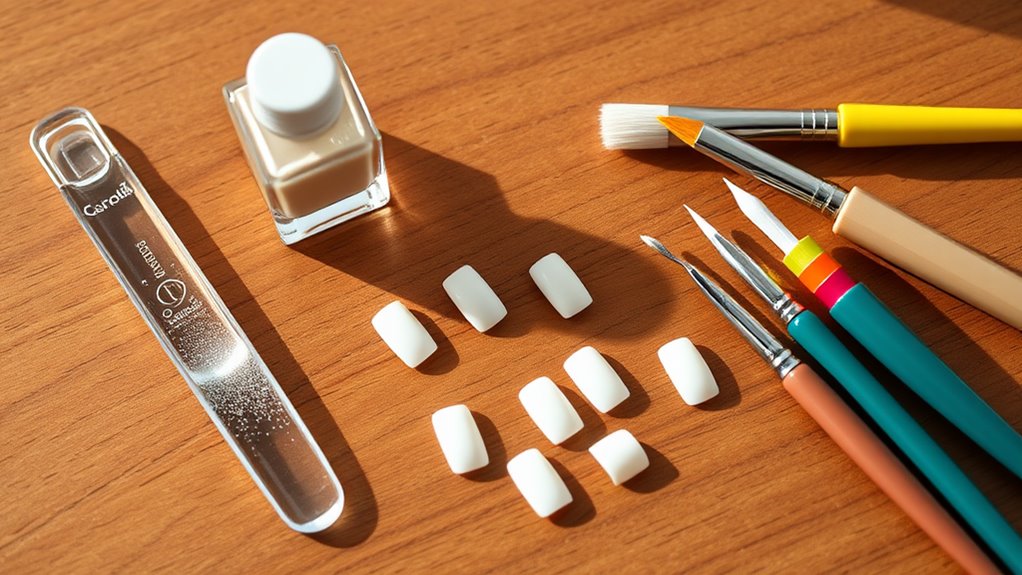
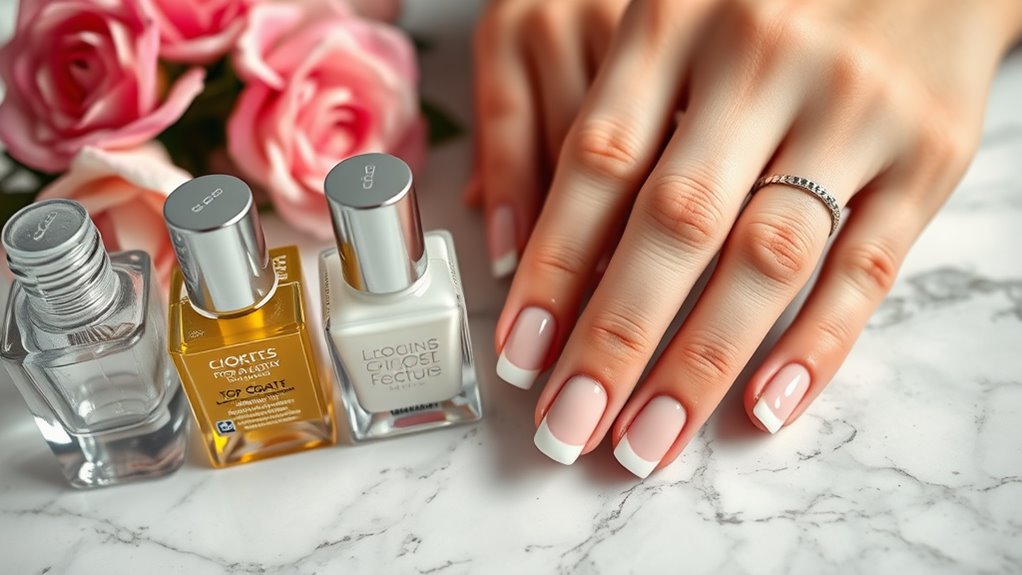
To create stunning DIY French manicures, you’ll need just a handful of essential tools and materials. First, grab a good base coat; it protects your nails and helps the polish stick.

You’ll also want a white nail polish for that classic French tip look. Don’t forget a nude or light pink polish for the main color; it’ll give you that elegant finish.

Next, you’ll need a top coat. This shiny layer seals everything in and makes your nails pop!

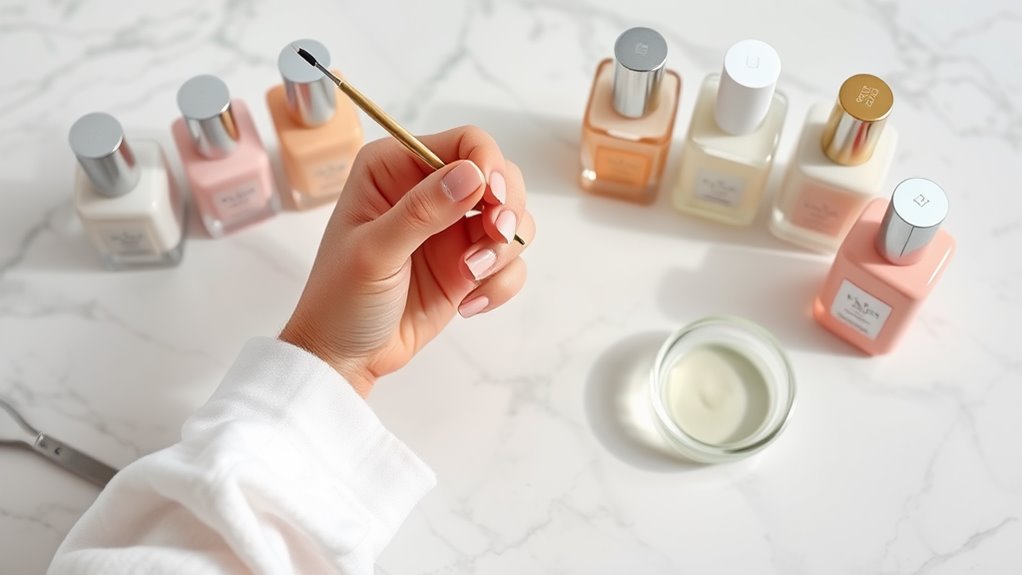
For precision, a thin brush or nail art pen is super helpful when you’re painting those tips. You could also use nail striping tape if you’re feeling fancy—it helps create clean lines.

Preparing Your Nails

StepbyStep_Guide_to_DIY_French_Manicure_Designs_0002.jpg

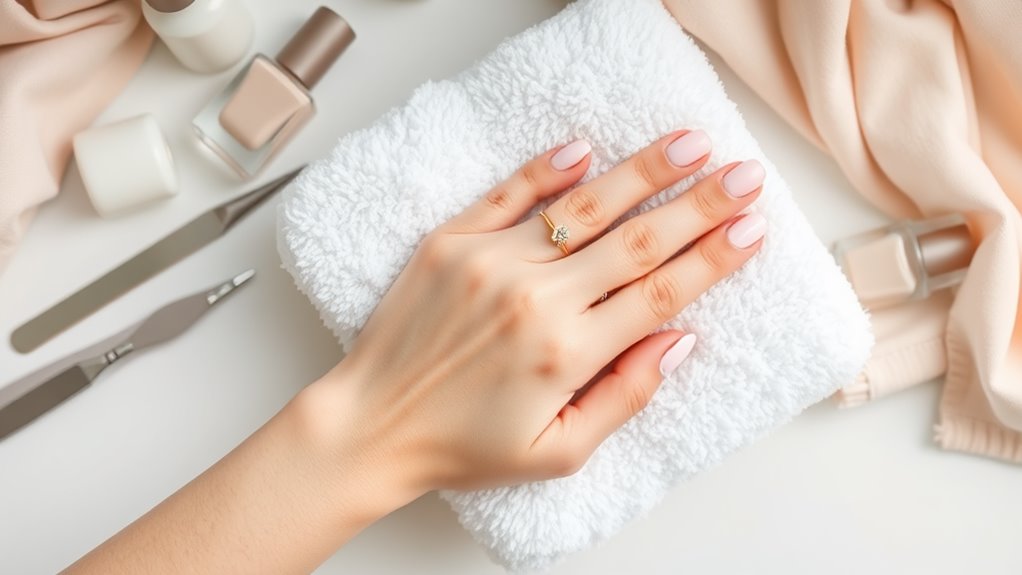
Before diving into your DIY French manicure, it’s crucial to prepare your nails properly. You want your nails to be clean and healthy, so start by removing any old polish. Use a gentle nail polish remover, and don’t forget to wash your hands afterward!

Next, trim your nails to your desired length. Whether you like them short and neat or a bit longer, make sure they’re even.

After trimming, it’s time to shape them. You can choose square, round, or even a trendy almond shape—pick what feels right for you!

Now, grab your nail file and smooth out any rough edges. This step helps avoid snags and keeps your nails looking polished.

Once you’ve shaped your nails, it’s important to push back the cuticles gently. This gives your nails a clean look and helps with the polish application.

Choosing Your Color Palette

StepbyStep_Guide_to_DIY_French_Manicure_Designs_0003.jpg

Choosing your color palette can make or break your DIY French manicure, so it’s essential to ponder what suits your style. You might want to stick with classic white tips, but why not have a little fun? Think about adding a pop of color! Pastels, bolds, or even glitter can all jazz up your look.

When choosing colors, consider the occasion. A soft pink is great for a wedding, while a bright blue could be perfect for a party. Don’t forget to match your outfit, too! If you’re going for a special look, you might want to coordinate your nails with your shoes or bag.

You can also experiment with different shades for the tips. A light lavender with a dark purple tip can be super chic. Or, if you’re feeling adventurous, try a rainbow of colors! Just remember, too many colors can clash, so keep it balanced.

Lastly, think about your skin tone. Warm tones like peach or coral look fantastic on warmer skin, while cooler tones like blue or silver work well for cooler skin tones.

Have fun and let your personality shine through your colors!

Classic French Manicure Technique

StepbyStep_Guide_to_DIY_French_Manicure_Designs_0004.jpg

Achieving a flawless classic French manicure requires precision and a steady hand.

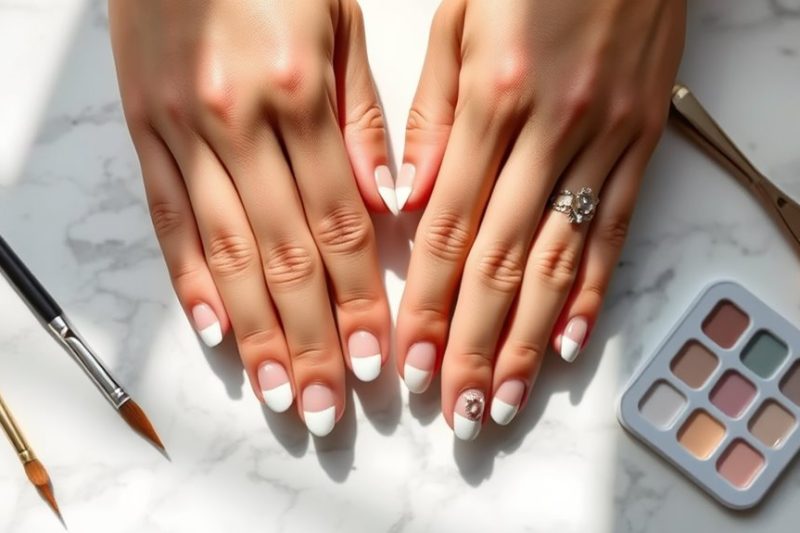
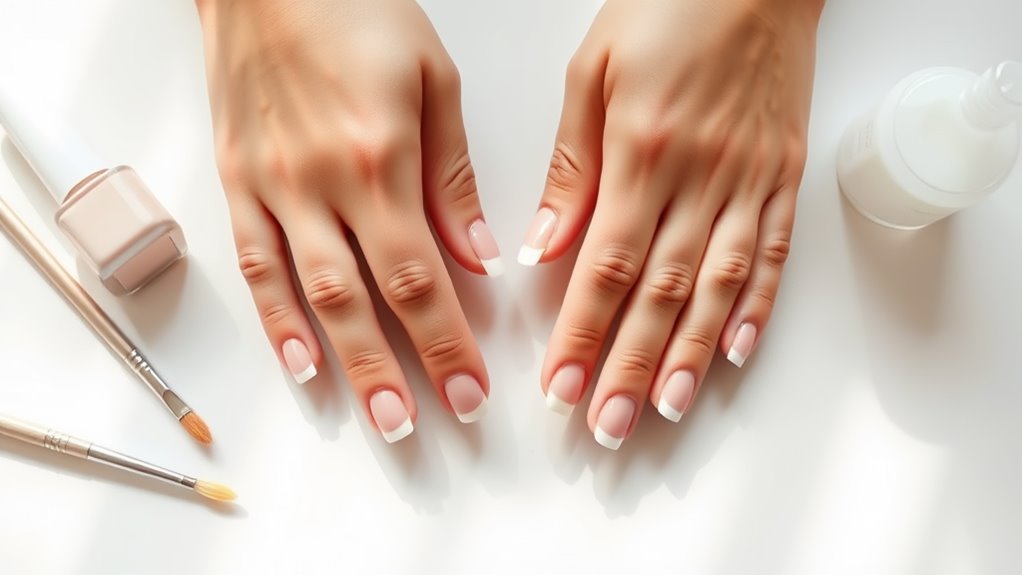
First, start with clean, dry nails. Apply a base coat to protect your nails and help your polish last longer. Once that’s dry, choose a soft pink or nude polish for your nail bed. Apply one or two coats, letting each layer dry completely.

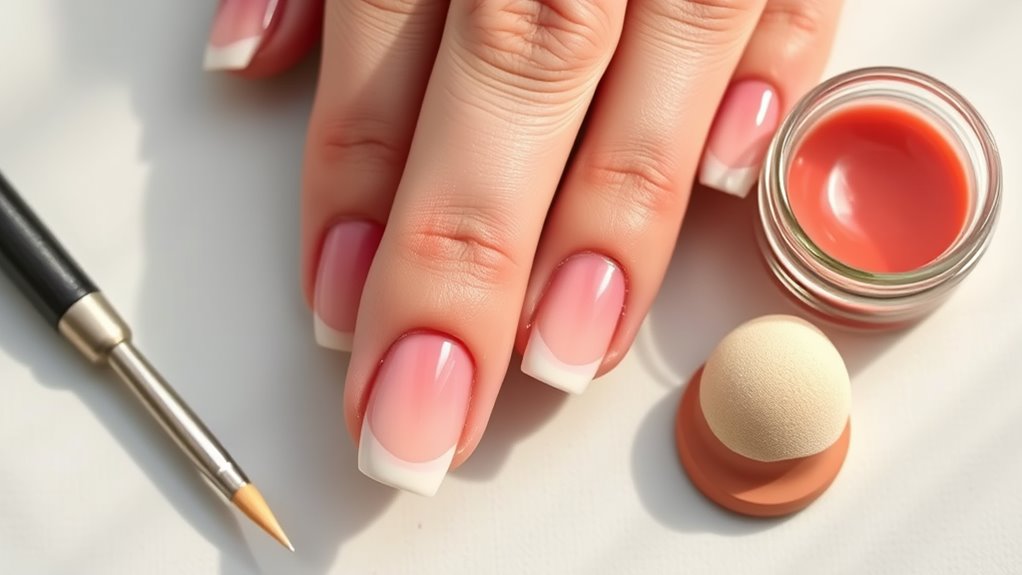
Now, it’s time for the fun part! Grab a white nail polish for the tips. Use a nail brush or a steady hand to paint a thin line across the tip of each nail. Don’t worry if it’s not perfect on the first try; practice makes perfect! If you mess up, just use a cotton swab dipped in nail polish remover to clean the edges.

After the white polish is dry, seal your masterpiece with a top coat. This not only adds shine but also keeps your nails looking fresh.

Remember, a little patience goes a long way! And voilà, you’ve got a classic French manicure that’ll impress everyone.

Now, go show off those fabulous nails, and remember, you’re always just one polish away from fabulous!

Creative Design Variations

StepbyStep_Guide_to_DIY_French_Manicure_Designs_0005.jpg

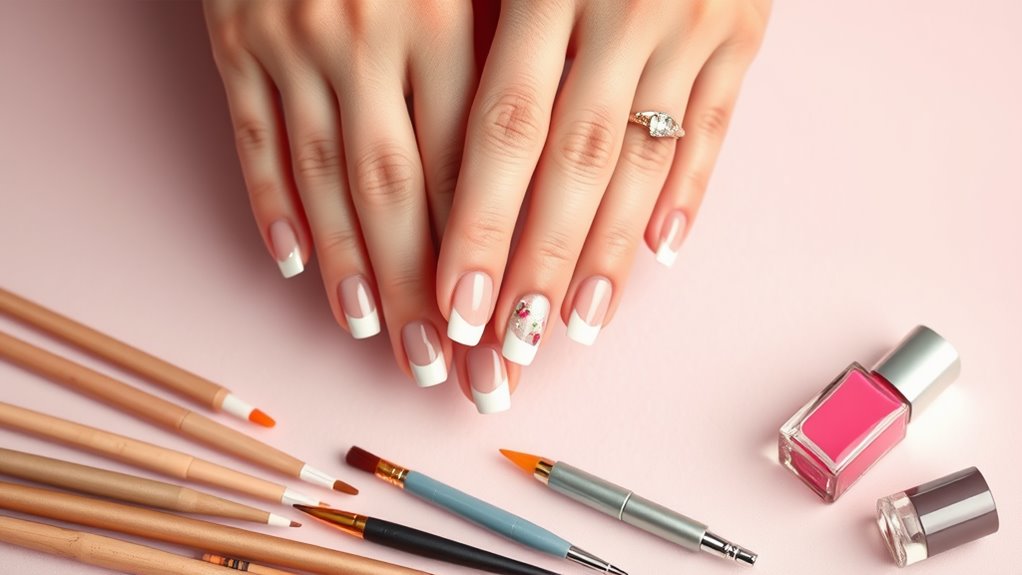
If you’re looking to add a twist to your classic French manicure, there are countless creative design variations to explore. You can start by switching up the colors. Instead of the usual white tips, try vibrant colors like neon pink or a soft pastel yellow. This simple change can really make your nails pop!

Another fun idea is to play with shapes. Instead of the traditional straight line, why not try a curved or zigzag tip? It’s like giving your nails a little dance party!

If you’re feeling even bolder, consider adding some glitter or metallic accents to your tips. Just a little shimmer can turn heads.

You can also mix and match your nail designs. For example, paint some nails with a classic French tip, while others showcase a fun geometric design. It’s like having a mini art gallery on your hands!

Lastly, don’t forget about adding some small stickers or decals. A tiny flower or star can add a cute touch.

With these creative variations, your French manicure will be anything but boring, and you’ll have fun showing off your unique style!

Nail Art Techniques for French Manicures

StepbyStep_Guide_to_DIY_French_Manicure_Designs_0006.jpg

Nail art techniques can elevate your French manicure from simple to stunning with just a few clever tricks.

First off, consider adding some fun designs to your tips. You can use a thin brush or nail art pen to create swirls, dots, or even tiny hearts. These little details can make your manicure pop like a rainbow!

Next, try using different colors for your tips. Instead of classic white, go for pastel shades or metallics. Imagine a soft pink tip paired with a glittery gold base—a total showstopper!

You can also play with textures. Adding some matte topcoat to your tips while keeping the base shiny creates a fabulous contrast. It’s like a secret surprise for anyone who gets close enough to admire your nails!

Don’t forget about stickers or nail stamps! They’re super easy to use and can add intricate designs without the hassle. Just stick them on your dried tips, seal them with topcoat, and voilà!

With these nail art techniques, your French manicure will be anything but ordinary. Get ready to show off your creative flair, and have fun while doing it!

Tips for Perfecting Your Application

StepbyStep_Guide_to_DIY_French_Manicure_Designs_0007.jpg

Five essential tips can help you perfect your French manicure application and achieve a salon-quality finish at home.

First, start with clean, dry nails. Make sure you remove any old polish and wash your hands. Trust me, nobody wants to apply polish over leftover glitter!

Next, use a base coat. This not only protects your nails but also helps your polish stick better. You don’t want your masterpiece chipping away in a day!

When it’s time for the white tips, use a steady hand or a striping brush. Remember, practice makes perfect. If you mess up, just use a cotton swab dipped in polish remover to clean it up.

Also, don’t forget to let each layer dry completely before applying the next one. Patience is key here; rushing could lead to smudges that’ll make you want to cry.

Finally, finish with a top coat to seal everything and add shine. You’ll look down at your nails and think, “Wow, I did that!”

Finishing Touches and Top Coats

StepbyStep_Guide_to_DIY_French_Manicure_Designs_0008.jpg

After you’ve perfected your application and let each layer dry, it’s time to focus on the finishing touches that will elevate your French manicure.

First, grab a good quality top coat. This is like the superhero cape for your nails! It protects your beautiful design and adds a glossy shine. Apply it carefully to avoid smudging your hard work. Don’t forget to cover the tips, too; this helps seal everything in and gives that professional look.

Next, if you want to add a little extra flair, consider using a nail art pen or a fine brush to draw tiny designs or glitter. Just be sure to keep it simple so it doesn’t steal the spotlight from your French tips.

Once you’ve finished your designs, let everything dry completely. Nobody wants a smudged masterpiece!

If you’ve got any cuticle oil handy, apply a bit around your nails to keep your cuticles looking fresh.

Maintaining Your Manicure

StepbyStep_Guide_to_DIY_French_Manicure_Designs_0009.jpg

A stunning French manicure deserves proper care to guarantee it lasts as long as possible. To keep your nails looking fresh, start by avoiding harsh chemicals. This means steering clear of strong cleaning products and wearing gloves when you wash dishes. Your nails will thank you for it!

Next, remember to moisturize your nails and cuticles regularly. A little bit of cuticle oil goes a long way. Apply it daily to keep everything hydrated and prevent cracking. You wouldn’t want your lovely manicure to look dry and sad, right?

In addition, try to avoid using your nails as tools. Opening cans or scratching things might seem harmless, but it can lead to chips and breaks. If you feel the urge to do so, just grab a proper tool instead!

Lastly, schedule regular touch-ups. Even the best manicures need a little love after a week or two. A quick refresh on the tips can restore that perfect look.

Conclusion

Now that you’ve got the tools and techniques for your DIY French manicure, it’s time to get creative! Remember, practice makes perfect, so don’t worry if your first try isn’t flawless. Have fun experimenting with colors and designs that show off your personality. With a little patience and some laughs along the way, you’ll have fabulous nails in no time. So grab your polish and let your creativity shine—your nails are ready for their close-up!