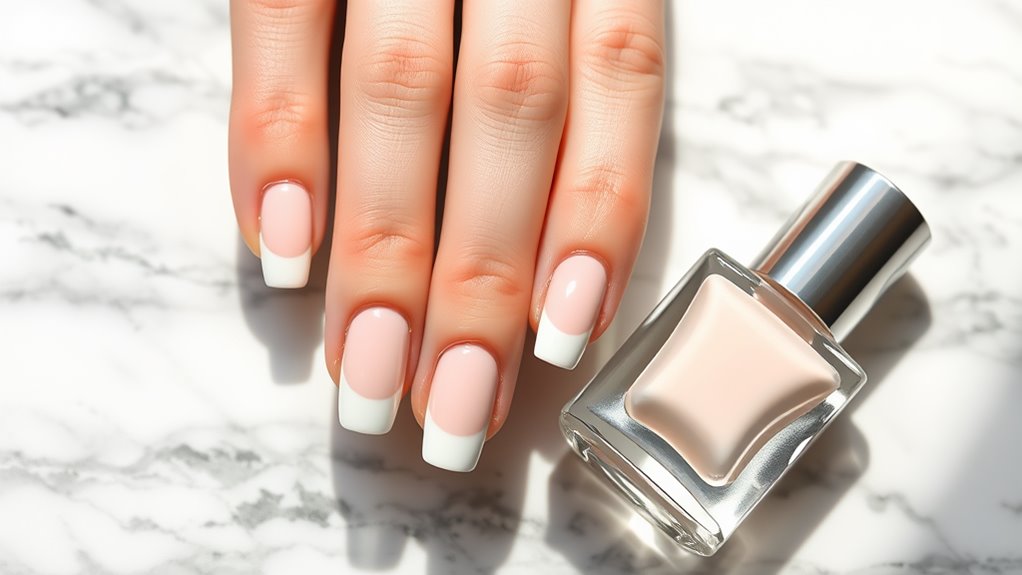
Caring for Your Classic Nail Wraps
Caring for your classic nail wraps is all about keeping them fabulous! First, choose high-quality wraps that fit well. Clean your nails before applying, and make sure they’re dry to guarantee the wraps stick. Avoid using your nails as tools because, honestly, that’s just asking for trouble! Wash your hands gently and keep the skin around your nails moisturized, but steer clear of the wraps. Regularly check for lifting edges and smooth them out. If your wraps look a little worn, a clear top coat can work wonders. Stick around, and you’ll discover even more tips to keep those nails shining bright!
Selecting Quality Nail Wraps
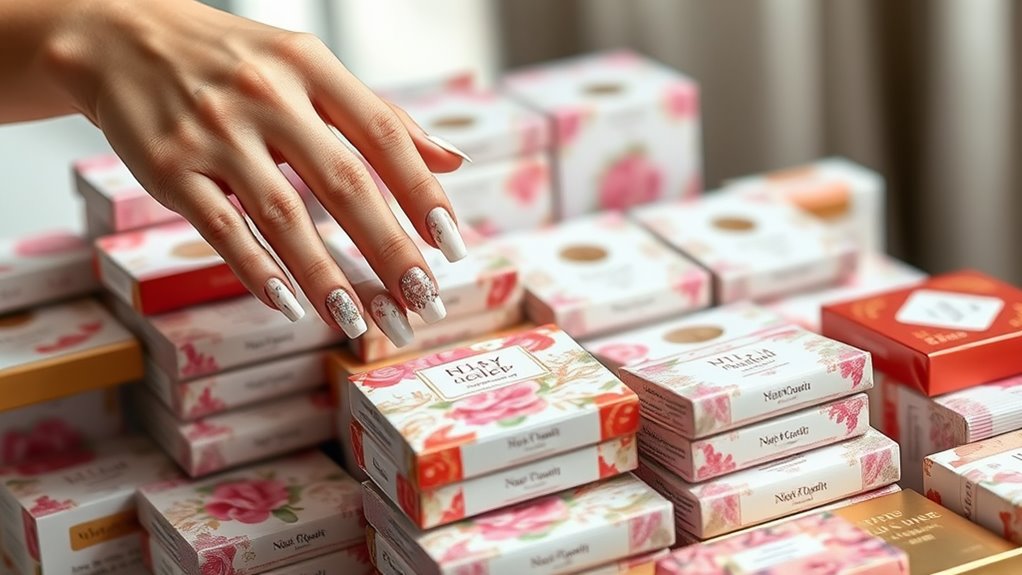
When it comes to selecting quality nail wraps, your choice can make all the difference in achieving a polished look. Imagine rocking those beautiful designs, only for them to peel off the next day. No thanks!
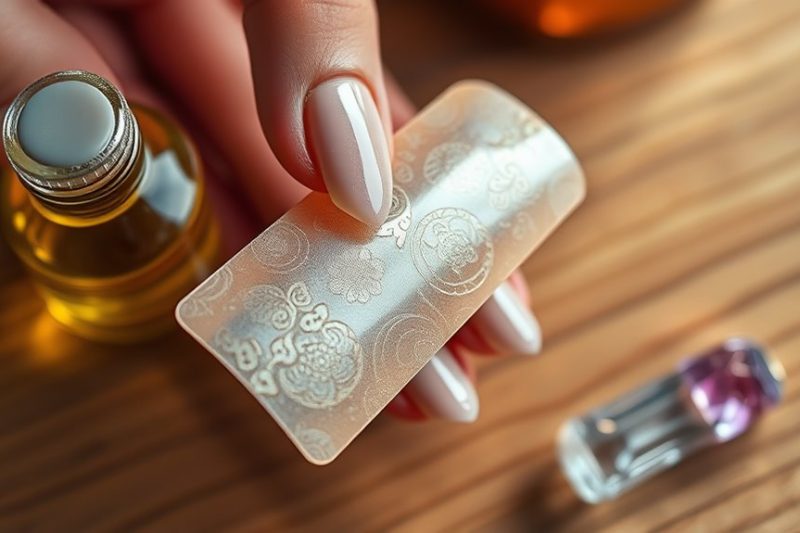
Start by checking the material. You want wraps made from durable, flexible vinyl or other high-quality materials. They’ll stick better and last longer.
Next, look for brands that offer a variety of sizes. You don’t want to struggle squeezing a wrap onto your nail. It should fit like a glove!
And hey, don’t forget to read reviews. Other customers’ experiences can guide you toward the best options.
Also, consider the design. Pick something that reflects your style, whether it’s fun, elegant, or quirky. You’ll want to feel proud showing off your nails.
Preparing Your Nails
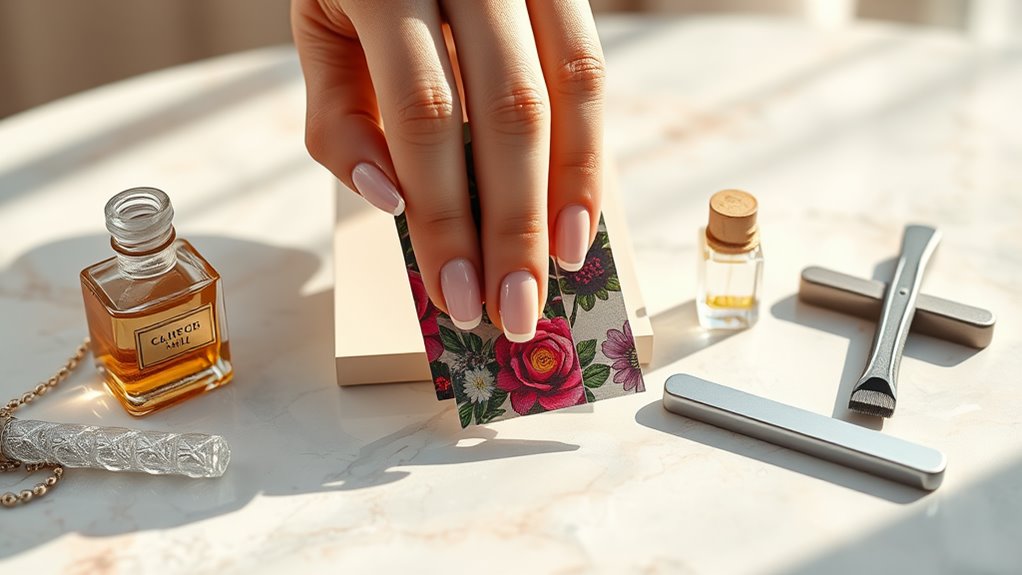
Start by giving your nails a good clean and shape to create the perfect canvas for your nail wraps. This step is super important!
Begin by washing your hands with soap and water to get rid of any dirt or oils. Nobody wants a little grime stuck under their beautiful wraps!
Next, grab a nail file and shape your nails. Whether you like them square, round, or something in between, make sure they’re all even. This helps your wraps stick better and look fabulous!
If you’ve got any hangnails, gently trim those away, too.
After that, it’s time to buff your nails. A quick buffing will smooth out any ridges, making your nails feel like a baby’s bottom.
Trust me, your wraps will thank you!
Proper Application Techniques
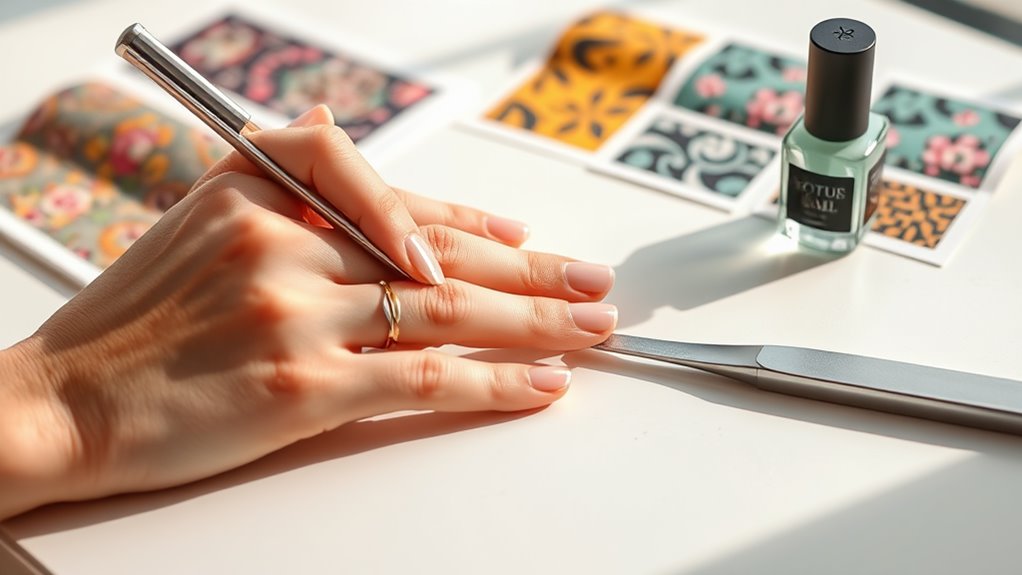
With your nails prepped and ready, it’s time to apply your classic nail wraps for a flawless finish. First, choose a wrap that fits each nail perfectly. If it’s too big, don’t worry—you can always trim it down!
Once you’ve selected your wrap, peel it carefully from the backing. Try not to touch the sticky side too much, or it might lose its magic.
Now, align the wrap with your cuticle and gently press it onto your nail. Start from the cuticle and work your way up, smoothing it down as you go. Use a cuticle stick or your fingers to guarantee there are no air bubbles trapped underneath. If you find a bubble, just lift the wrap slightly and smooth it out again.
After that, use a file to trim the excess wrap at the tip of your nail. File in a downward motion to get a clean edge.
Avoiding Common Mistakes
Nailing down a perfect application can be tricky, and making a few common mistakes can ruin your look. One big mistake is applying wraps to dirty or oily nails. Make sure your nails are clean and dry! You wouldn’t want your nail wraps slipping off like a banana peel, right?
Another mistake isn’t sizing your wraps correctly. If they’re too big, they’ll hang over the edges, and if they’re too small, you’ll see your natural nail peeking through. It’s like wearing shoes that are too tight—uncomfortable and not cute!
Don’t forget about heat! Many people skip this step, but warming the wraps slightly helps them stick better. Just don’t turn your nails into a hot mess.
Lastly, avoid rushing the process. If you hurry, you might end up with bubbles or wrinkles. Take your time, and enjoy the process!
Daily Care Routine
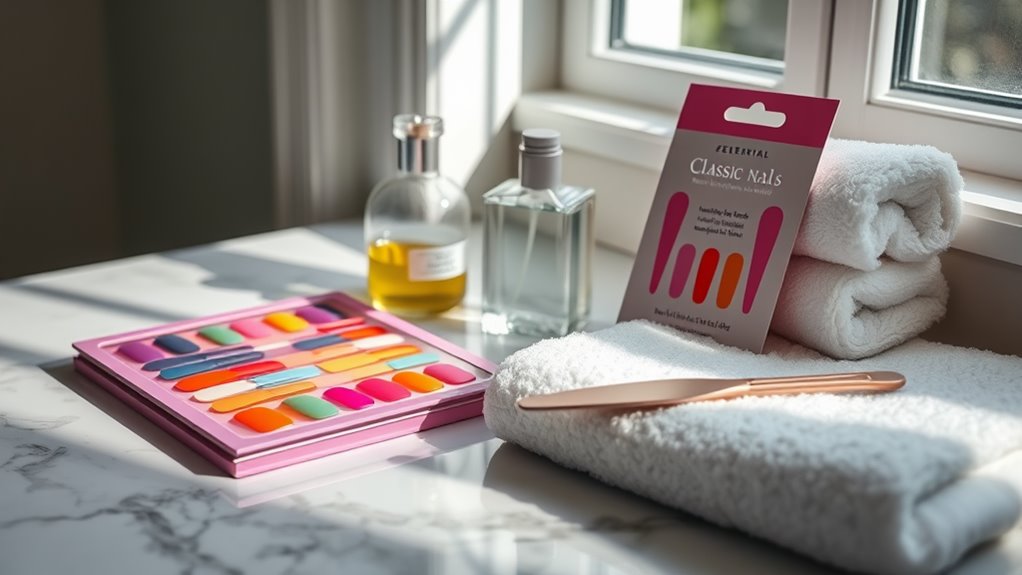
To keep your classic nail wraps looking fabulous, you should consistently follow a daily care routine.
First things first, treat your nails like royalty! Start by gently washing your hands with mild soap and warm water. This helps remove dirt and oil without damaging your wraps. After that, pat your hands dry with a soft towel—no vigorous rubbing, please!
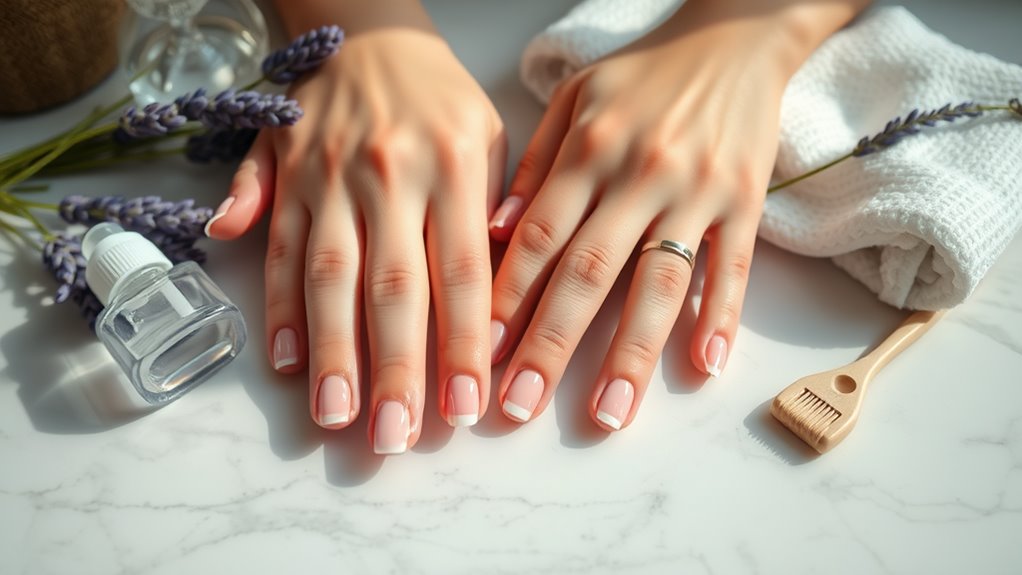
Next, it’s important to moisturize. Use a nourishing hand cream to keep your skin soft and your wraps looking shiny. Just remember, don’t slather it all over your nails; focus on the skin around them. That’ll keep your wraps happy without making them slippery.
While you’re at it, check your nails throughout the day. If you notice any lifting or edges that look a bit rough, smooth them out with a soft nail file. This little step can make a big difference!
Lastly, avoid using your nails as tools. No prying open cans or scratching off labels! Treat your wraps with care, and they’ll reward you with a stunning look that lasts.
Protecting Against Damage
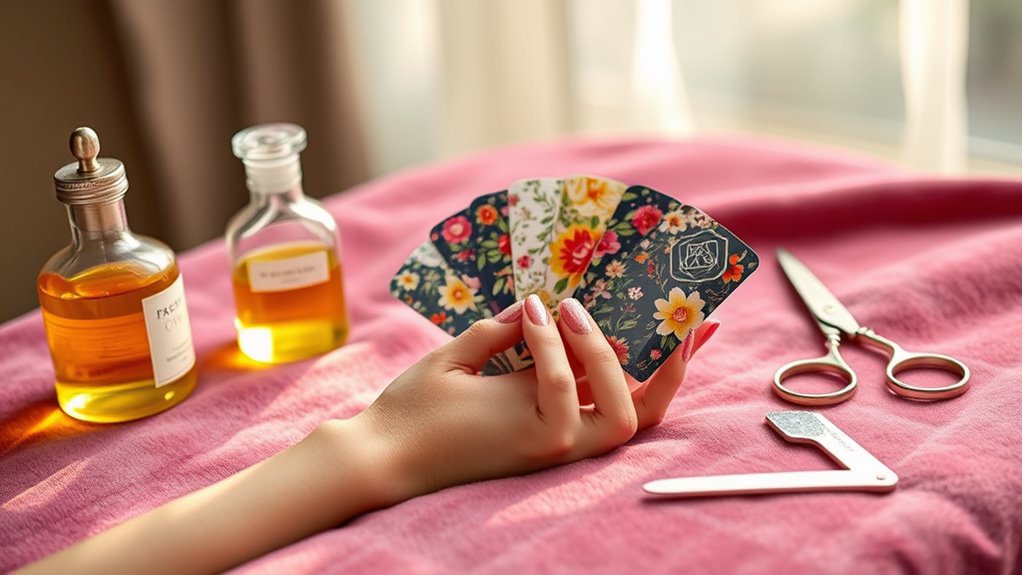
Protecting your classic nail wraps from damage is essential for maintaining their stunning appearance. You want your nails to look fabulous, right?
First, be mindful of your daily activities. When you’re doing chores or working on a project, try to avoid using your nails as tools. They’re not meant for prying open boxes or scratching stubborn surfaces!
Next, avoid exposing your wraps to harsh chemicals. Cleaning supplies, nail polish removers, and even some beauty products can harm the adhesive and finish. If you can, use gloves when handling those pesky cleaners—your nails will thank you!
Also, be cautious about how you store your wraps. Keep them in a cool, dry place away from direct sunlight. Think of them like a little sunbather who needs shade!
Lastly, if you happen to bump your nails against something, try to do it gently. A little bump is okay, but a big smash? Not so much. Treat your nails like the treasures they are, and they’ll stay beautiful for longer.
With these simple tips, you can keep your classic nail wraps looking fresh and fabulous!
Handling Water Exposure
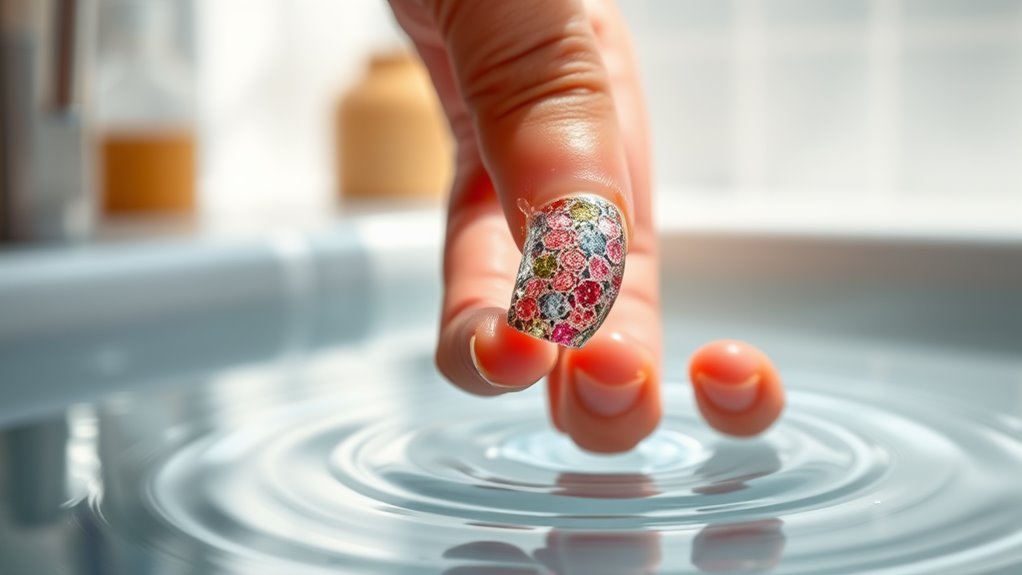
Water exposure can be a sneaky threat to your classic nail wraps. You mightn’t realize it, but water can weaken the adhesive, making your wraps peel or chip faster than you’d like.
So, what can you do? First, try to avoid soaking your hands in water for long periods. This means skipping that marathon bubble bath or the never-ending dishwashing session. If you’re washing dishes, wear some fun rubber gloves. They’ll keep your hands dry and your wraps looking fabulous!
When you shower, you can gently cover your nails with a waterproof band. It’s like a tiny raincoat for your nails!
And remember, if you do get your hands wet, dry them off quickly and gently with a soft towel. Rubbing them vigorously might cause unnecessary wear.
If you accidentally get caught in the rain, don’t panic! Just pat your nails dry as soon as you can.
Following these simple tips will help you keep your classic nail wraps looking fresh and vibrant. After all, you want your nails to shine bright, not drown in a sea of water!
Removing Nail Wraps Safely
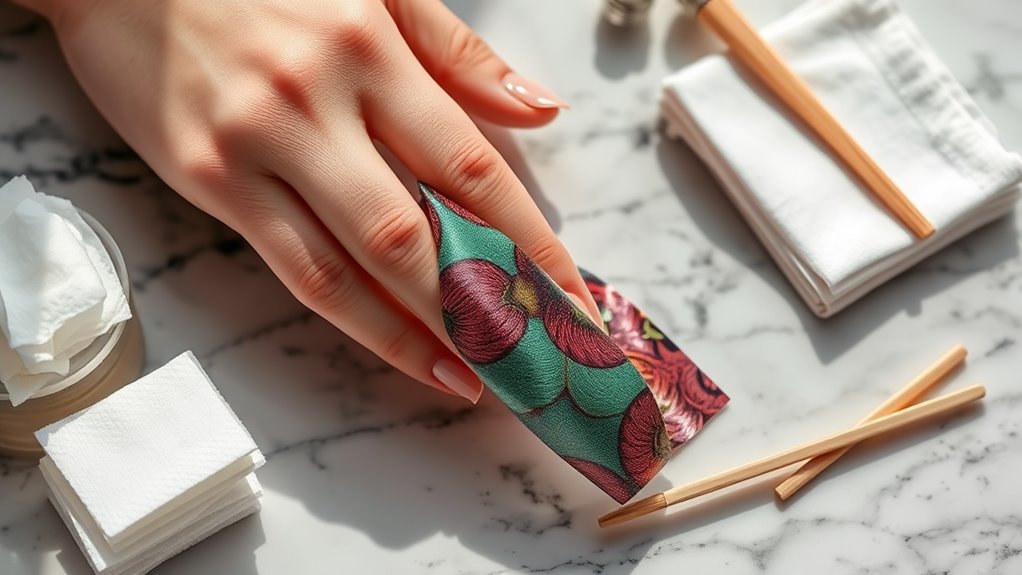
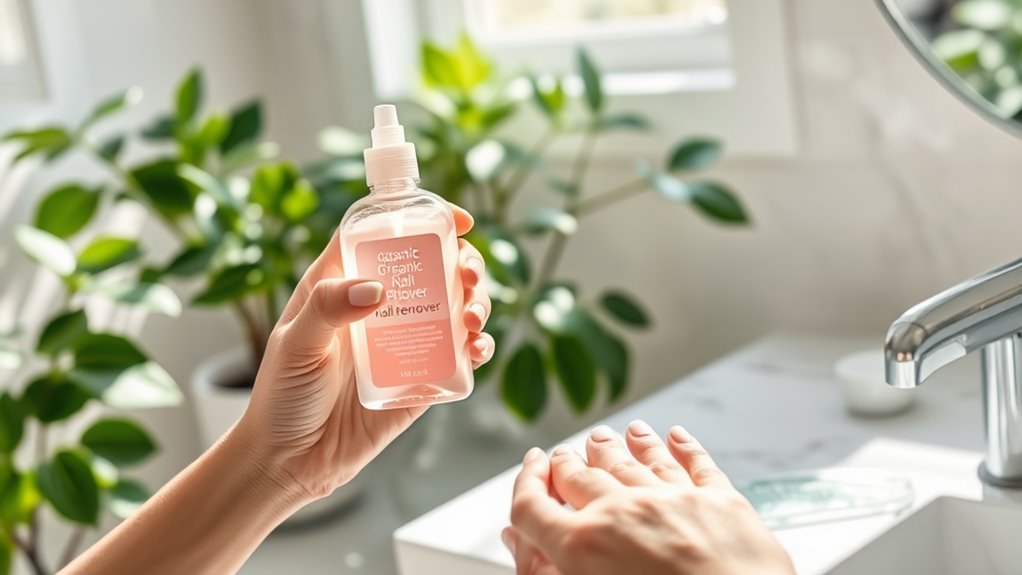
While you might be keen to remove your classic nail wraps, it’s essential to do so safely to avoid damaging your natural nails. First, gather your supplies: some cotton balls, nail polish remover (preferably acetone), and aluminum foil. You’ll feel like a nail magician in no time!
Start by soaking a cotton ball in nail polish remover. Then, place the soaked cotton ball on your nail and wrap it with a small piece of aluminum foil. This helps keep the remover in contact with the wrap.
Repeat this for each nail, and take a moment to relax—maybe sip on some lemonade while you wait about 10-15 minutes.
Once the time is up, gently press and slide the cotton ball off your nail. If the wrap doesn’t come off easily, don’t force it. Just reapply the soaked cotton and wait a little longer.
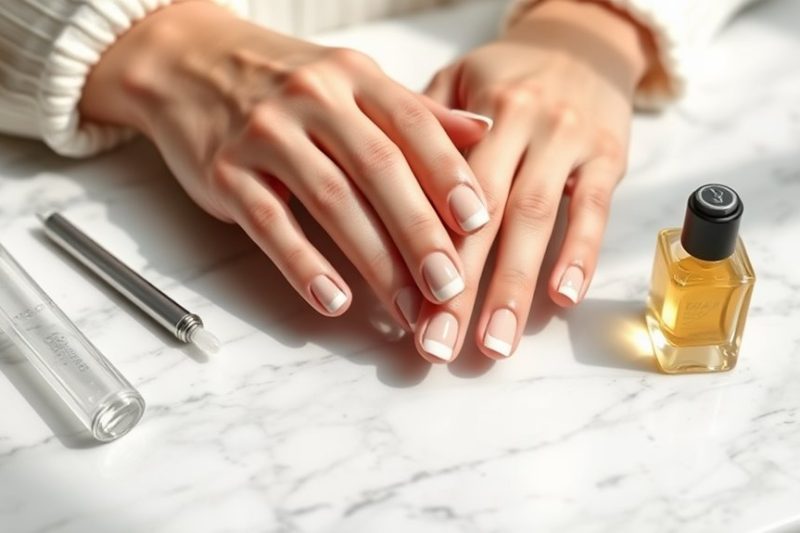
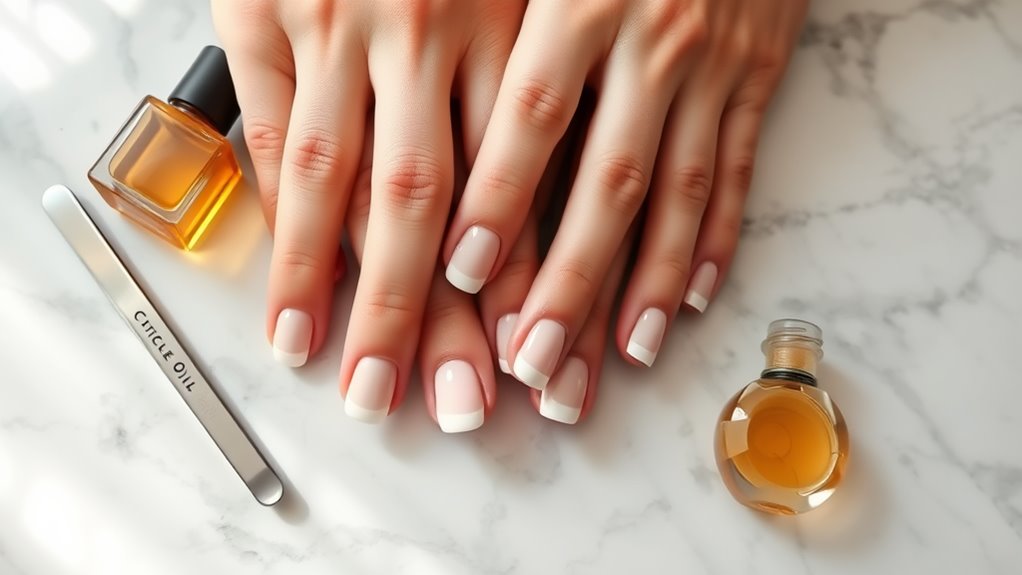
After removing all the wraps, wash your hands to get rid of any residue. Finally, pamper your nails with a bit of cuticle oil to keep them healthy and happy.
And there you go, you’ve safely removed your nail wraps without a hitch!
Storing Nail Wraps Correctly
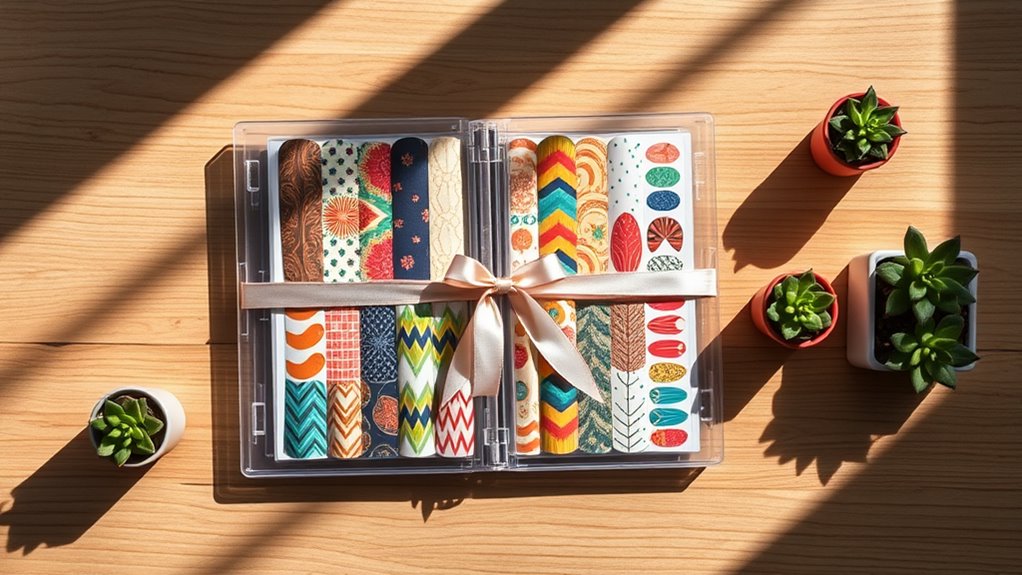
After successfully removing your classic nail wraps, it’s time to focus on how to store them properly for future use. You don’t want those beautiful wraps to end up crumpled or damaged, right?
First, grab a cool, dry place. Think about your nail wraps like a houseplant; they thrive best away from heat and moisture.
Next, try keeping them in their original packaging if you still have it. If not, a small, airtight container or a zip-top bag will do just fine. Just make sure to keep them flat. Wrinkles aren’t a nail wrap’s best friend!
When you’re ready to use them again, check for any damage. If they look good, you’re all set. But if they’re a bit worse for wear, you might want to refresh them before application.
And remember, keep them out of sunlight, too! Ultraviolet rays can fade those vibrant colors faster than you can say “manicure.”
Store them correctly, and your wraps will be ready to shine whenever you are. So go ahead, give your wraps a cozy home! Happy storing!
Refreshing Worn Nail Wraps
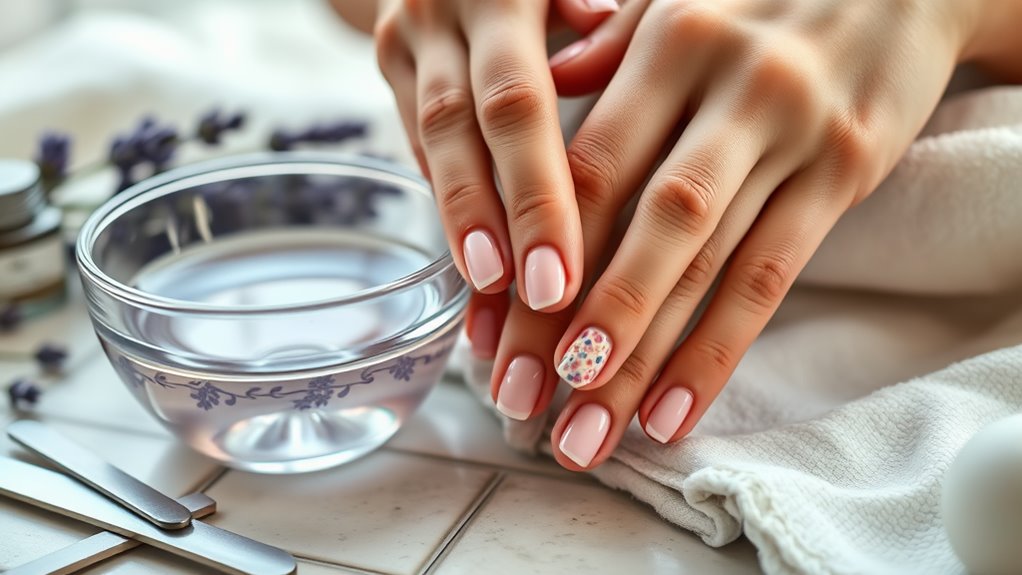
Reviving worn nail wraps can breathe new life into your manicure. You don’t have to toss them out just because they’re looking a little tired.
Start by giving your nails a gentle clean. Use some mild soap and water to remove any dirt or oils. Once they’re clean, it’s time to assess the damage. Look for any lifting edges or scratches. If you find any, you can use a small amount of clear nail polish to seal those edges back down.
Next, consider adding a fresh top coat. This can help smooth out any imperfections and make your wraps shine like new! Just be sure to let it dry completely.
If your wraps are still looking dull, you might try a little nail art or stickers. These can cover up imperfections and make your manicure feel fresh again. Plus, it’s a fun way to express your creativity!
Conclusion
Caring for your classic nail wraps doesn’t have to be a chore! By choosing quality wraps, prepping your nails, and following the right steps, you’ll keep your nails looking fabulous. Remember to avoid common mistakes and handle water with care. If you take the time to store and remove your wraps properly, they’ll last longer. So, get ready to shine, show off those nails, and maybe even share your secrets with friends—because who doesn’t love a good nail hack?

