Classic Red Nail Art Techniques for Beginners
If you’re starting your classic red nail art journey, you’ve picked a fab shade! Begin with a solid red base coat, which gives a chic vibe. Try a classy French tip for a touch of elegance—just paint bright red on the tips of a nude base. Polka dots are fun too; use a dotting tool to create cute patterns! Want something sparkly? Add glitter to one or two nails. Don’t forget, a top coat seals your design and keeps it shiny! Keep those nails healthy, and you’ll be ready to showcase your style with confidence. Stick around for more handy tips!
Tools You Will Need
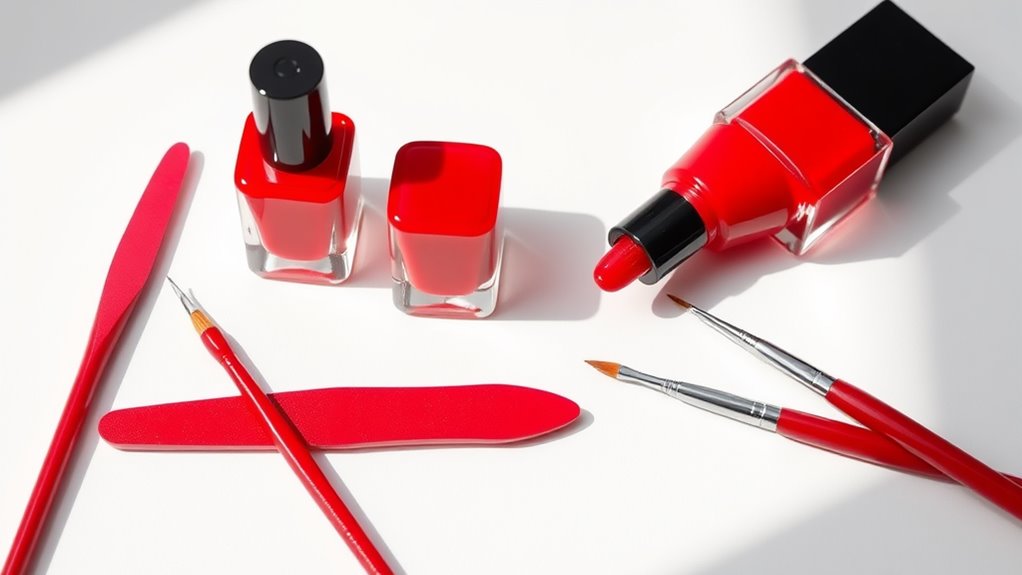
To get started with nail art, you’ll need a few essential tools. First up, grab a good quality base coat and topcoat. These are like your nail’s best friends! They protect your nails and help your design last longer.
Next, you’ll want some nail polish in various colors. Don’t worry; you don’t need a huge collection to start. Just a few shades will do!
Now, let’s talk brushes. A set of nail art brushes is super handy for adding details and designs. You might also want dotting tools, which are perfect for creating dots or flowers.
If you’re feeling fancy, nail stickers or stencils can help you get those designs just right without too much fuss.
Lastly, keep some cotton balls and nail polish remover nearby for any little mistakes. Trust me, it happens to the best of us!
You’ll also appreciate having a small bowl of water for clean-up. With these tools in hand, you’re ready to release your creativity. Nail art is all about having fun, so don’t stress too much, and enjoy the process!
Choosing the Right Shade
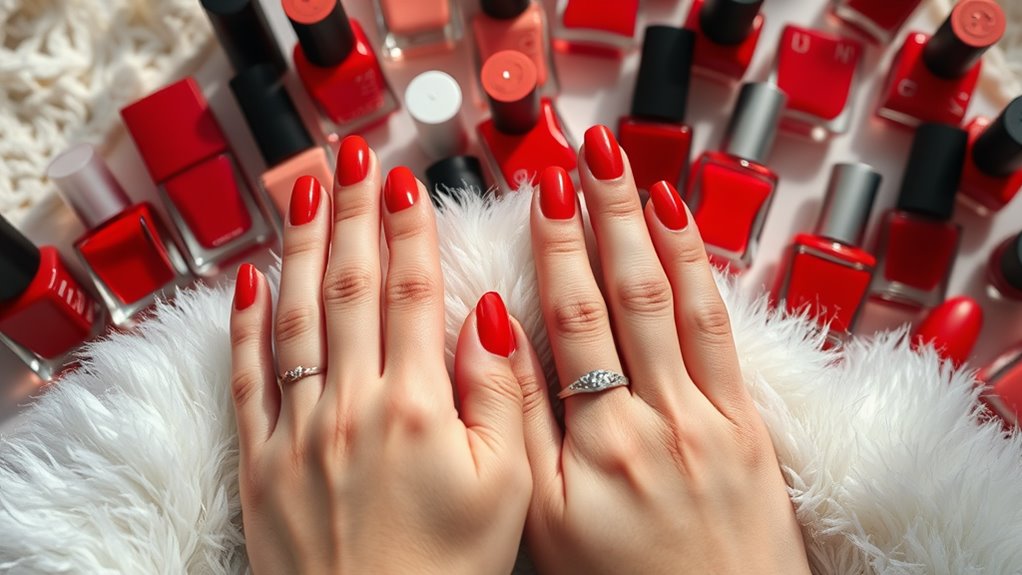
Selecting the perfect nail polish shade can feel like an art form in itself. With so many reds out there, it’s easy to get overwhelmed. You’ve got bright cherry reds, deep burgundies, and even soft, muted reds. So, how do you choose?
First, think about your skin tone. If you have a warm undertone, you might want to lean towards reds with orange or golden hues. If you have a cool undertone, go for shades with blue or purple hints.
Next, consider the occasion. Are you dressing up for a fancy dinner or just hanging out with friends? A bold, bright red can be fun for a night out, while a softer shade might be perfect for everyday wear.
Don’t forget to test the polish! Swatch a bit on your nail to see how it looks in different light. It can make a world of difference.
And if you’re still unsure, just remember: there’s no wrong choice when it comes to red! It’s all about what makes you feel fabulous.
Basic Red Nail Prep
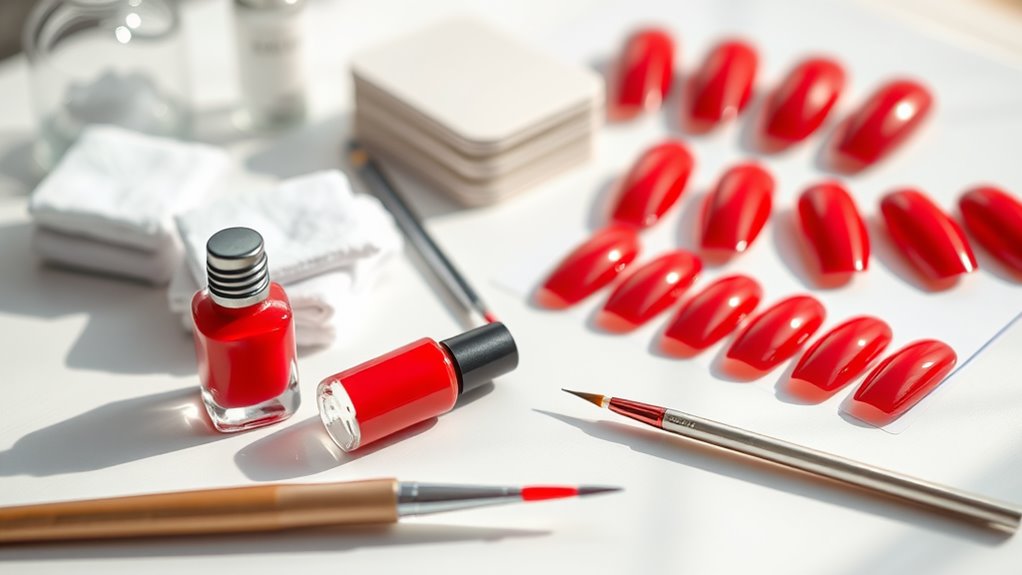
How do you guarantee your nails are ready for that stunning red polish? First, start by washing your hands with soap and water. This helps remove dirt and oils, making sure your nails are clean.
Next, gather your tools. You’ll need a nail file, cuticle pusher, and some moisturizer.
Now, file your nails to your desired shape. Whether you like them square, round, or something in between, a good shape makes a huge difference. Gently push back your cuticles to create a neat look. If you’ve got any hangnails, snip them away carefully.
Once your nails are shaped and trimmed, it’s time for some hydration! Apply a cuticle oil or hand cream. Your nails will thank you later! This step helps keep everything soft and healthy, so your red polish glides on smoothly.
Lastly, don’t forget to apply a base coat. It’s like putting on a protective shield for your nails. It prevents staining and helps your polish stick better.
With these prep steps done, you’re all set to rock that classic red nail look!
Simple Solid Red Nails
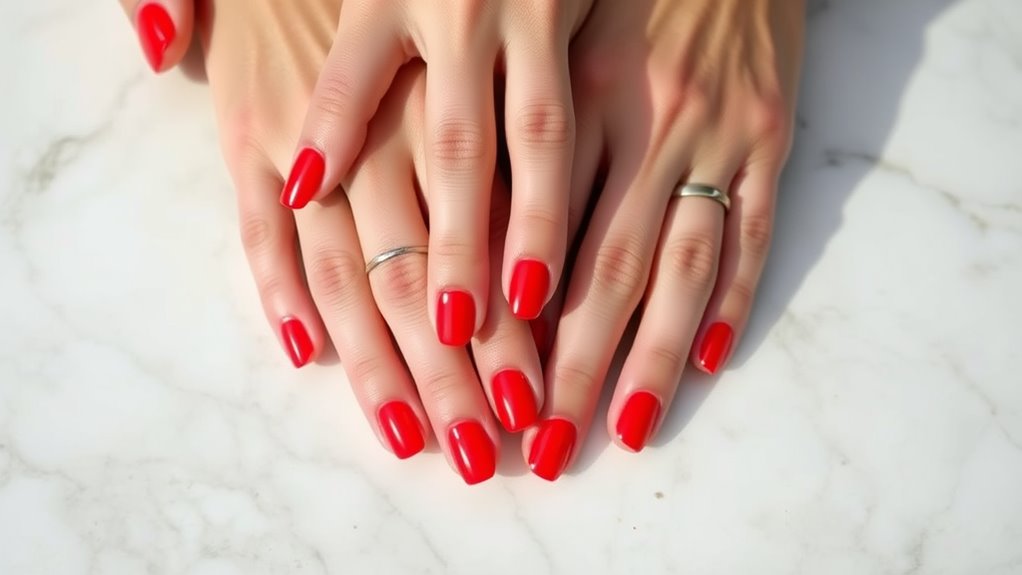
With your nails prepped and primed, it’s time to achieve that classic look with simple solid red nails. This timeless style is super easy, making it perfect for beginners like you!
First, grab your favorite red nail polish. Don’t worry, it doesn’t have to be fancy; just find one that makes you smile.
Start by applying a base coat. This helps your polish stick better and protects your nails from staining. Once that’s dry, take your red polish and start painting. Use smooth, even strokes for the best results. If you mess up a bit, no biggie! You can always clean it up with a small brush dipped in nail polish remover.
After you’ve covered all your nails, let them dry completely. Patience is key here!
Finally, finish with a top coat to add shine and keep your nails looking fabulous longer. And voilà! You’ve got yourself some stunning solid red nails.
Whether you’re heading to a party or just lounging at home, they’ll always make you feel a little more special. So, go ahead and show off that fabulous red!
Classic French Tips
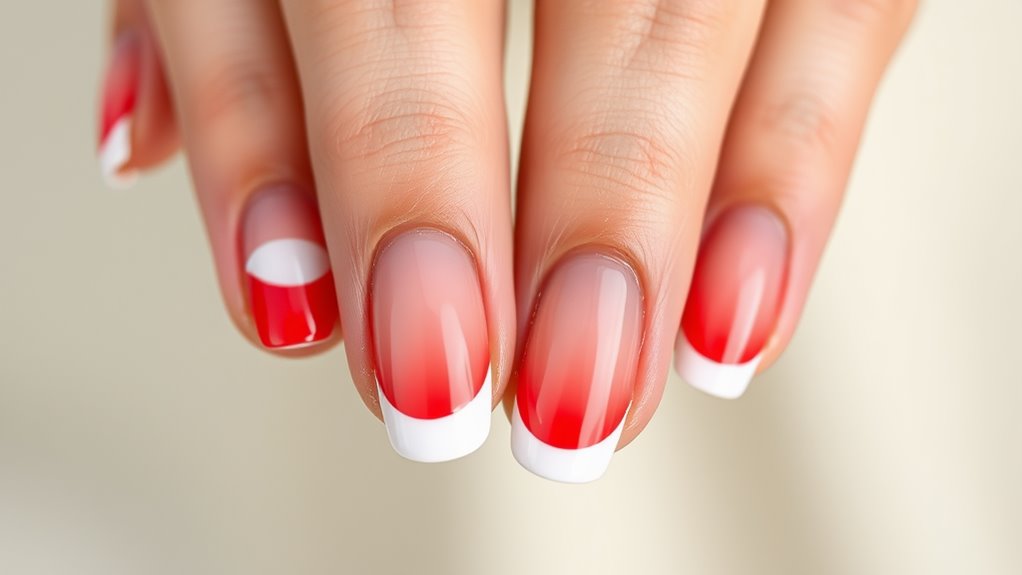
Classic French tips are a chic and elegant way to elevate your manicure game. They’re simple yet stunning, making them perfect for any occasion. To get started, you’ll need a base coat, a bright red polish for the tips, and a nude or light pink shade for the rest of your nails.
First, apply the base coat to protect your nails. Then, paint your nails with the nude or light pink polish. Make sure to let it dry completely.
Once dry, grab a thin nail brush or use nail tape to create a straight line for your tips. Dip the brush in the red polish and carefully paint the tips of your nails. You can make them as thick or thin as you like, so have fun with it!
After you finish, remember to seal your masterpiece with a top coat. It’ll keep your tips looking fresh and shiny.
And voilà! You’ve got a classic French manicure that’ll have everyone asking where you got it done. With a bit of practice, you’ll be a pro at this timeless look in no time!
Polka Dot Design
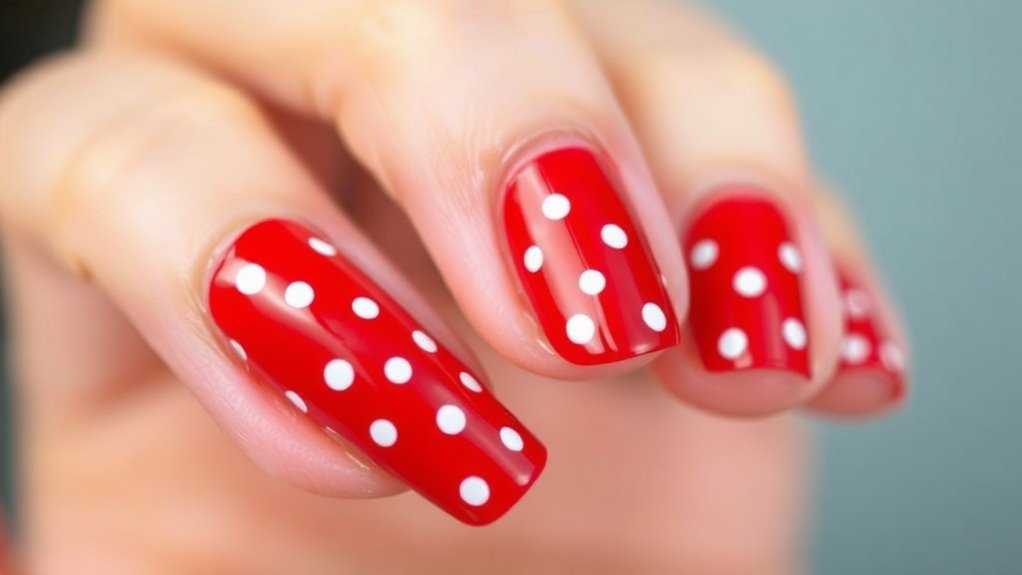
Get ready to add a playful touch to your nails with a charming polka dot design! This fun nail art technique is perfect for beginners and can brighten up any look. You don’t need a fancy salon; you can create it right at home.
First, choose a vibrant red base color. Apply it evenly on all your nails and let it dry completely. Once that’s done, grab a dotting tool or even a bobby pin—yes, it works wonders!
Now, dip your dotting tool into a contrasting color, like white or black, and gently press it onto your nails to create dots. You can make them big or small, depending on your mood. If you want a random pattern, just have fun with it! For a more organized look, place the dots in neat rows.
After you’ve finished, seal your masterpiece with a clear topcoat to make it shine and last longer.
And there you have it—a cute polka dot design that’ll make your nails pop! Who knew nail art could be this easy? Now, go show off your playful nails and enjoy the compliments!
Striped Nail Art
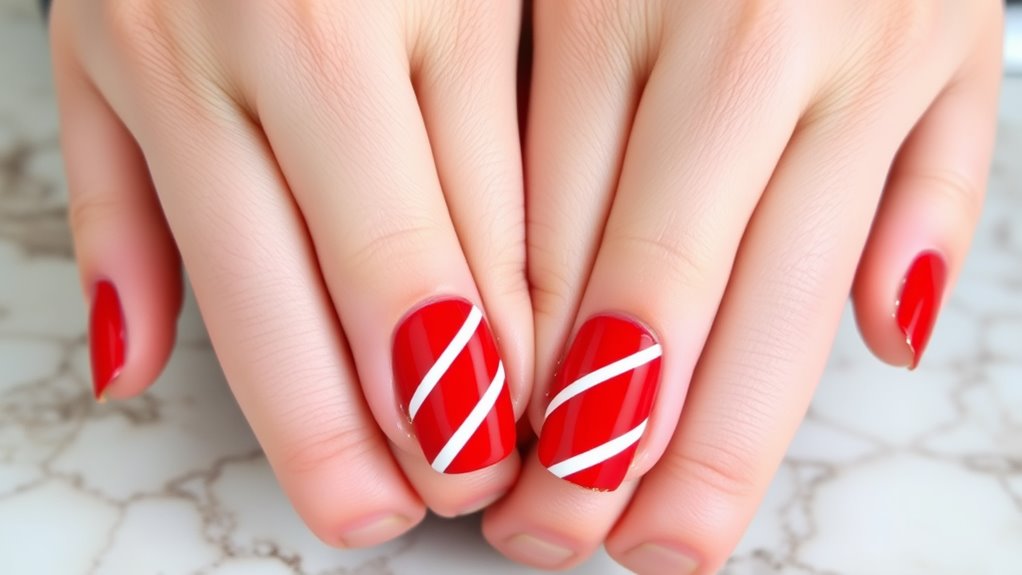
Transform your nails into a stylish statement with striped nail art! Stripes are a fun and easy way to add some flair to your manicure. You can create bold looks or soft, subtle designs depending on the colors you choose.
Want to get started? Here’s how!
First, pick your favorite red nail polish as your base. Apply two coats for a nice, solid color. Next, get some striping tape or a thin brush for the stripes. If you’re using tape, lay it down in parallel lines across your nails. If you’re painting freehand, just take your brush and gently swipe it across your nail in your desired pattern.
You can mix it up, too! Try alternating colors with your red base; white, black, or gold look especially chic.
After you’ve finished your stripes, seal your design with a top coat to keep it shiny and lasting longer.
Glitter Accent Nails
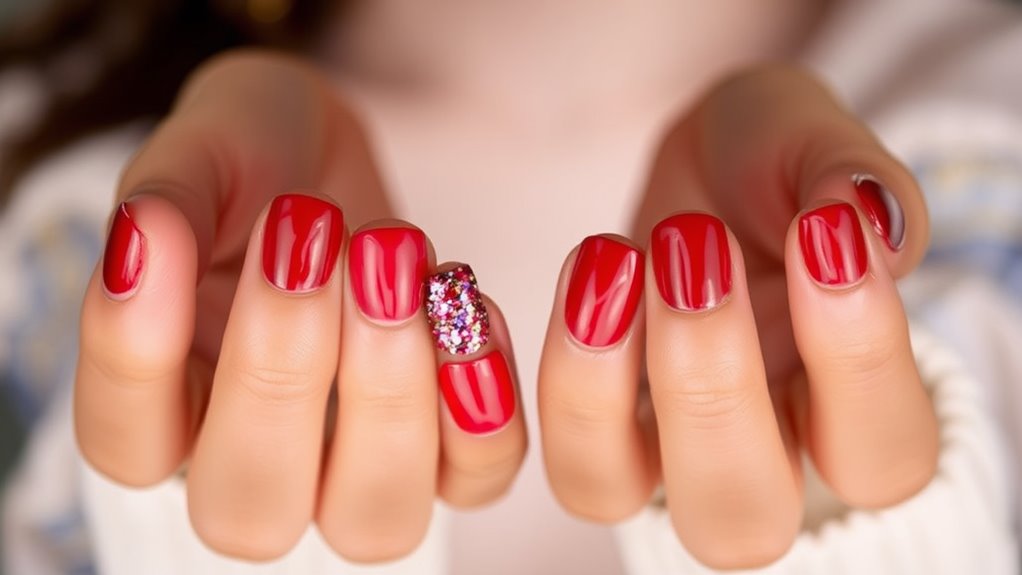
If you’re looking to add some sparkle to your manicure, glitter accent nails are the perfect choice. They’re like the cherry on top of your favorite sundae!
To get started, pick a fun glitter shade that matches your classic red polish. You can choose silver, gold, or even a funky color like blue or green.
First, paint all your nails with the red polish and let them dry completely. Once they’re dry, choose one or two nails on each hand for the glitter. Using a small brush or sponge, apply a layer of clear polish on the selected nails.
Then, dip them into the glitter or gently press the glitter onto the wet polish. Make sure to cover the entire nail for that dazzling effect!
After that, seal everything with a top coat to keep your glitter in place. It’ll help your nails shine bright, just like a star!
Maintenance and Care Tips
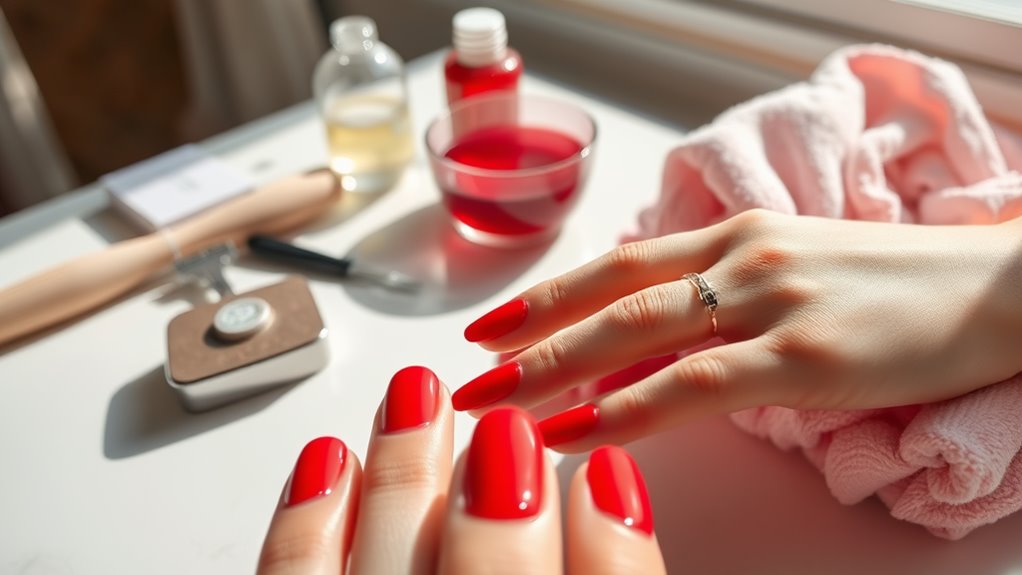
Maintaining your stunning nail art is essential for keeping it looking fresh and vibrant. First off, always apply a top coat every few days. This not only adds shine, but it also protects your design from chips and scratches. If you’ve got glitter accent nails, a thick layer of top coat can help smooth everything out.
Next, be gentle with your hands. Avoid using your nails as tools; that’s a surefire way to ruin your masterpiece. When washing dishes or cleaning, wear gloves to shield your nails from harsh chemicals. Trust me, your nails will thank you!
Also, don’t forget to moisturize your cuticles! A little cuticle oil goes a long way. It keeps your nails from looking dry and helps prevent hangnails, which can be a real pain.
Lastly, if you notice any chips or wear, fix them right away. You can simply use a matching polish to touch up the area. Remember, your nails are like little canvases, and with a bit of care, they can stay gorgeous longer!
Keep those red nails shining bright, and you’ll always be ready to show them off!
Conclusion
Now you’ve got the scoop on classic red nail art techniques! Whether you’re going for a bold solid look or adding some fun designs, practice makes perfect. Remember to choose the right shade and take care of your nails for that wow factor. So grab your tools, release your creativity, and have fun with it. Your nails are your canvas, and you’re the artist! Happy painting, and may your nails shine as bright as your smile!
