How to Achieve Perfect Striped Nails
To achieve perfect striped nails, you’ll need some fun tools and a sprinkle of creativity! Start by prepping your nails: clean them, shape them, and apply a base coat. Then, pick vivid nail polish colors that contrast nicely. Use striping tape for neat lines or a thin brush if you’re feeling steady! Keep your coats thin and let each layer dry. Try mixing stripe widths or adding dots for flair. Don’t forget a top coat to seal your masterpiece. With a bit of practice, you’ll be ready to turn your nails into a stylish canvas that everyone will admire! Stick around for more tips!
Essential Tools for Nail Striping
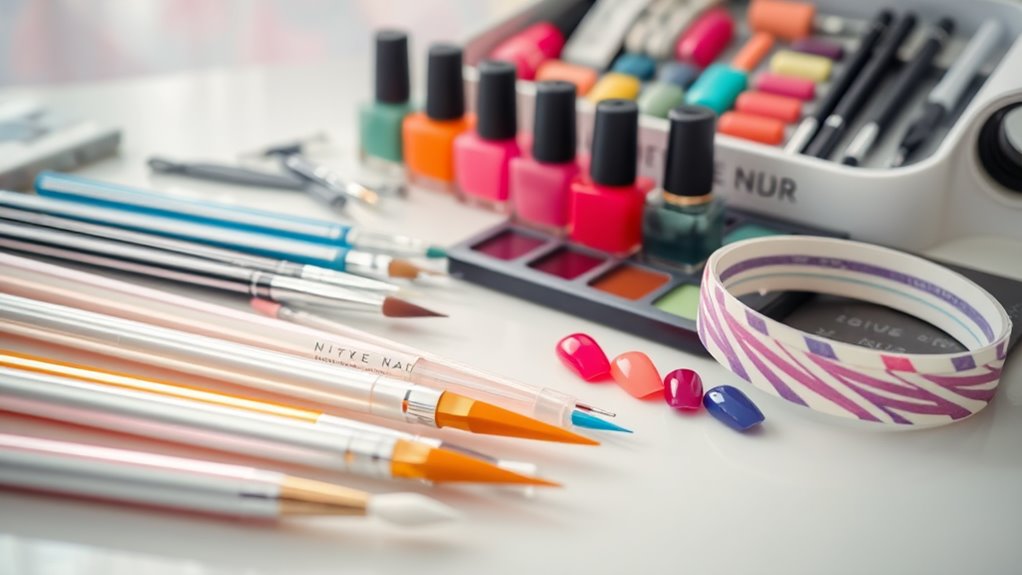
To achieve stunning striped nails, you’ll need a few essential tools by your side. First up, grab some striping tape. This little hero helps you create perfect lines without the mess.
Next, you’ll want a good pair of scissors to cut the tape neatly. Trust me, jagged edges aren’t a good look for your nails!
You can’t forget about a dotting tool or a fine brush. They’re great for adding those tiny details that make your stripes pop. If you don’t have a dotting tool, a toothpick can work in a pinch—just don’t snack on it afterward!
Now, let’s talk about a nail polish remover. It’s essential for cleaning up any mistakes. We all know accidents happen!
Finally, a top coat is a must. It seals your design and gives it that shiny finish, like a cherry on top of a sundae.
With these tools, you’re all set to plunge into the world of nail striping. Remember, practice makes perfect! So, don’t be afraid to experiment and show off your creativity. Your nails will thank you for it!
Choosing the Right Nail Polish
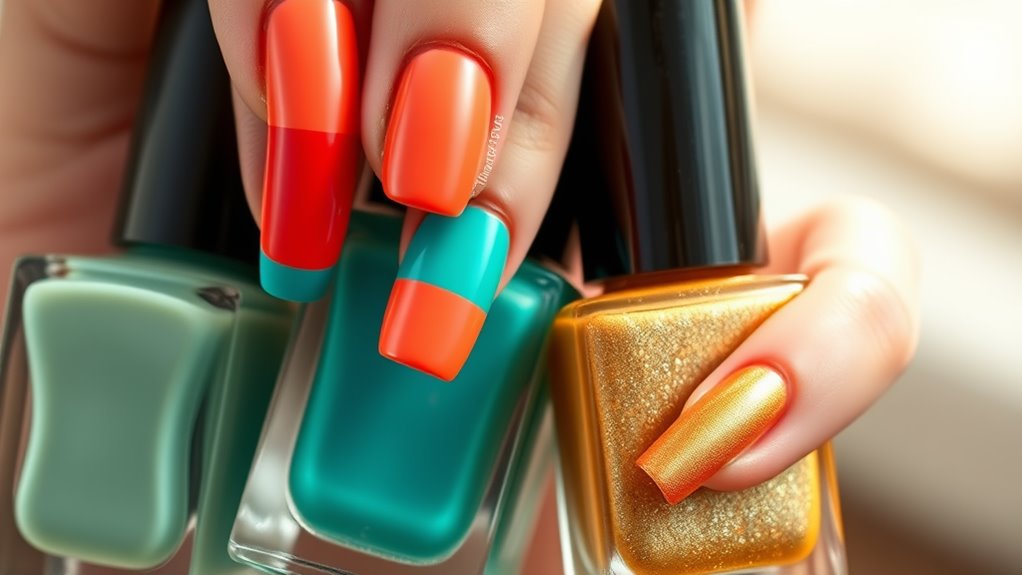
Selecting the right nail polish can make all the difference when it comes to achieving those eye-catching striped nails. You want vibrant colors that pop against each other, so think about your favorite shades. Are you into bold reds and blues, or do you prefer soft pastels?
Don’t forget to reflect on how the colors will look together. Sometimes, opposites attract!
Next, check the polish’s formula. A thicker polish is great for those stripes, as it’ll hold its shape better. Look for polishes labeled as “high-opacity” or “one-coat coverage.” You don’t want to be stuck painting layers and layers.
Remember, the quicker you can get those stripes on, the faster you’ll be flaunting your fabulous nails!
Also, contemplate finishes. Matte polishes create a unique look, while glossy finishes add shine. You can even mix and match!
Just make sure to give your nails enough time to dry between coats. Trust me, you don’t want to ruin your hard work.
Lastly, don’t forget to have fun with it! Nail polish is an art, so let your creativity shine through. Happy striping!
Preparing Your Nails
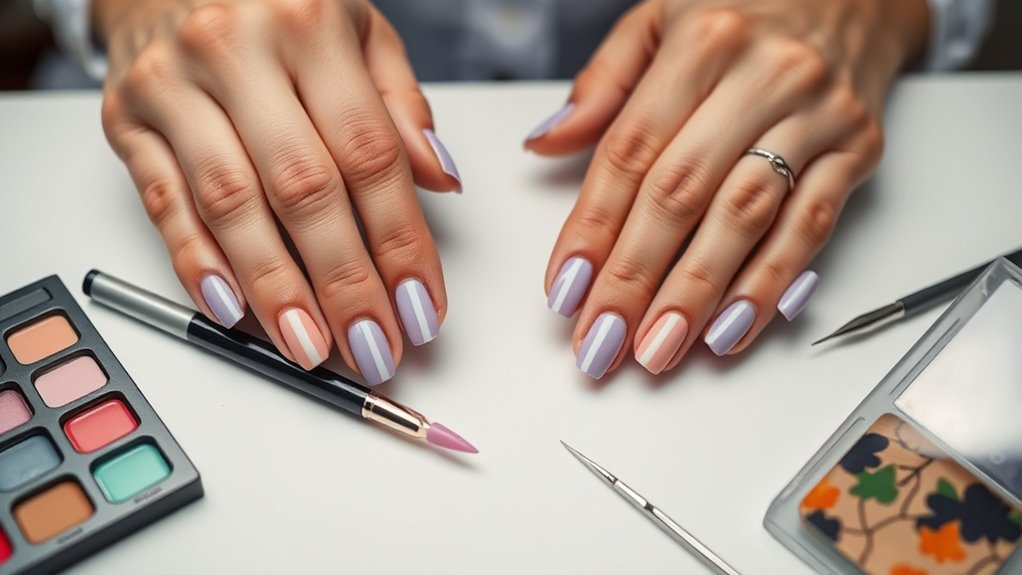
Before diving into the fun of striped nail art, preparing your nails is essential for a flawless finish. Start by removing any old nail polish. You want a clean slate! Use a gentle nail polish remover, and make sure you’ve got all that previous color off.
Next, give your nails a good trim and file them into your favorite shape. Whether you like them square or round, a tidy edge makes a big difference.
Now, let’s talk about cuticles. Apply a bit of cuticle oil and gently push them back with a cuticle stick. This step might sound fancy, but it really helps your nails look neat.
After that, wash your hands to get rid of any oil. It’s like giving your nails a little spa day!
Basic Striping Techniques
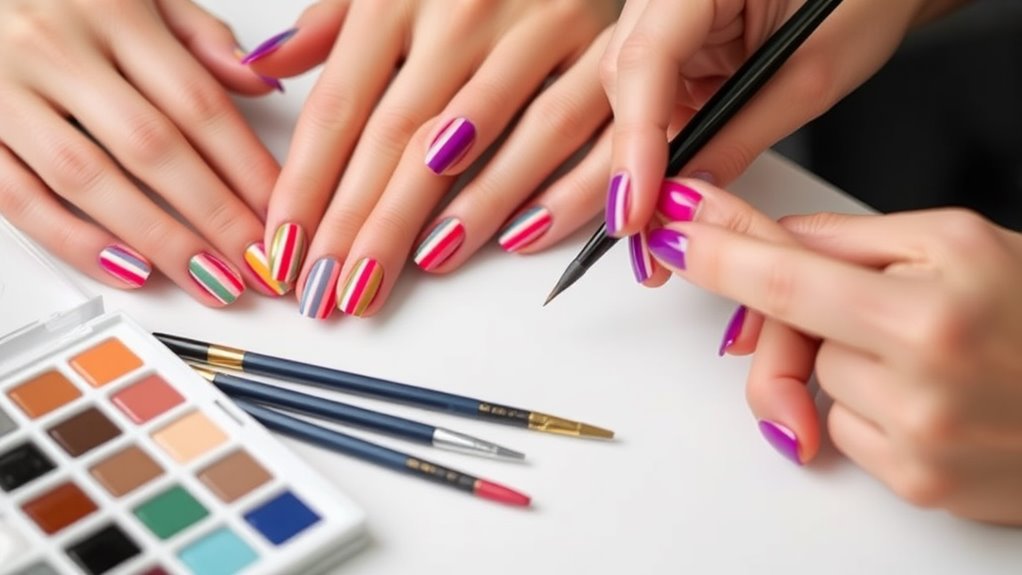
When it comes to striped nail art, mastering basic striping techniques can really up your game. You don’t need to be a pro to create stunning designs! Start with the right tools—striping brushes and nail tape are your best friends. A steady hand helps, but don’t worry if you wobble a bit; practice makes perfect!
First, choose your base color and let it dry completely. This is super important! Once it’s dry, use your striping brush or tape to create straight lines. If you’re using tape, stick it down firmly to avoid any polish sneaking under.
Dip your brush in polish, then gently drag it across your nail. Try different angles for fun effects—who knew stripes could be so versatile?
If you make a mistake, just fix it with a small brush or a cleanup tool dipped in polish remover. No one will know!
And remember, you can layer colors for a more dynamic look. With these techniques, you’ll impress your friends with your nail art skills. So grab those tools, release your creativity, and get ready to rock those stripes! Happy painting!
Creative Design Ideas
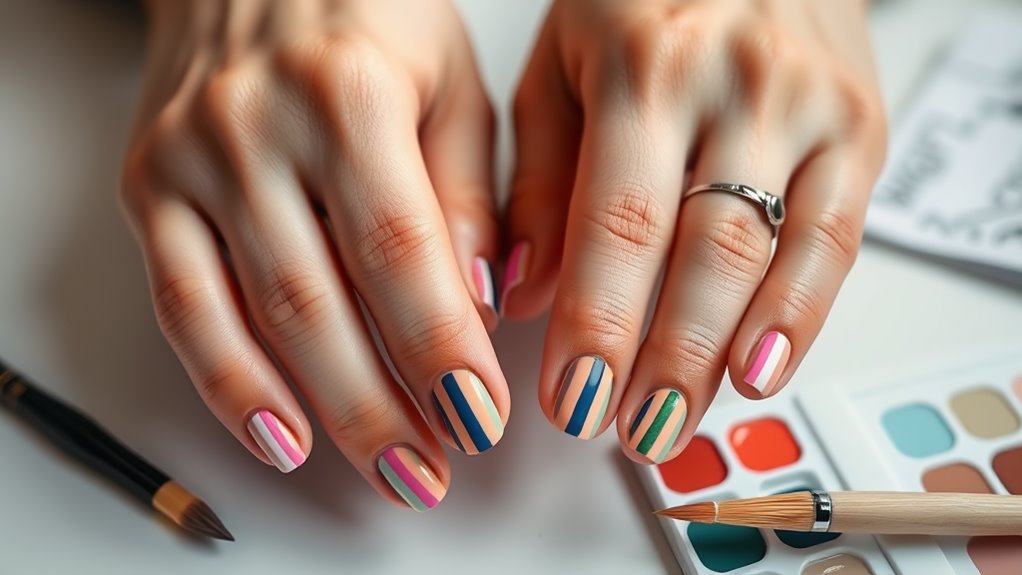
Creative design ideas can take your striped nail art to the next level, transforming simple stripes into eye-catching masterpieces. Why stick to plain when you can create fun patterns? One idea is to mix colors! Try pairing bold colors like electric blue and neon pink for a vibrant look. You can also use softer pastels for a more delicate feel.
Another fun approach is to alternate thick and thin stripes. This adds depth and dimension to your nails, making them look extra fancy. If you’re feeling adventurous, consider adding dots or stars between your stripes. It’s like giving your nails a party!
You could also create a diagonal striped pattern for a unique twist. This works great with glitter polish, too, as it’ll make your design pop even more.
And if you really want to impress, try using a gradient effect with your stripes—fading from one color to another can look stunning!
Using Nail Tape Effectively
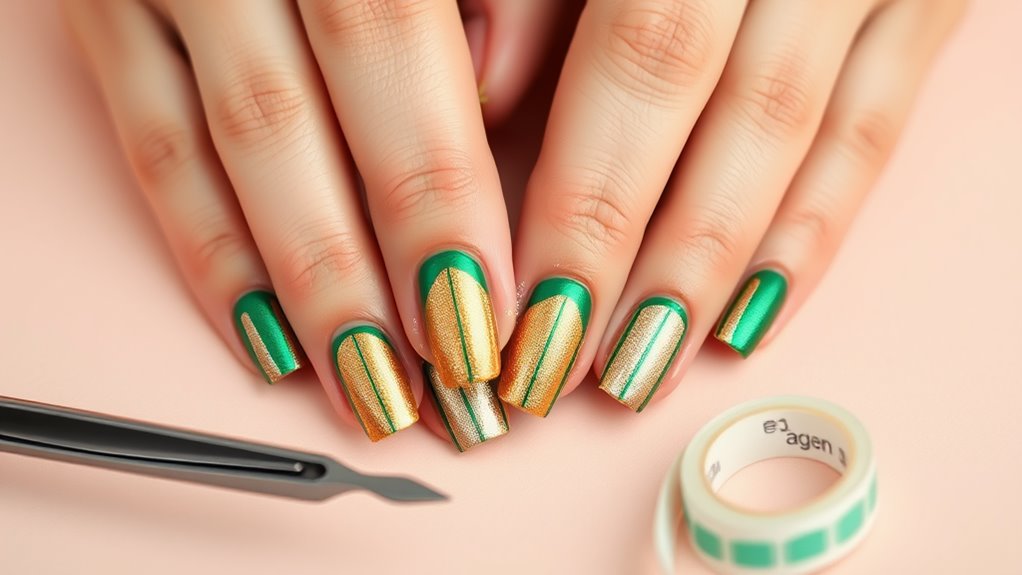
Nail tape is a game changer for achieving perfectly striped nails. With just a little bit of practice, you can create designs that look like they were done by a pro.
First, make sure your base coat is completely dry. Trust me, you don’t want to ruin your masterpiece before it even starts!
Next, cut the nail tape into strips of your desired width. The fun part? You can go for thick stripes or super thin ones—it’s all up to you!
Once you’ve got your strips ready, place them on your nails, pressing down firmly to avoid any polish sneaking underneath.
Now, grab your favorite nail polish and paint over the tape. Don’t worry if it feels a bit messy; that’s normal!
When you’re done painting, carefully peel off the tape while the polish is still wet. This step is essential because if the polish dries, you might end up with a sticky mess.
Tips for Even Stripes
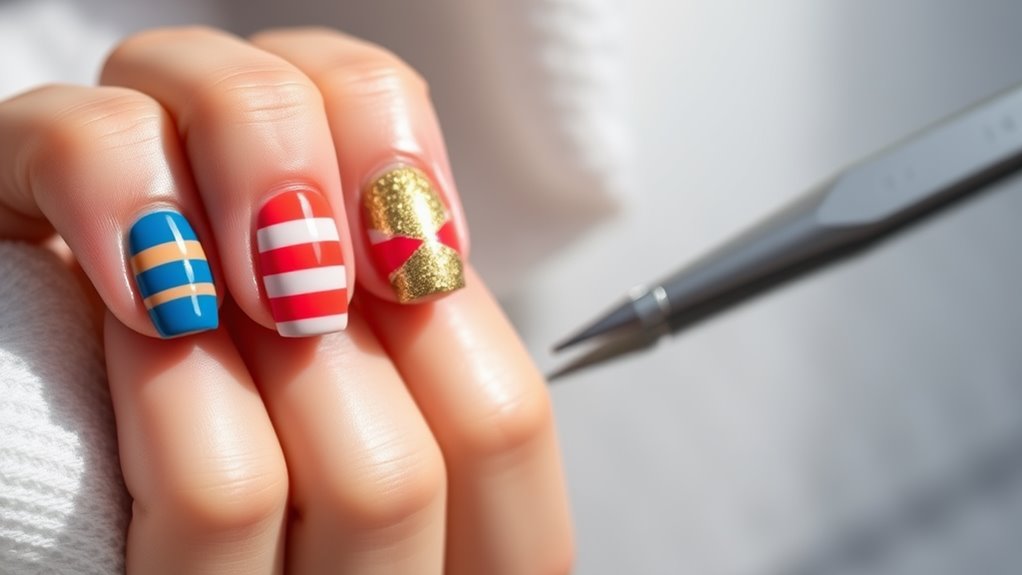
To achieve even stripes, it’s important to reflect on your technique after placing the nail tape. First off, make sure your base coat is completely dry before you start. If it’s not, you might end up with a messy situation that no one wants!
Once the tape’s on, press it down firmly. You don’t want any sneaky paint to sneak underneath.
When you’re ready to paint, use a steady hand and apply the polish in thin layers. Thick layers can lead to drips and uneven lines, and trust me, that’s not the look you’re going for!
Try to paint from one side to the other in one smooth motion. This’ll help keep your stripes nice and straight.
Don’t forget to remove the tape while the polish is still wet. If you wait too long, it could pull off some of your hard work, and we can’t have that!
Finally, finish up with a clear top coat for added shine and protection. It’s the icing on the cake!
With a little practice, you’ll be rocking those perfect striped nails in no time, impressing everyone with your nail art skills!
Common Mistakes to Avoid
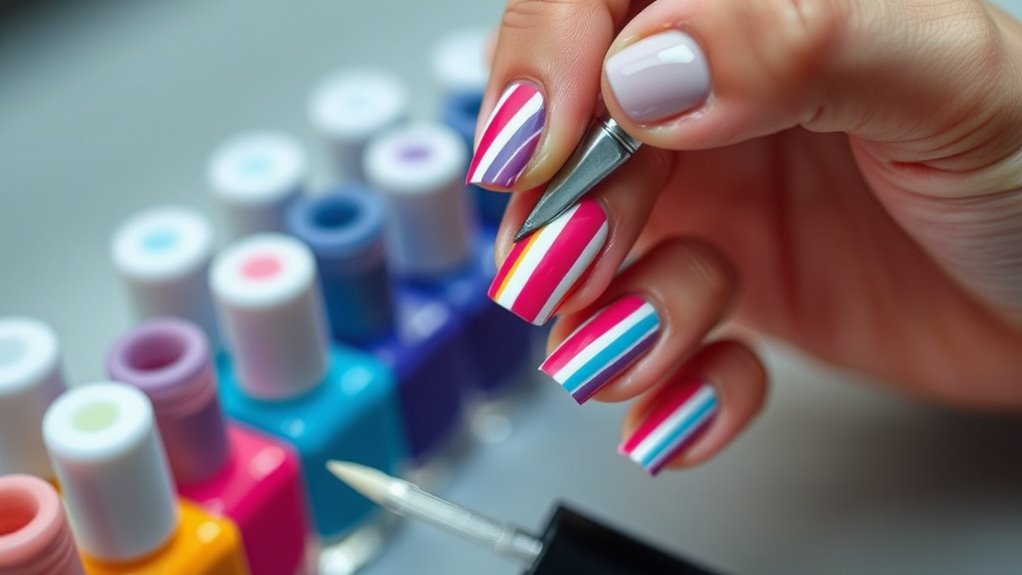
While achieving striped nails can be fun, several common mistakes can derail your efforts. First, don’t skip the base coat! It’s like a superhero for your nails, protecting them from stains and giving your stripes something to stick to.
Also, avoid using thick layers of polish. It might seem easier, but it’ll just lead to smudges and blobs. Nobody wants that!
Another mistake isn’t letting each layer dry completely. Patience is key here! If you rush and apply the next stripe too soon, you’ll end up with a mess instead of those perfect lines you dreamed of.
And hey, don’t forget about tape! Using tape can help create those crisp edges, but if you pull it off too early, you’ll ruin your hard work.
Maintaining Your Striped Nails
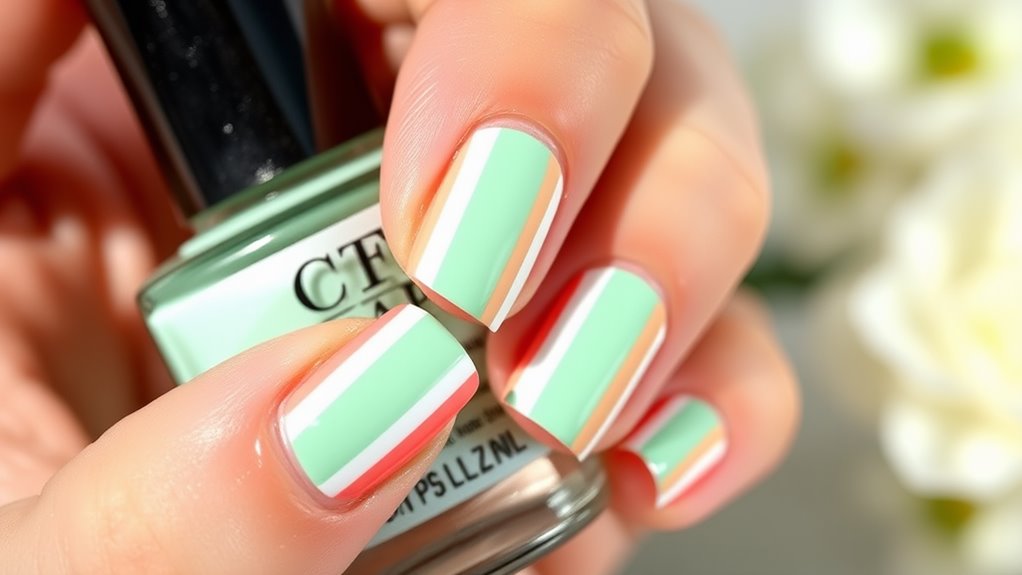
Proper maintenance is essential for keeping your striped nails looking fresh and vibrant. First, always apply a top coat to seal your design and protect it from chips. This is like putting on a superhero cape for your nails! You should reapply the top coat every few days to keep that shine and prevent wear.
Next, be gentle when doing daily tasks. Avoid using your nails as tools—trust me, they’re not meant for prying open cans or scratching! If you notice any chips or wear, don’t panic. Just touch up the affected areas with a little polish and a fine brush.
Also, keep your nails moisturized. Use cuticle oil to nourish both your nails and the skin around them. This helps prevent breakage and keeps everything looking neat.
Lastly, give your nails a break between designs. Let them breathe for a few days before jumping into your next striped masterpiece. This helps maintain their health and guarantees your nails are always ready for the next round of creativity.
Conclusion
Now that you know how to create perfect striped nails, it’s time to get creative! Grab your tools, pick your favorite colors, and don’t be afraid to experiment. Remember, practice makes perfect, so if your stripes aren’t flawless at first, just have fun with it! Your nails are a canvas, and you’re the artist. So, let those stripes shine and show off your awesome nail art to everyone. Happy striping!
