How to Achieve the Perfect Ombre Nail Look
To achieve the perfect ombre nail look, start by gathering your supplies, including 2-3 favorite nail polishes and a makeup sponge. Choose colors that make you happy, like soft pastels or bold shades. Prepare your nails by cleaning and shaping them, then apply a base coat. For the ombre effect, paint a base color on your nails, then dab the sponge with a second color to blend it in. Seal your masterpiece with a top coat for shine. Keep your nails healthy and vibrant with regular touch-ups and cuticle oil. Stick around for more tips on mastering this trendy look!
Gather Your Supplies
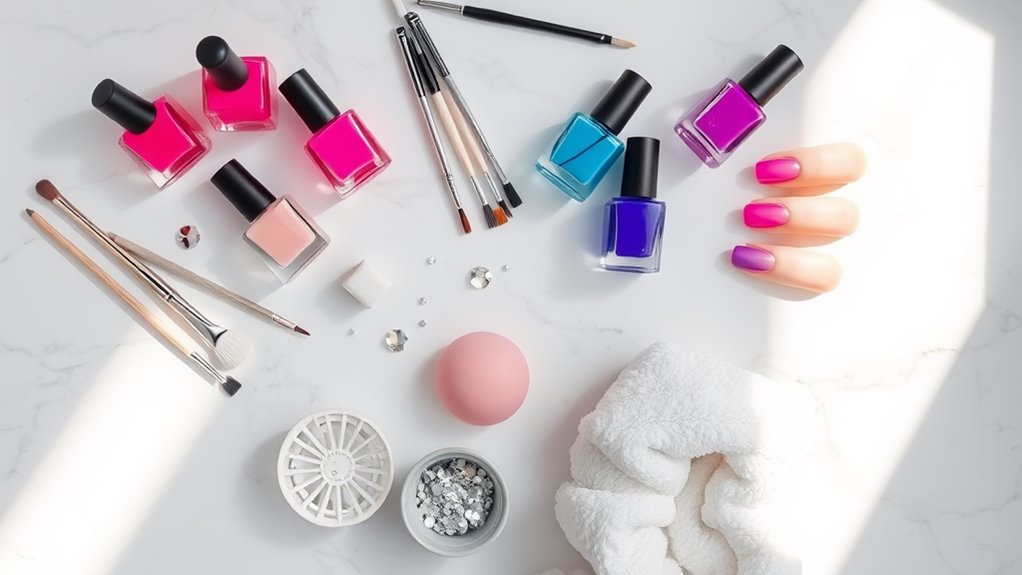
To create the perfect ombre nail look, you’ll need a few essential supplies. First, grab your favorite nail polishes. You’ll want at least two colors that work well together. If you’re feeling adventurous, three colors can create even more depth!
Next, pick up a makeup sponge. Yes, the kind you use for foundation; it’s a secret weapon for blending those colors smoothly. You’ll also need a top coat to seal the deal and keep your nails shiny and beautiful.
Don’t forget a base coat, too! It helps protect your nails from staining and gives your colors a fresh canvas to shine. A small brush or toothpick can come in handy for cleanup if you go a little wild with the polish, which is totally okay!
Lastly, have some cotton balls and nail polish remover ready. Trust me, you’ll want these for any little mess-ups.
Now you’re all set! With your supplies gathered, you’re ready to plunge into the fun part of creating your ombre masterpiece. Who knew getting ready could feel like an art project? Enjoy the process—your nails are about to get a fabulous makeover!
Choose Your Color Palette
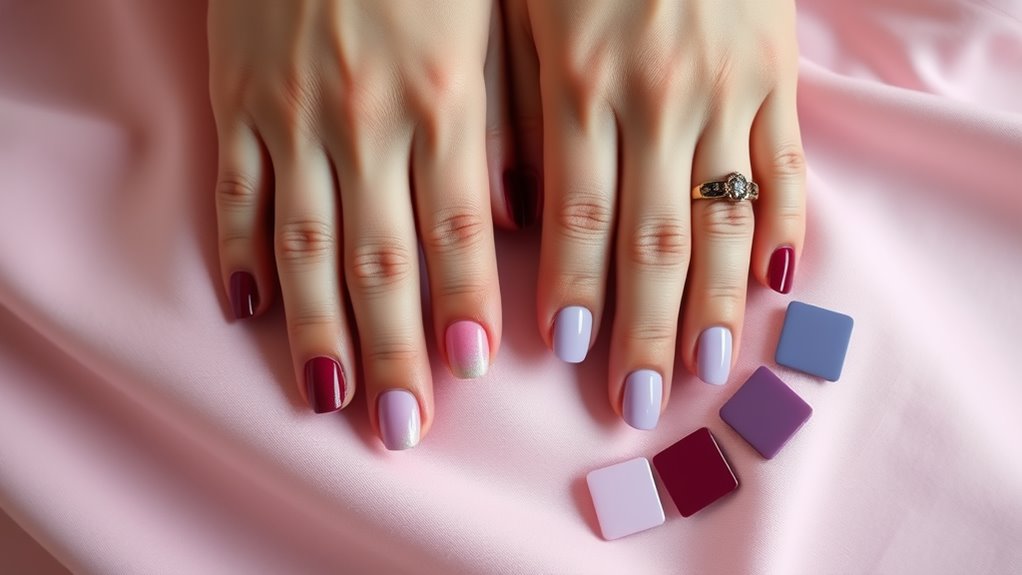
What colors are you drawn to? When choosing your ombre nail palette, think about the shades that make you smile.
Do you love soft pastels, or are bold, vibrant colors more your style? It’s all about expressing yourself! You can mix and match colors that complement each other, like a light pink fading into a deeper rose.
Or, you might want to try a sunset vibe with oranges, yellows, and purples.
Don’t forget about contrasts, too! A dark blue blending into a light blue can look stunning.
And if you’re feeling adventurous, why not go for a rainbow ombre? The choices are endless!
When selecting your colors, consider the occasion. If you’re going to a fancy event, maybe stick with classy neutrals, but for a fun day out, brighter shades could be perfect.
You can even check your wardrobe for inspiration!
Prepare Your Nails
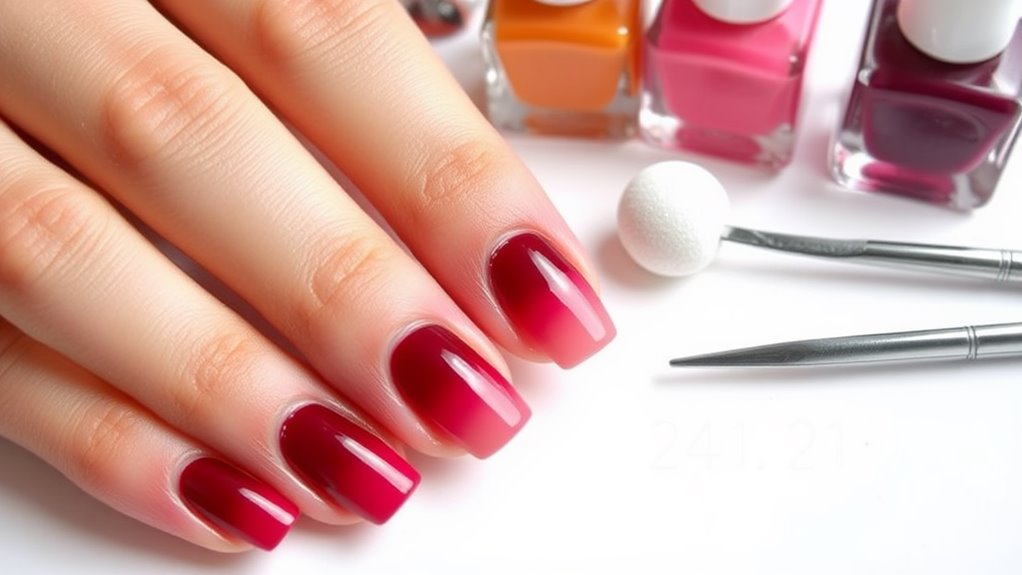
Before diving into your ombre nail design, it’s important to prep your nails for the best results. Start by removing any old nail polish. You want a clean canvas, just like an artist!
Next, trim and shape your nails to your desired length and style. Whether you like them short and neat or long and dramatic, get them how you want.
After that, it’s time to file. Gently buff the surface to smooth out any ridges. Think of it as giving your nails a mini spa day.
Once they’re smooth, wash your hands to get rid of any dust.
Now, apply a base coat. This step is vital, as it protects your nails from staining and helps the polish stick better. Let it dry completely—patience is key here!
If you’re feeling fancy, you can also moisturize your cuticles with some oil or cream. They deserve some love too!
With your nails prepped and pampered, you’re ready to take on the colorful world of ombre. Get excited, because your beautiful nail masterpiece is just around the corner!
Blend the Colors
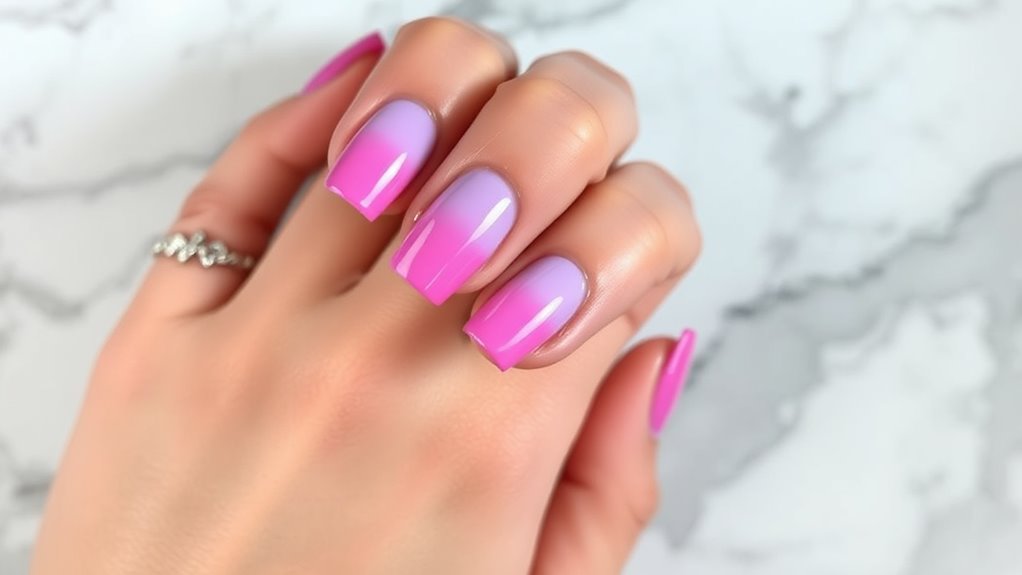
How do you create that seamless ombre effect? Blending the colors is the key, and it’s easier than you might think!
Start by applying your base color to the entire nail. Once it’s dry, grab your second color and put a small amount on a makeup sponge. You’ll want to do this carefully, so don’t go wild just yet!
Now, gently dab the sponge onto your nail, moving it up and down a bit. You’re not painting a masterpiece here; just get a nice blend.
If you don’t see enough of the second color, add a bit more to the sponge and dab again. You can also use a small brush to help blend the edges if needed.
Apply a Top Coat
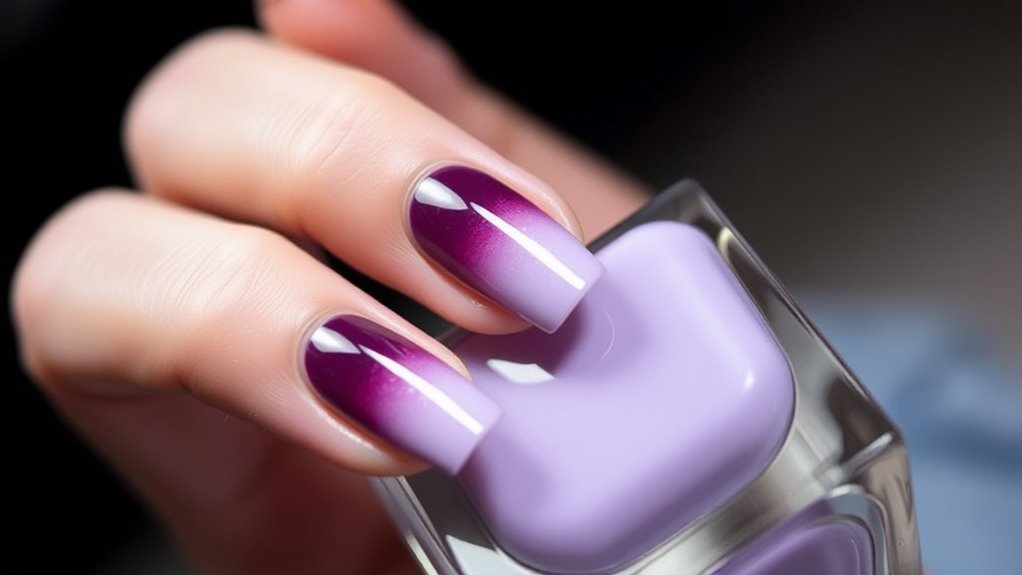
A top coat is essential for completing your ombre nail look. Not only does it add a beautiful shine, but it also helps protect your design from chips and scratches. So, once you’ve achieved that stunning blend of colors, it’s time to grab your trusty top coat!
Start by shaking the bottle gently. This helps to mix the product without creating bubbles. Then, take a small amount on your brush and carefully apply it over your nails. Be sure to cover the entire nail, including the tips. This is super important because it seals in your hard work and prevents wear and tear.
Don’t rush it! Allow the top coat to dry completely before you do anything else. You wouldn’t want to accidentally smudge your masterpiece, right? If you’re feeling fancy, you can even add a second layer for extra protection and shine. Just remember, patience is key!
Once everything’s dry, you’ll see your ombre nails come to life with that glossy finish. You’ll be ready to show off your gorgeous nails to everyone, and trust me, they’ll be impressed!
Maintain Your Ombre Look
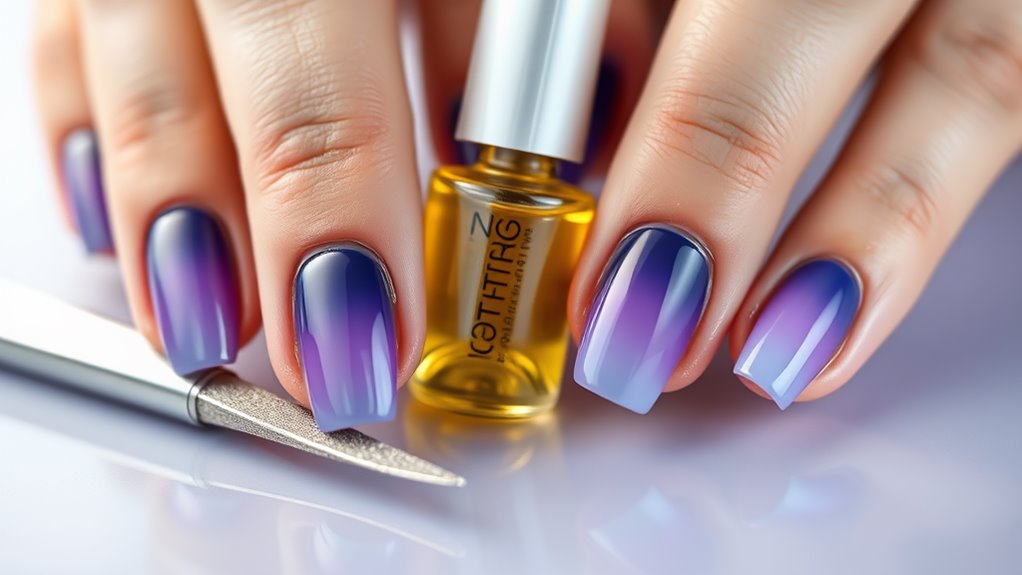
Maintaining your ombre look is essential for keeping those stunning colors vibrant and fresh. To start, you’ll want to avoid harsh chemicals when cleaning or doing dishes. Wearing gloves can save your nails from fading and help keep that beautiful gradient intact.
Regular touch-ups are also a great idea. If you notice any chips or dullness, don’t hesitate to apply a little polish to those areas. Just make sure to blend it well to maintain the ombre effect.
Hydration plays a key role too! Use cuticle oil regularly to keep your nails and skin healthy. This not only keeps your nails looking great, but it also helps the colors pop.
Oh, and don’t forget about your top coat! You applied it initially, but adding another layer every few days can really make a difference. It protects your design and gives it that extra shine.
Lastly, schedule a refresh every couple of weeks to keep your look fresh. Whether you’re doing it yourself or visiting a salon, a little upkeep goes a long way.
With these tips, you’ll keep your ombre nails looking fabulous and ready for compliments!
Conclusion
And there you have it! You’re all set to rock that perfect ombre nail look. Just remember, practice makes perfect, so don’t worry if it doesn’t turn out flawless the first time. Have fun experimenting with colors and styles! Your nails will be the talk of the town, and you’ll feel like a nail art pro. So grab your supplies, get creative, and let your fingertips shine like the stars! Happy painting!
