How to Create Perfect Polka Dot Nails
To create perfect polka dot nails, start by gathering your tools, like dotting tools or even toothpicks. Apply a base coat to protect your nails and choose a bright base color that makes your dots pop. Dip your dotting tool in contrasting polish, then gently press it onto your nails for uniform dots. Mix sizes by using different tools for a fun look. Remember to let each dot dry before adding more, and don’t be afraid to experiment with different patterns. Finish with a glossy top coat, and you’ll be all set! There’s even more to learn about nail art tricks!
Essential Tools Required
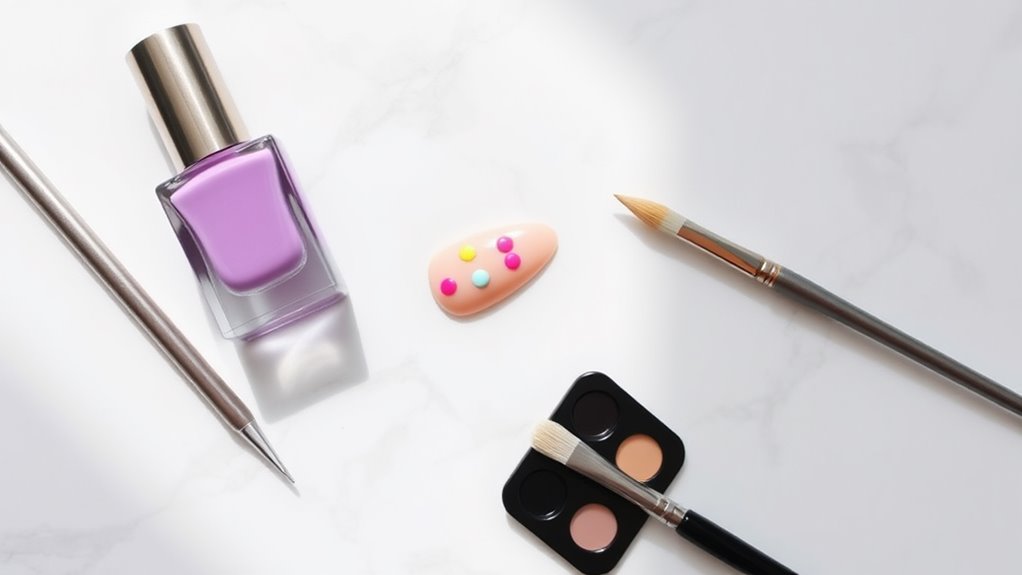
To achieve stunning polka dot nails, you’ll need a few essential tools to get started. First up, grab some dotting tools. These handy little gadgets come in different sizes, so you can create polka dots of all kinds—big, small, or somewhere in between!
If you don’t have dotting tools, no worries! You can use a toothpick or a bobby pin as a quick substitute.
Next, you’ll want a good base coat. This will protect your nails and help your polish last longer. You’ll also need a top coat for that gorgeous shine and extra durability. Trust me, your nails will thank you!
Don’t forget a nail file and buffer to shape your nails before you start. It’s just like giving your nails a little spa day!
Finally, a clean-up brush dipped in acetone can be a lifesaver for those little polish smudges around your cuticles.
With these tools in hand, you’re ready to release your creativity. Get ready to have some fun and show off your fabulous polka dot nails!
Choosing Your Nail Polish
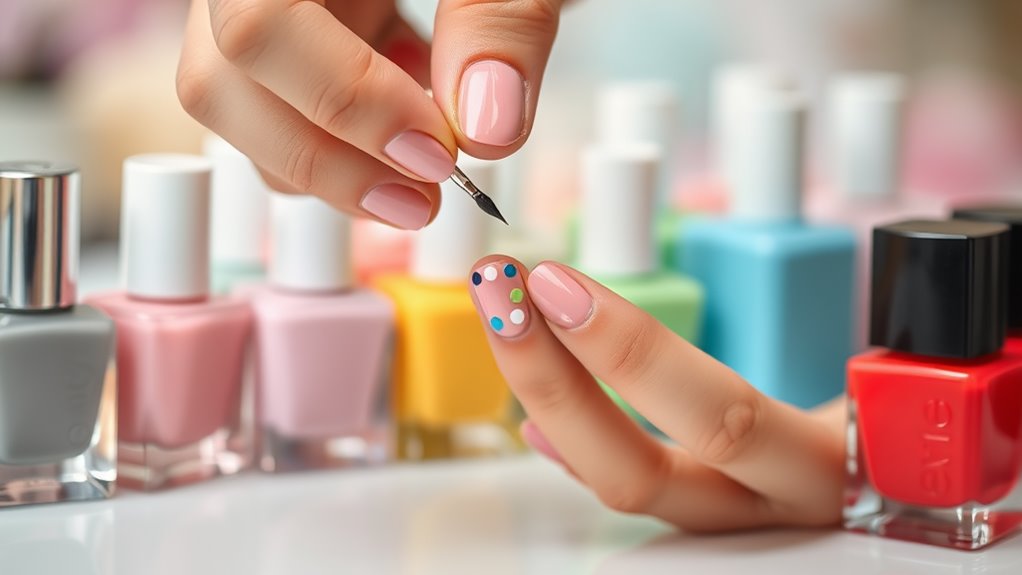
Choosing the right nail polish is essential for achieving perfect polka dot nails. You’ll want to start with a base color that catches your eye. Think about colors that make you smile! Bright shades like pink, blue, or even classic white work great. Just remember, the base color should be smooth and even for those pretty dots to stand out.
Next, you’ll need a contrasting color for your dots. This is where you can have fun! Go for something bold like yellow, black, or even metallics. The key is to choose colors that pop against each other. If you pick a light base, darker dots will shine, and vice versa.
Make sure the polishes you choose are good quality. You don’t want any chipping or fading in just a day! Fast-drying formulas can save you from smudges, especially when you’re excited to show off your nails.
Lastly, don’t forget to think about the finish. A glossy top coat can make your dots look super shiny, while a matte finish gives a cool, modern vibe.
Go on, let your creativity flow, and get ready to rock those polka dots!
Preparing Your Nails
Now that you’ve selected your polishes, it’s time to prepare your nails for the perfect polka dot design. First things first, you want to start with clean nails. Wash your hands and remove any old polish. You wouldn’t want last week’s glitter hanging around, right?
Next, trim and file your nails to your desired shape. Whether you like them square or round, make sure they’re even. This makes your polka dots look extra neat!
After that, push back your cuticles gently using a cuticle pusher or your trusty orangewood stick. Just be careful not to go too crazy; we’re not trying to start a cuticle war here!
Now, apply a base coat. This step is super important because it protects your nails and helps your polish stick. Plus, it gives your design a smooth surface to shine on.
Once the base coat is dry, you’re ready to plunge into the fun part—adding those cute polka dots! So grab your polishes and get ready to release your creativity. Your nails are about to become a fun canvas, and trust me, you’re going to love the result!
Techniques for Polka Dots
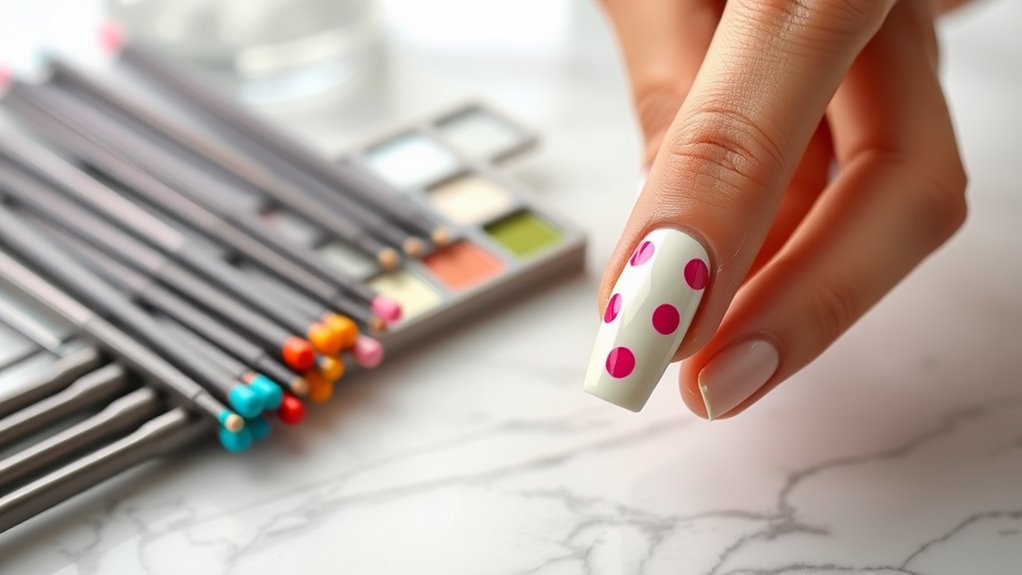
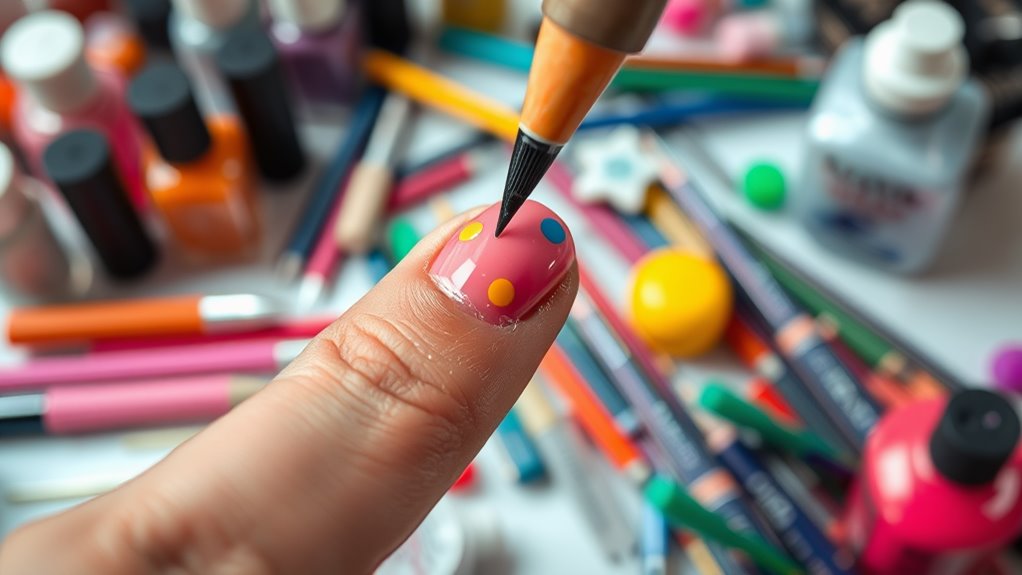
While you might think creating perfect polka dots is tricky, it’s actually quite simple once you know a few techniques. First, grab a dotting tool or even a bobby pin. You don’t need fancy tools; just something that can create dots. Dip the tool in your nail polish, then gently press it onto your nail. Voila! You’ve made your first dot.
Next, you can experiment with different sizes. For smaller dots, use the tip of a toothpick. For larger ones, try a bigger end of the dotting tool. It’s all about having fun and being creative!
Don’t forget to let each dot dry before adding another. Otherwise, you might end up with a big, messy blob. Patience is key here, just like waiting for your pizza to cook.
If you make a mistake, don’t worry! Just use a small brush with some nail polish remover to fix it up. Remember, practice makes perfect.
With these techniques, you’ll be a polka dot pro in no time. So, roll up your sleeves, get ready to dot, and enjoy the process! Your nails will thank you.
Creating Dot Patterns
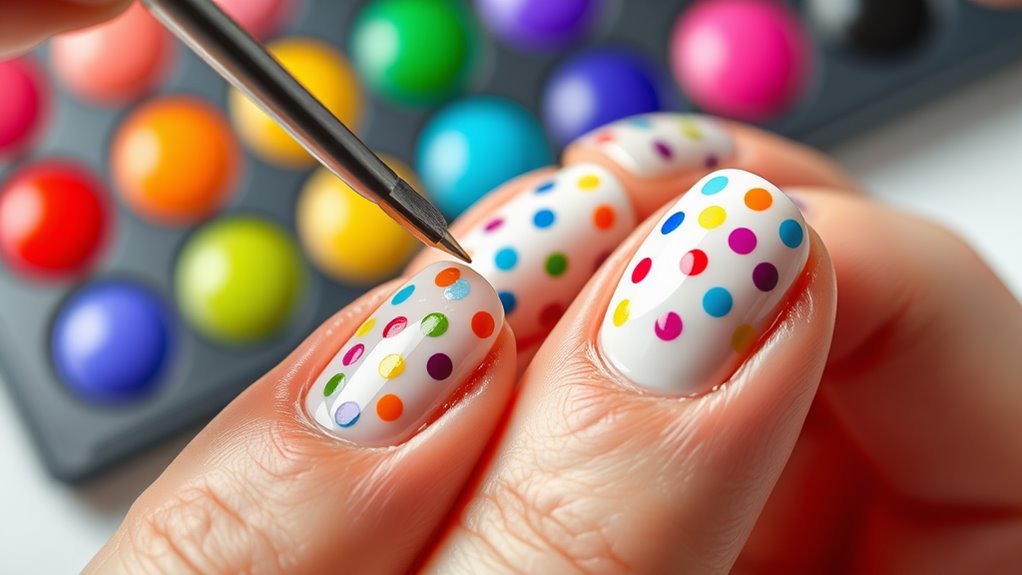
After mastering the basics of creating dots, it’s time to think about how to arrange them into eye-catching patterns. You can mix and match different sizes and colors of dots to create something truly unique!
Start by deciding on a theme. Do you want a fun, playful look or something more elegant?
Once you’ve got your theme, choose a base color. This will help your dots pop! You can go for a classic white or something bold like hot pink.
Next, think about the spacing of your dots. You could create a uniform pattern with evenly spaced dots, or you can go for a more chaotic look with dots scattered randomly.
Try creating stripes by placing dots in straight lines, or make a flower shape by arranging dots in a circular pattern.
Don’t forget, you can layer your dots! Adding smaller dots inside larger ones can create a fun visual effect.
Adding Designs and Details
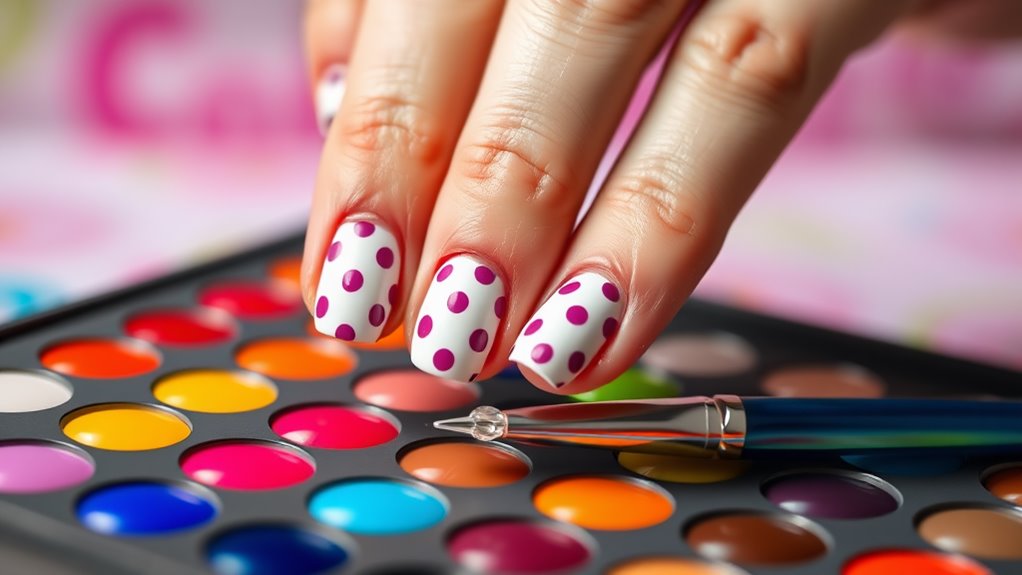
To elevate your polka dot nails, consider adding unique designs and details that showcase your personal style. You can mix in some fun shapes, like hearts or stars, to create a playful look. Grab a fine brush or a dotting tool, and start adding these designs between your dots. It’s like giving your nails a little party!
Another great idea is to use different colors for your designs. For instance, if your base is a light pink, try using white or gold for your shapes. This contrast makes everything pop! You might even want to add some glitter to certain areas for that extra sparkle. Who doesn’t love a little glitz?
If you’re feeling adventurous, try layering your designs. Start with a base of polka dots, then add stripes or zigzags over them. It creates a fun, mixed-media effect that’s sure to grab attention. Just remember, balance is key! Too many designs can look cluttered.
Take your time, and don’t rush it. Nail art is all about having fun and expressing yourself. So, get creative, and let your personality shine through your nails!
Sealing Your Artwork
Once you’ve created your stunning polka dot designs, it’s essential to seal your artwork for lasting durability and shine. Sealing not only protects your hard work but also makes those dots pop even more! So, let’s explore how to do this.
First, grab a top coat. This magical potion comes in both regular and gel formulas, so choose what you prefer. If you want that salon-finish look, a gel top coat is your best friend.
Apply a thin layer over your nails, making sure to cover the entire design. Don’t worry if it looks a bit cloudy at first; it’ll dry clear and glossy!
Be sure to let it dry completely before you do anything else. You wouldn’t want to ruin your masterpiece by smudging it.
If you want extra protection, consider adding a second layer after the first one dries. It’s like giving your nails a cozy blanket!
Tips for Long-Lasting Nails
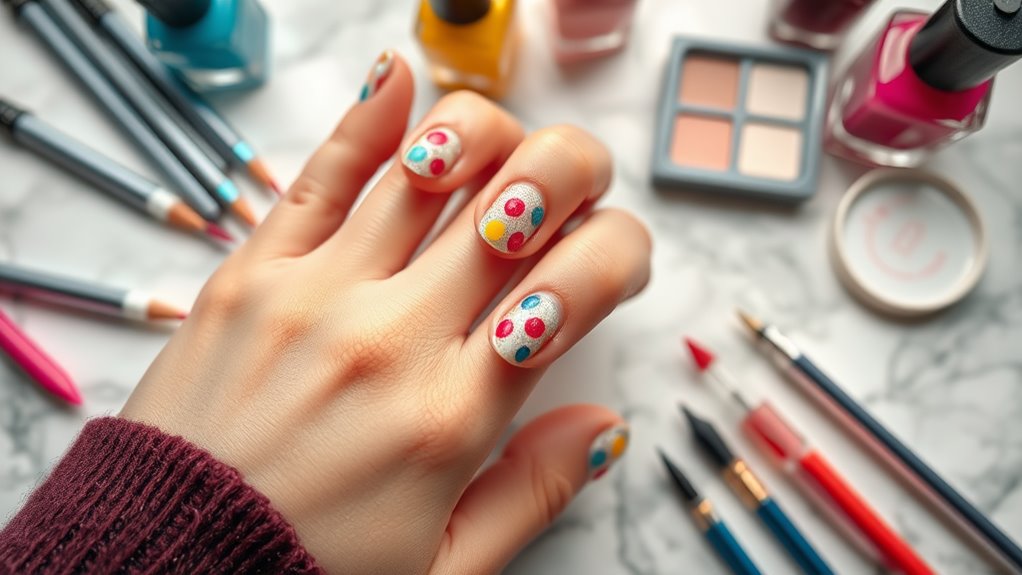
Achieving long-lasting polka dot nails requires a few key practices that keep your manicure looking fresh and vibrant.
First, always start with clean, dry nails. Any leftover oils or dirt can make your polish chip faster. Next, don’t skip the base coat! It not only protects your nails but also helps the polish adhere better.
When applying your colors, use thin layers. Thick layers might look great initially, but they tend to peel off like a banana!
After you’ve added your polka dots, seal them with a good top coat. This step is like putting a superhero cape on your nails; it adds shine and strength! Remember to reapply that top coat every few days to keep your design looking fresh.
Avoid using your nails as tools. Trust me, they’re not meant for prying open cans or scratching off labels.
Finally, consider wearing gloves when doing chores; your nails will thank you later.
With these tips, you’ll enjoy your polka dot nails for longer, making them the star of your manicure show! So go ahead, get creative, and flaunt those fabulous nails with confidence!
Conclusion
Now you’re all set to rock those polka dot nails! With the right tools, some fun colors, and a little creativity, you can create nail art that’s sure to impress. Remember, practice makes perfect, so don’t worry if your first try isn’t flawless. Just have fun and let your personality shine through your nails! And hey, if you mess up, just call it “abstract art.” Happy polishing, and enjoy showing off your fabulous nails!
