How to Fix Common Ombre Nail Mistakes
Fixing ombre nail mistakes is easier than you think! First, make sure you’re blending colors well; harsh lines are a no-go. Use a makeup sponge for that perfect gradient, and don’t overload it with polish—less is more! If your layers get thick and lumpy, try applying thinner coats instead. Always start with a base coat to protect your nails, and be cautious with color choices; contrasting shades work best. Finally, wait before applying a topcoat to avoid smudging. With these tips, your nails will look fab! Want to up your ombre game even more? Keep scrolling for extra gems!
Identifying Common Mistakes
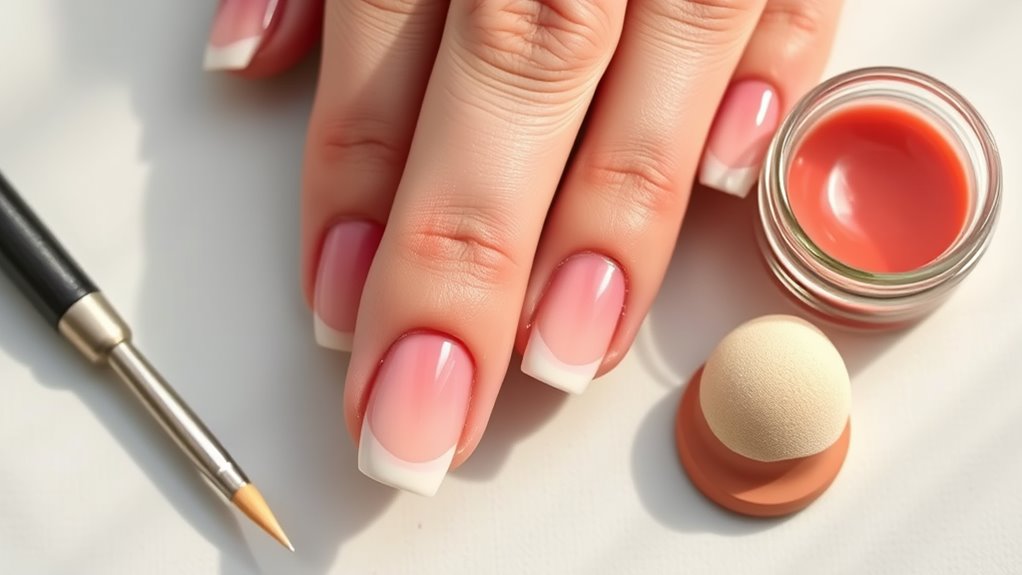
When it comes to ombre nails, you might run into a few common mistakes that can throw off your look. One biggie isn’t blending the colors well. If you see harsh lines instead of a smooth gradation, it’s like trying to mix orange juice with toothpaste—not a good combo!
Make sure you’re using a good sponge or brush to blend those colors nicely.
Another mistake is applying too much polish. If your layers are thick, you’ll end up with a lumpy mess. Instead, use thin coats and build up the color gradually. Patience really pays off here!
You might also forget to prep your nails properly. Neglecting a base coat can lead to staining or uneven color. Always start with a clean, dry nail and a good base coat.
Lastly, check your color choices. If you pick shades that are too similar, your ombre may not pop as you want it to. Try contrasting colors for a more stunning effect.
Choosing the Right Tools
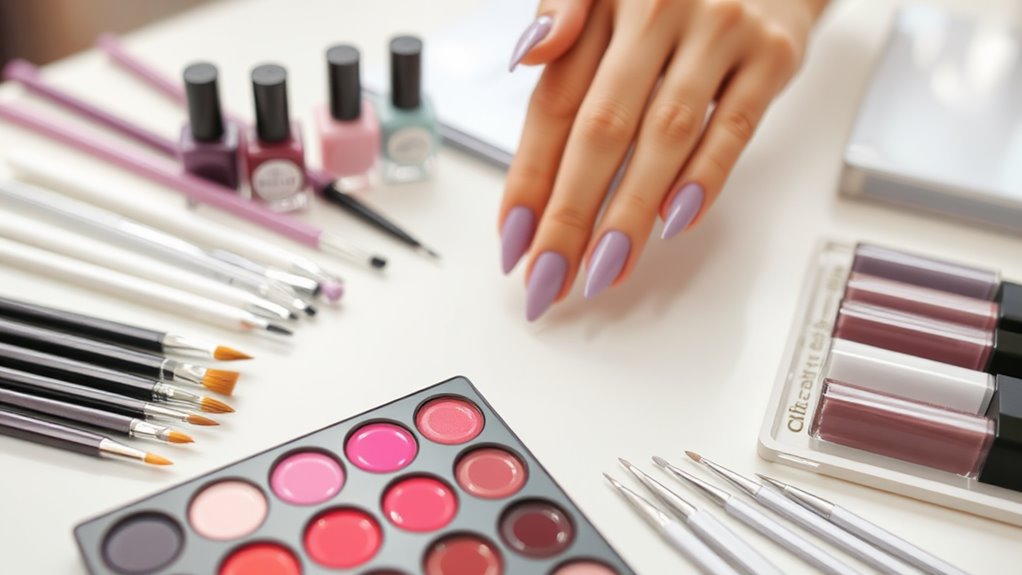
The right tools can make all the difference in achieving flawless ombre nails. First off, you’ll need a good quality set of nail polish brushes. A small, flat brush works wonders for blending colors smoothly, while a detail brush can help with those tricky edges.
Don’t forget about a makeup sponge! It’s your best friend for that gradient effect. Simply dab your chosen colors onto the sponge, and gently press it onto your nails.
Next, grab some nail tape or liquid latex. These will save your cuticles from getting messy. Just apply them around your nails before you start painting. Trust me, it’ll make cleanup a breeze!
Also, pick up a top coat for that shiny finish. It’ll seal in your masterpiece and make your ombre nails pop. And hey, don’t skimp on quality—cheap polishes can ruin your hard work.
Lastly, have some cotton balls and remover handy. Mistakes happen, and that’s okay! You’ll want to fix them quickly without ruining the whole look.
With these tools in your arsenal, you’re ready to create stunning ombre nails that’ll impress everyone!
Preparing Your Nails Properly
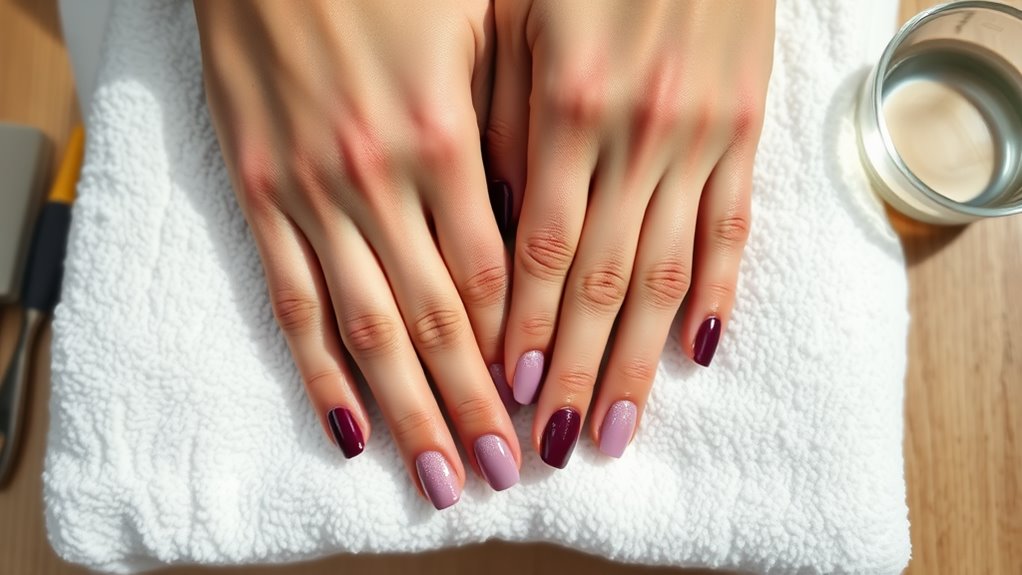
With the right tools ready, it’s time to focus on preparing your nails properly. First, start by giving your nails a good clean. Wash your hands and nails to remove any dirt or old polish. If you’re feeling fancy, use a nail brush to scrub under your nails.
Next, trim and shape your nails to your liking. You want them looking neat, so grab your nail clippers and file them into a smooth shape.
Now, it’s time for some pampering! Push back your cuticles gently with a cuticle pusher. This step helps your nails look longer and gives you a cleaner canvas for that ombre effect.
Don’t forget to apply a bit of cuticle oil afterward—it keeps your nails healthy and happy.
Once that’s done, buff your nails lightly to remove any ridges. This makes it easier for the polish to stick.
Finally, apply a base coat. It’s like a protective shield for your nails, preventing staining and helping your polish last longer.
With your nails prepped and primed, you’re all set to plunge into creating a stunning ombre look! Enjoy the process; it’s all about having fun!
Selecting Compatible Colors
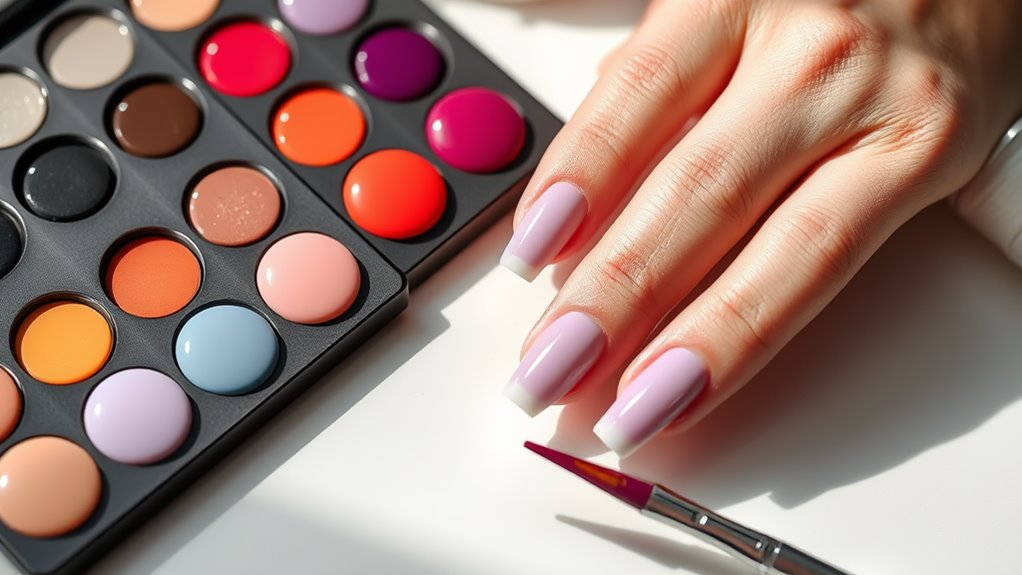
Choosing the right colors is essential for achieving a beautiful ombre effect. You want to pick shades that look good together and create a smooth gradient. It’s like picking the right toppings for your sundae; the wrong choice can ruin the whole thing!
Start by considering colors that are close on the color wheel. For instance, if you choose a light pink, a slightly darker pink or a peachy shade can work wonders. This way, you’ll create a soft gradient that’s pleasing to the eye.
Don’t forget about contrast! Sometimes, pairing a bold color with a lighter one can make your nails pop. Think of navy blue with a baby blue or a vibrant orange with a pale yellow. Just remember, too much contrast can be jarring, so balance is key.
Lastly, test your colors together before you commit. You can even swatch them on a piece of paper to see how they blend. It’s a little like mixing paint; you want to get it just right!
With the right color selection, you’ll be well on your way to achieving that stunning ombre look you’ve been dreaming of!
Blending Techniques to Try
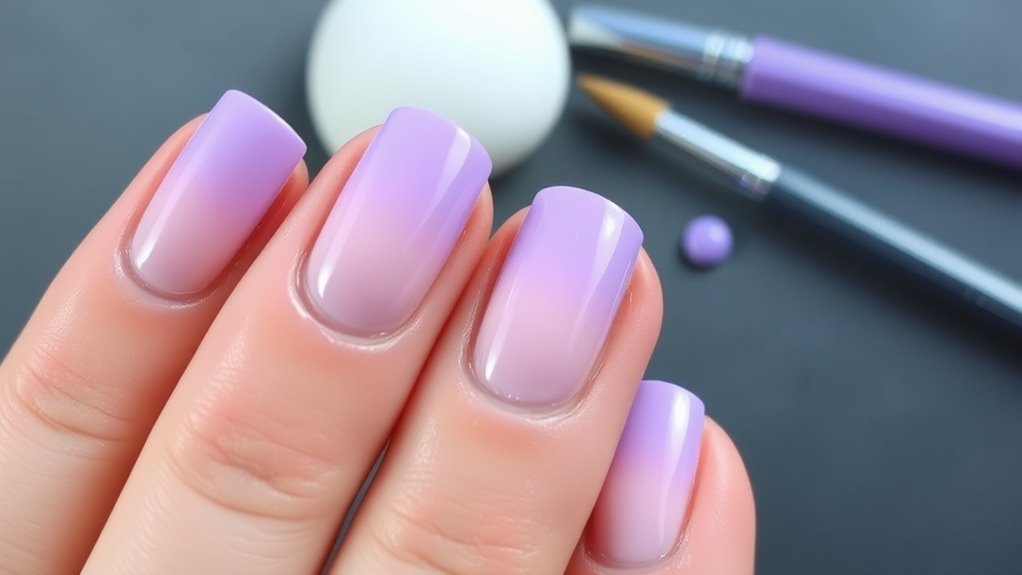
When it comes to achieving a flawless ombre effect, mastering blending techniques is key. You’ll want to make sure those colors shift smoothly, so grab a makeup sponge or a small brush.
Start by applying your lightest color at the tip of your nails and then the darker shade towards the base. Now, here comes the fun part! Use your sponge to dab the area where the two colors meet. This technique helps blend them together, creating that dreamy gradient look.
Don’t be afraid to layer! If you think the colors aren’t blended well enough, just add another coat. Remember, practice makes perfect. You might feel like a mad scientist at first, but it’ll get easier!
Another trick is to use a small, round brush. Dip it in the darker color and gently swirl it where the two meet. This circular motion can work wonders in blending.
Lastly, keep a steady hand and don’t rush. You want to create a masterpiece, not a hot mess! Once you’ve got that blend just right, seal it all in with a top coat, and you’re all set for compliments. Happy painting!
Fixing Uneven Application
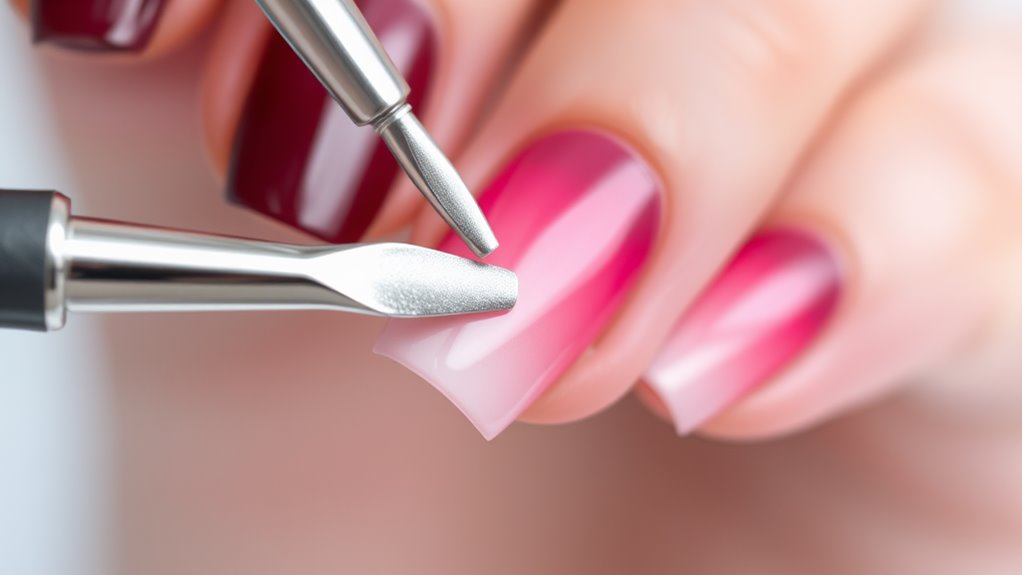
Uneven application can be a frustrating hurdle in achieving that perfect ombre look. Don’t worry, though! You can easily fix it with a few handy tips.
First, take a close look at your nails. If one color seems thicker or darker than the other, you’ll want to even that out. Grab a nail file and gently buff the uneven areas. Just be careful not to overdo it; you want to keep your nails healthy!
Next, you might need to add another coat of polish. If the lighter color is lacking, apply a thin layer to balance it out. Let it dry completely before checking again.
Sometimes, a little extra blending can do wonders. Use a makeup sponge to dab on some more polish, blending the colors together. This can help smooth out any harsh lines or spots.
If all else fails, don’t be afraid to start fresh! You can always remove the polish and try again. Remember, practice makes perfect!
With these tricks, you’ll be on your way to those stunning ombre nails in no time. Just keep at it, and soon enough, you’ll be the ombre nail pro among your friends!
Correcting Color Overlap
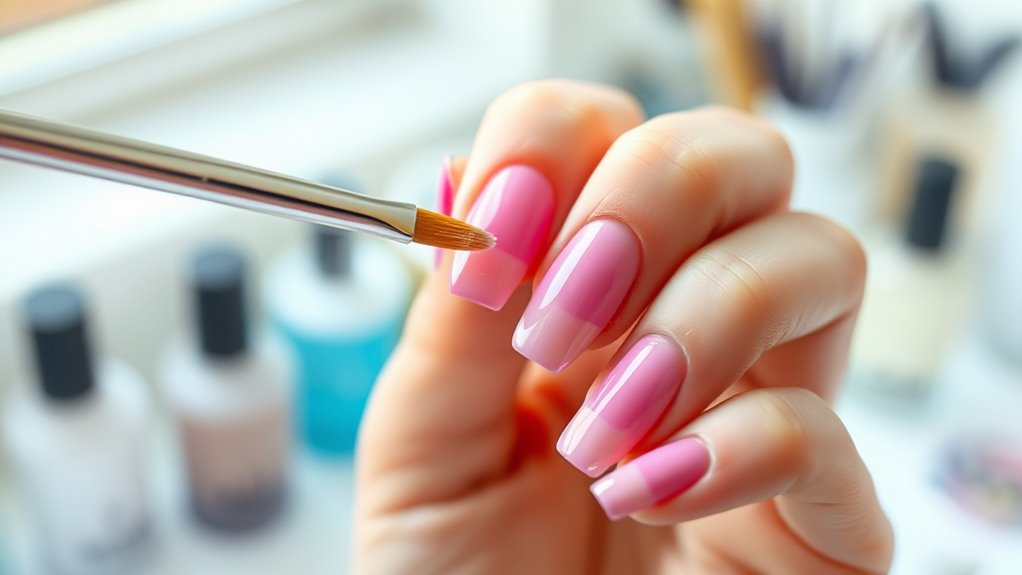
After you’ve tackled uneven application, you might notice another common issue: color overlap. This happens when your two nail colors mix together too much, creating a muddy look instead of that gorgeous gradient you were aiming for.
Don’t worry, though; fixing it’s easier than you think!
First, grab a small brush or a toothpick. You’ll want to carefully go around the area where the colors meet. If you see a lot of mixed color, try to gently lift the overlapping paint. You can do this by lightly scraping it off with the brush.
If the colors are too blended, you might need to reapply one of the shades. When you do this, make sure to use a light hand and blend the new color into the old one.
Sealing for Longevity
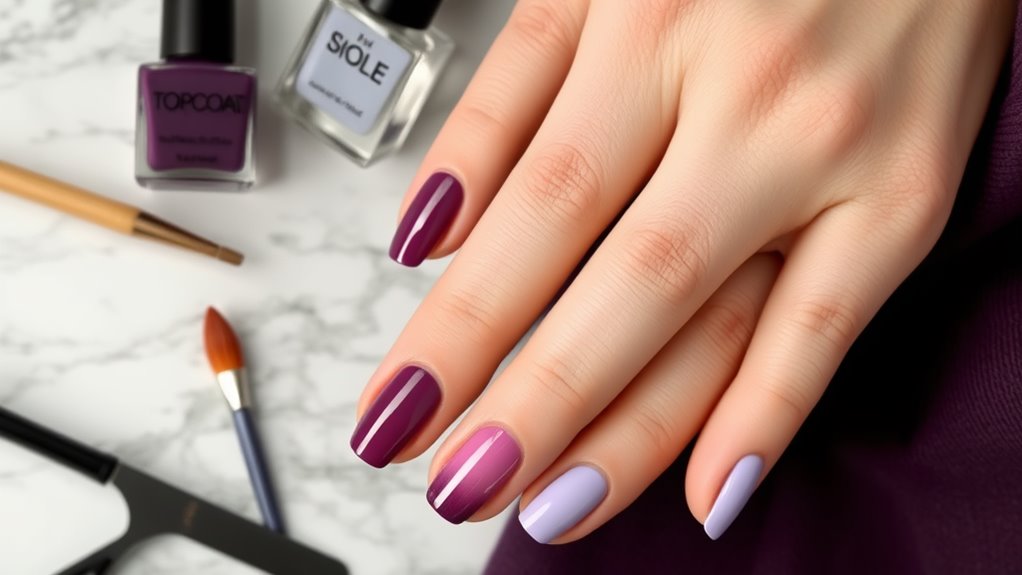
To guarantee your ombre nails last, sealing them properly is essential. After you’ve perfected that beautiful gradient, you don’t want all your hard work to chip away.
So, let’s explore sealing techniques that will keep your nails looking fabulous!
First, grab a good quality topcoat. This step is like adding icing to a cake— it makes everything look smoother and more polished. Apply a generous layer, making sure to cover the tips of your nails, too. This helps prevent chipping, which is the enemy of any nail art.
Next, don’t rush! Let each coat dry completely before applying the next. Patience is key here. If you’re feeling fancy, consider a quick-dry topcoat for that speedy finish.
Lastly, remember to reapply your topcoat every few days. Think of it like watering a plant; your nails need a little love to stay vibrant.
With these sealing tips, your ombre nails will stay stunning for longer. So, go ahead, flaunt those nails, and enjoy the compliments that come your way! Who wouldn’t love a little nail envy?
Conclusion
Now that you know how to fix those common ombre nail mistakes, you’re ready to rock that gradient look! Remember, practice makes perfect, so don’t be afraid to try again if things don’t go as planned. With the right tools and techniques, you’ll have beautiful ombre nails in no time. And hey, if you make a little mess, just laugh it off—nails are meant to be fun! Happy painting, and let your creativity shine!
