Polka Dot Nail Art- Tips for Beginners
Polka dot nail art is super fun and easy to try out! First, grab some dotting tools; they’re perfect for making neat dots. Choose a bright nail polish, like pink or white, for a pop of color. Remember to clean your nails and apply a base coat before starting. When you dot, lightly dip your tool and press straight down—lift without dragging! Don’t sweat the small stuff; each dot doesn’t have to be perfect. Enjoy the process and try different patterns! If you stick around, you’ll discover even more tips for polishing your nail art skills!
Essential Tools for Nail Art
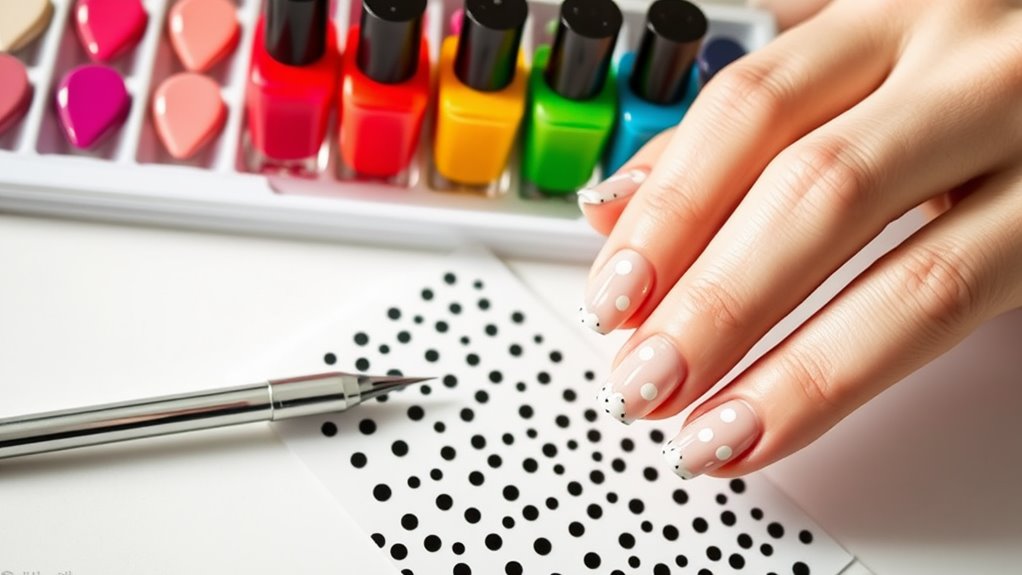
To create stunning polka dot nail art, you’ll need a few essential tools in your arsenal. First up, grab some dotting tools. These handy gadgets come in various sizes, so you can make tiny or large dots, depending on your mood.
If you don’t have dotting tools, don’t worry! A bobby pin or a toothpick works just as well.
Next, you’ll want to stock up on nail polish. Choose a base color that makes your polka dots pop! You can go for classic white, bright pink, or even a sparkly gold—whatever tickles your fancy.
Make sure to have contrasting colors for the dots themselves.
You’ll also need a good top coat to seal in your masterpiece and keep those dots looking fresh.
And don’t forget some nail tape or stickers, which can help make crisp lines if you want to add extra flair.
Lastly, keep a few cotton balls and nail polish remover nearby for any little mistakes—because let’s be real, nobody’s perfect!
With these tools, you’re all set to start creating your fabulous polka dot designs. Happy painting!
Preparing Your Nails
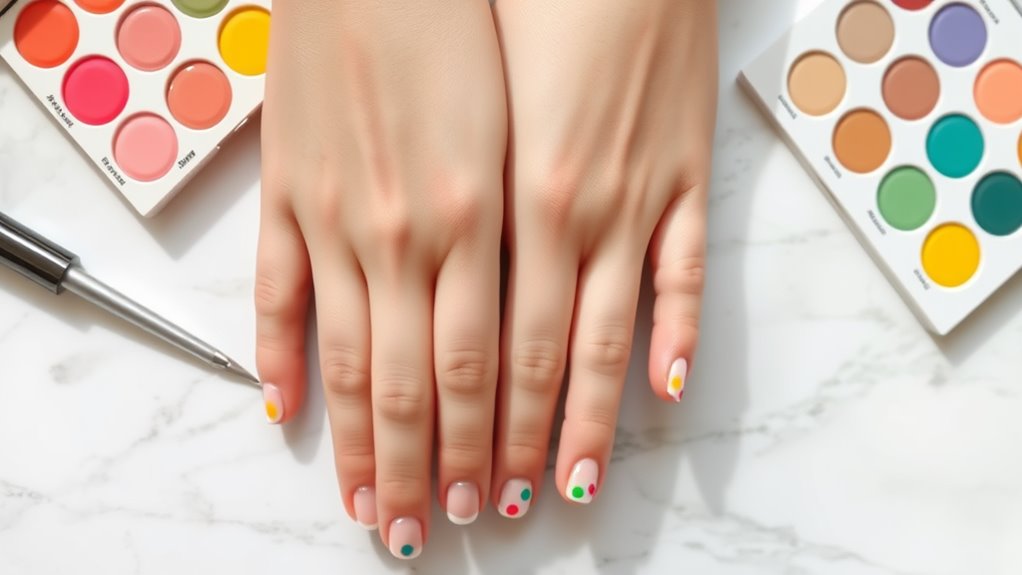
Before you start painting those polka dots, take a moment to prepare your nails for the best results. Trust me, a little prep can make a big difference!
First, give your nails a good wash with soap and water. This removes any dirt or oils that could mess with your polish.
Next, dry them off and check for any rough edges. If your nails feel jagged, grab a nail file and smooth them out.
Now, it’s time to push back those cuticles. Use a cuticle stick or your fingers to gently push them back. This step helps your polish stick better and makes your nails look neater.
Once you’ve got everything looking spiffy, apply a base coat. This isn’t just a fancy extra—base coats protect your nails and help the polish adhere better.
Choosing the Right Polish
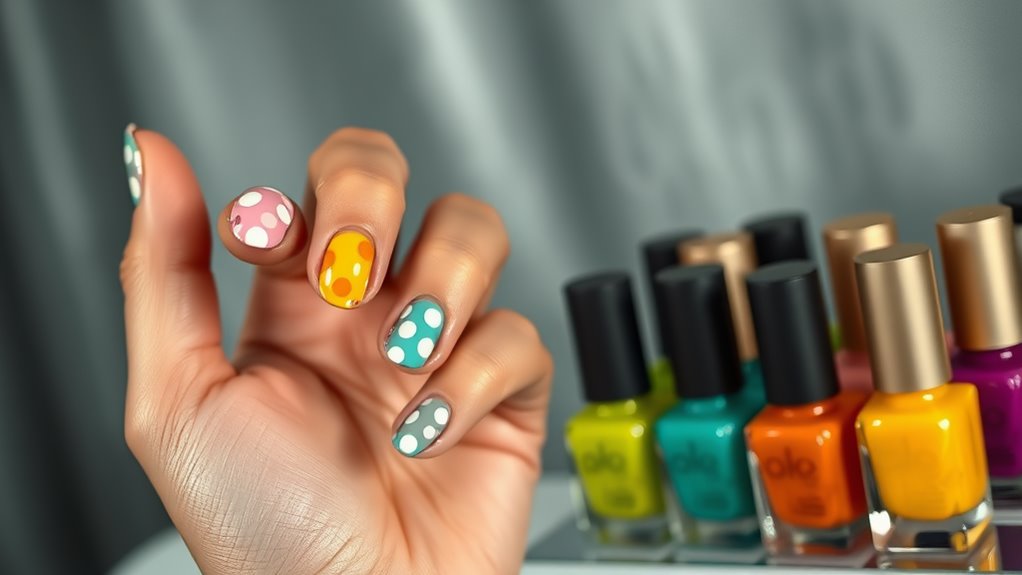
Your polish choice can make or break your polka dot nail art, so pick wisely! When you’re diving into the world of nail art, the type of polish you select is super important.
You’ll want to choose polishes that are opaque and vibrant. Pastel colors can look lovely, but if they’re too sheer, your dots mightn’t pop!
Think about the finish, too. Do you want a glossy shine, or are you feeling a matte look? Glossy polishes tend to make your dots stand out more, while matte can give a unique vibe.
Don’t forget about the drying time! Some polishes dry faster than others, and you don’t want to spend ages waiting between coats. If you’re impatient like me, look for quick-dry formulas; they’re a game-changer!
Also, consider using a base and top coat. A good base coat helps your polish stick better and makes your colors look bolder.
A top coat not only adds shine but also seals your design, keeping it looking fresh longer. Remember, the right polish can boost your nail art game, so have fun experimenting with colors and finishes!
Basic Dotting Techniques
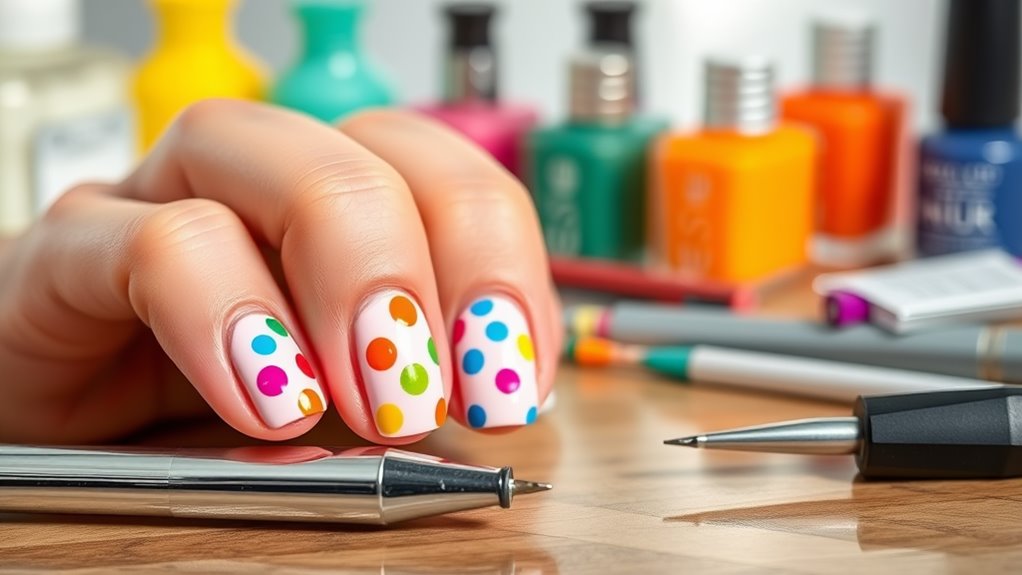
Mastering basic dotting techniques is essential for achieving stunning polka dot nail art. First, grab your dotting tool or a simple toothpick. You don’t need fancy tools; just something with a rounded tip will do.
Next, dip your tool into your nail polish, but don’t overload it. Too much polish can create a messy dot, and nobody wants that!
Now, gently press the tool onto your nail. If you want to create a perfect dot, lift it straight off without dragging. It’s like magic! Don’t worry if your dots aren’t perfect at first; practice makes progress. You can start with one color and then add more once you feel comfortable.
If you want to spice things up, try varying your dot placement. Arrange them in neat rows or scatter them randomly for a fun look.
And remember, patience is key. If you’re in a hurry, your dots might end up looking like squished bugs!
Creating Different Dot Sizes
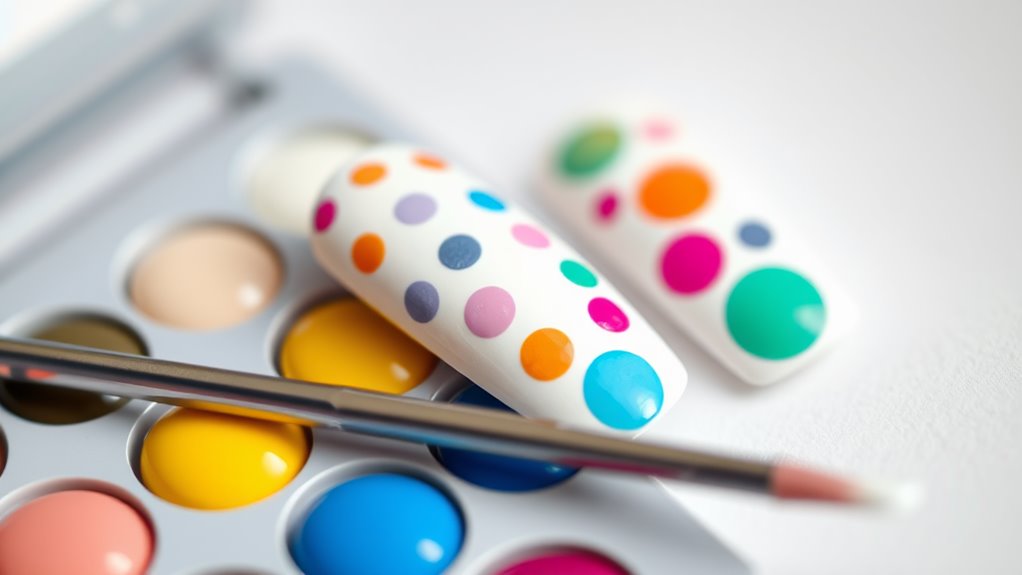
Once you’ve got the hang of basic dotting techniques, you can easily create different dot sizes to elevate your nail art. This is where the fun really begins!
To make tiny dots, try using a toothpick or a fine-tipped dotting tool. Just dip it into your nail polish and gently press it onto your nail. The smaller the tool, the tinier the dot!
For larger dots, you can grab a bobby pin or the end of a paintbrush. Dip it in polish and give it a good press on your nail. You’ll be amazed at how different tools can create such varying sizes. It’s like magic, but without the wand!
Don’t forget to practice! The more you try, the better you’ll get at controlling dot sizes. You can even mix up the sizes on one nail for a playful look.
Just remember, if you mess up, nail polish remover is your best friend!
Color Combinations and Patterns
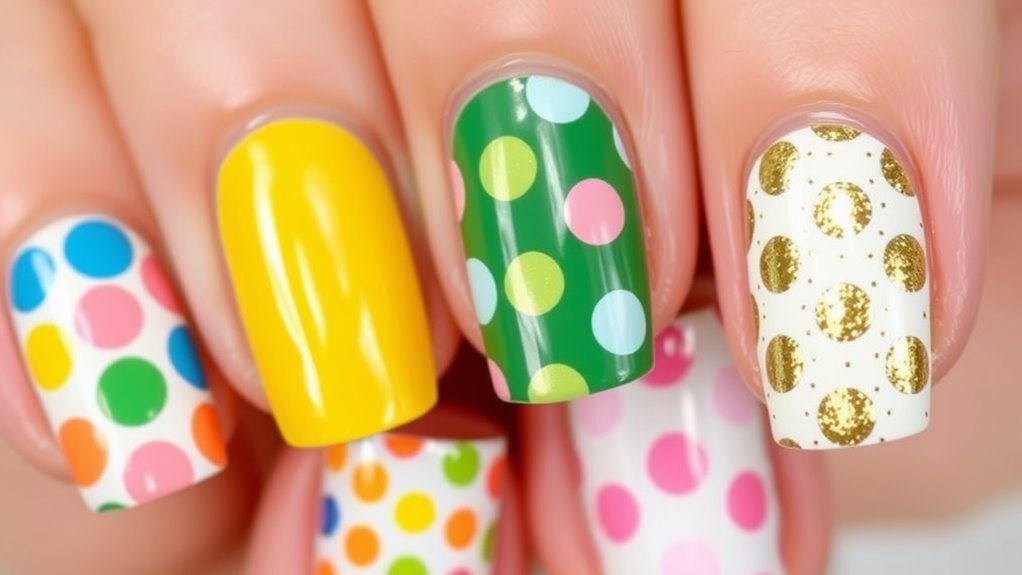
When it comes to nail art, choosing the right color combinations and patterns can make all the difference in achieving a stunning look. You want your polka dots to pop, right? Start by picking a base color that you love. Light colors like pastel pink or mint green are great for a fresh look, while bold shades like deep purple or bright red can really make your dots stand out.
Now, think about your dot colors! You could go for classic black and white for a chic vibe or mix in a fun contrast like yellow dots on a navy background. Don’t be afraid to experiment! Try using three colors for a playful twist—maybe a pink base with white and gold dots.
Patterns can also spice things up. Instead of placing dots randomly, create a pattern like stripes or zigzags. You can even mix different sizes of dots for added flair!
Finishing Touches and Topcoat
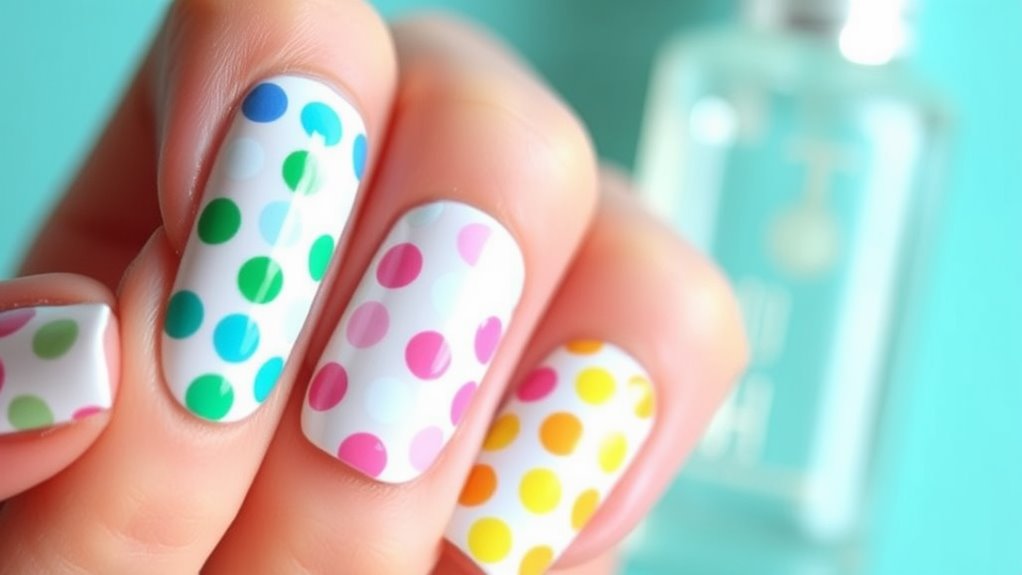
After perfecting your polka dot design, it’s time to focus on the finishing touches and topcoat. This step is like putting the cherry on top of your nail art sundae!
First, let your polish dry completely. No one wants smudged dots, right? Once dry, grab your favorite clear topcoat. A good topcoat not only adds shine but also helps protect your design from chips and scratches.
When applying the topcoat, use smooth strokes and try not to disturb your polka dots. You want to seal them in, not swirl them around like a milkshake! If you notice any tiny bubbles forming, don’t panic; just wait a moment and gently tap the brush on your nail to smooth it out.
After applying the topcoat, let your nails dry thoroughly. You might be tempted to do something right away, but patience is key!
Once they’re dry, your polka dot nails will look fabulous and last longer. You can even show them off to your friends and say, “I did this myself!” Trust me, they’ll be impressed!
Enjoy your beautiful nails, and remember, practice makes perfect!
Common Mistakes to Avoid
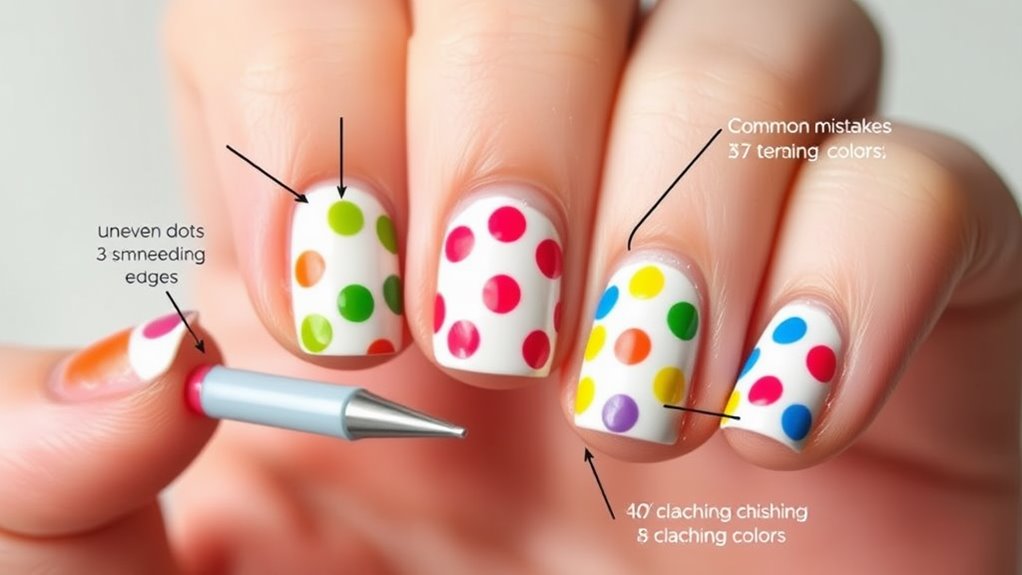
Nail art can be a delightful experience, but there are common mistakes you should steer clear of to achieve that perfect polka dot look.
First off, using the wrong tools can really mess things up. If you think a regular brush will do the trick, think again! Grab a dotting tool or a bobby pin for those neat little dots.
Next, don’t rush the drying time. You might be tempted to move on to the next color too quickly, but trust me, letting each layer dry is key. Smudged dots aren’t as cute as they sound!
Also, be careful with your dot size. Too big, and your dots might look like blobs; too small, and they’ll disappear. Find a happy medium!
Lastly, remember to have fun! If you stress too much about perfection, you might forget to enjoy the process. Nail art is all about creativity, so embrace those little imperfections—they add charm!
With these tips, you’ll be well on your way to rocking those polka dots without a hitch. Happy painting!
Conclusion
Now that you’ve got the basics down, it’s time to release your creativity! Remember, practice makes perfect, so don’t worry if your first polka dots aren’t perfect. Keep experimenting with colors and patterns until you find what you love. And hey, if you make a mistake, just call it “abstract art”! So grab those tools, get painting, and show off your fabulous polka dot nails. You’ve got this! Happy nail art!
