Step-by-Step Guide to Classic Rhinestone Nail Art
Creating classic rhinestone nail art is a fun way to show off your style at home! First, clean your nails and trim them to your favorite shape. Apply a base coat and let it dry. Then, choose your rhinestones—mix sizes and colors for a cool look! Next, paint your nails with polish, let it dry slightly, and use a toothpick to place those sparkling gems. Finish with a topcoat, making sure to avoid soaking your nails afterward. Now your nails shine like stars! Want to know more tips and tricks to make your designs even better? Keep on exploring!
Nail Preparation Essentials
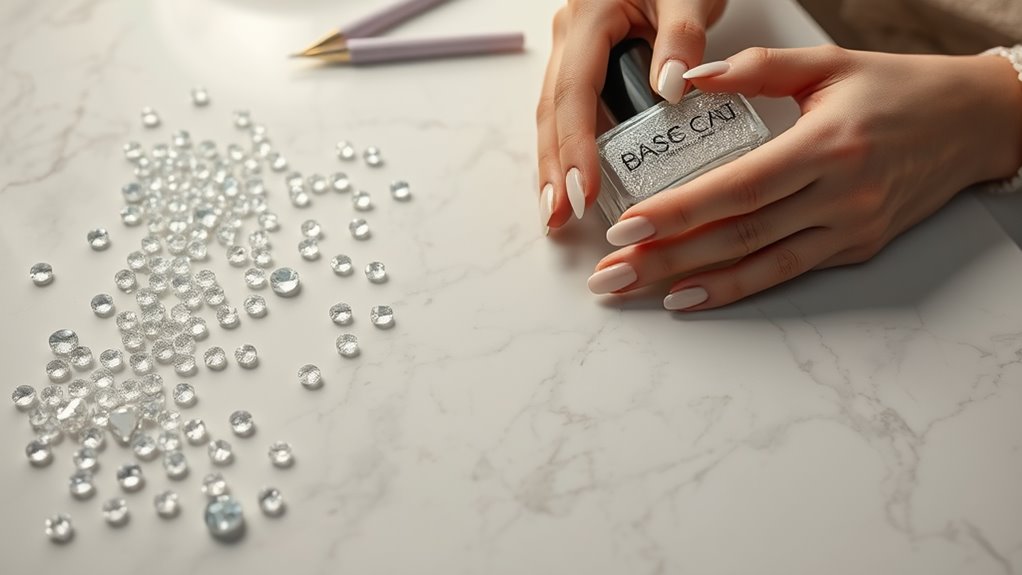
Before you plunge into creating stunning rhinestone nail art, it’s crucial to prepare your nails properly. You wouldn’t want to set a beautiful table with a messy cloth, right?
First, start by cleaning your nails. Remove any old polish and wash your hands to get rid of dirt. It’s like giving your nails a little spa day!
Next, trim and file your nails to your desired shape. Whether you like them square, oval, or almond, a neat shape makes a big difference.
Don’t forget to push back your cuticles gently; this helps create a clean canvas. You wouldn’t paint a picture on a wrinkled canvas, so let’s keep it smooth!
Once you’re done with that, apply a base coat. This step protects your nails and helps the polish stick better. Think of it as a shield for your nails; nobody wants to battle chipping, right?
After the base coat dries, you can apply your favorite nail polish color. Let it dry completely before adding those fabulous rhinestones.
With your nails prepped and ready, you’re all set for the fun part—adding those dazzling rhinestones! Enjoy this creative journey!
Choosing Your Rhinestones
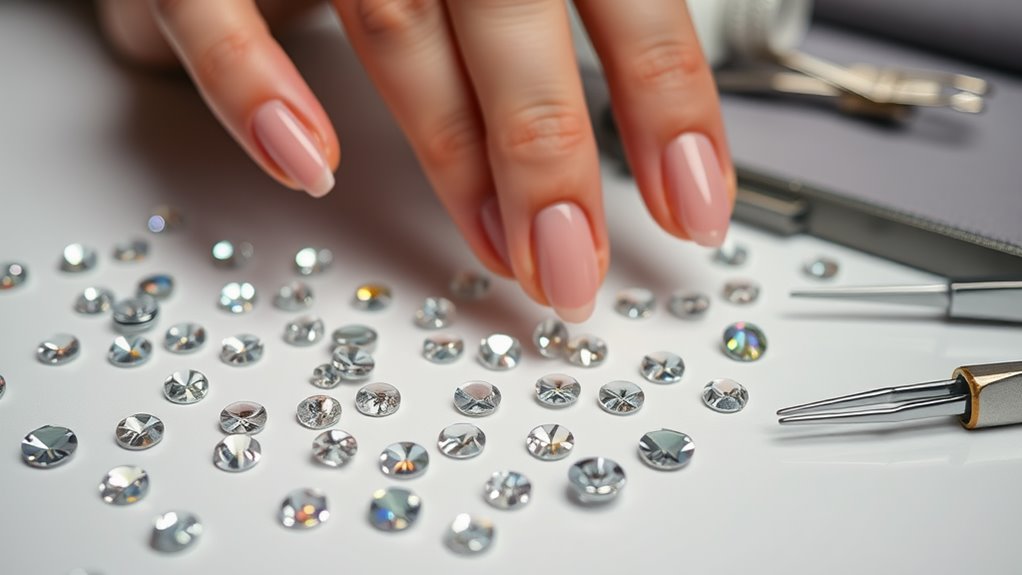
Rhinestones come in a dazzling array of colors, sizes, and shapes, making it essential to choose the right ones for your nail art design.
First, think about the look you want. Are you going for bold and flashy, or soft and subtle? If you want a party vibe, bright colors and larger stones can really pop! On the other hand, tiny, clear rhinestones can add a touch of elegance for a more refined look.
Next, consider the shapes. Classic round rhinestones are always a hit, but don’t shy away from stars, hearts, or even flowers! Mixing shapes can create a fun, playful style. Just remember, balance is key.
Also, pay attention to the size. Too many large stones might overwhelm your nails, while too many tiny ones can get lost. A good rule of thumb is to use a mix of sizes for depth and interest.
Applying Base Coat
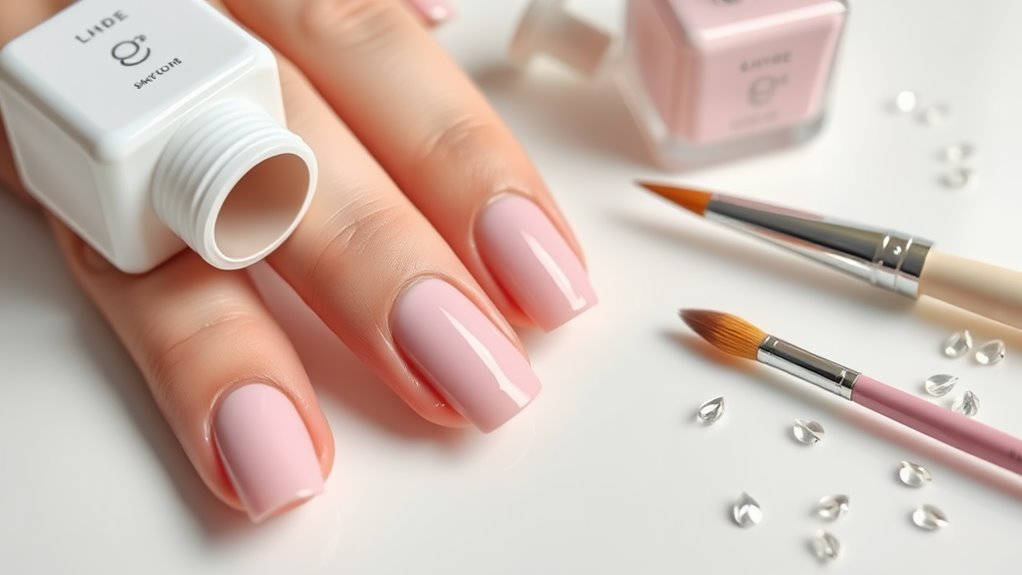
Once you’ve selected your rhinestones, it’s time to prepare your nails for application by applying a base coat. This step is super important because it helps your polish stick better and keeps your nails healthy. Plus, it gives your nail art a smooth surface to shine on!
Start by choosing a good base coat. There are lots of options out there, so pick one that suits your nails. You want it to be quick-drying and durable.
Once you’ve got your base coat, make sure your nails are clean and dry. You don’t want any leftover polish or dirt messing up your masterpiece.
Now, apply a thin layer of the base coat to each nail. Don’t glob it on; thin and even is the key! If you accidentally get some on your skin, just clean it up with a small brush or a cotton swab.
Let the base coat dry completely before moving on. It’s like waiting for a cake to bake—hard, but worth it!
Once it’s dry, you’re ready to plunge into the exciting part—designing your nail art! Get ready to sparkle!
Designing the Nail Art
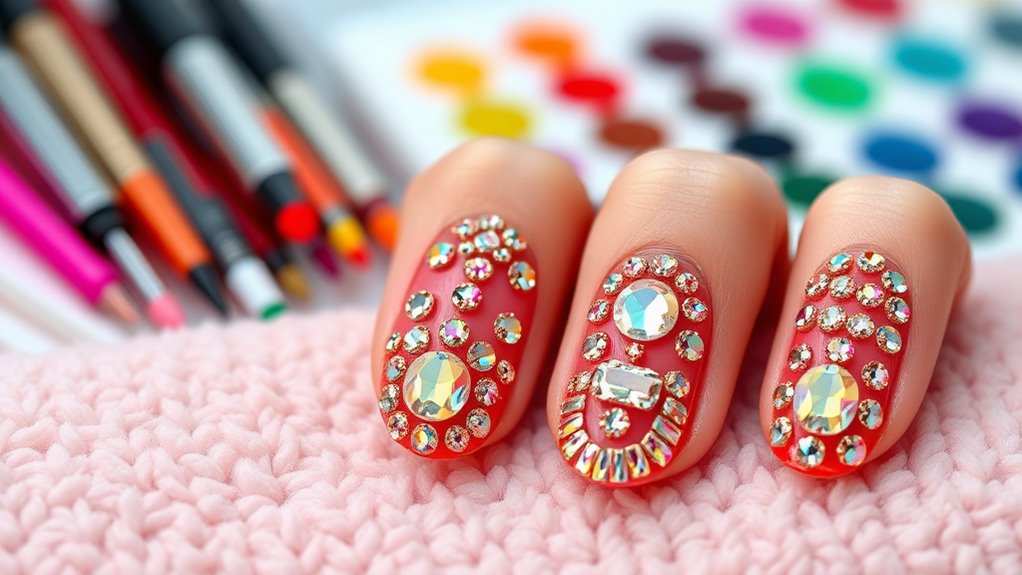
With your base coat perfectly dry, you’re all set to release your creativity and design stunning nail art. First, pick a color that speaks to you. Whether it’s a bold red or a soft pink, make sure it reflects your personality. Apply a thin layer of your chosen polish, and let it dry just a bit. You don’t want it too wet, or the rhinestones will sink!
Now comes the fun part! Grab your rhinestones and a dotting tool or a toothpick. Dip the tool in a bit of clear polish or nail glue, then pick up a rhinestone and place it on your nail. You can create patterns or clusters—go wild! Maybe a heart shape or a starburst?
Don’t be afraid to mix sizes and colors; it adds character. If you drop a rhinestone, that’s okay! Just laugh it off and try again. Take your time, and remember, it’s all about having fun!
Once you’ve got the design you love, step back and admire your masterpiece. You’re one step closer to showing off those fabulous nails!
Finishing Touches and Care
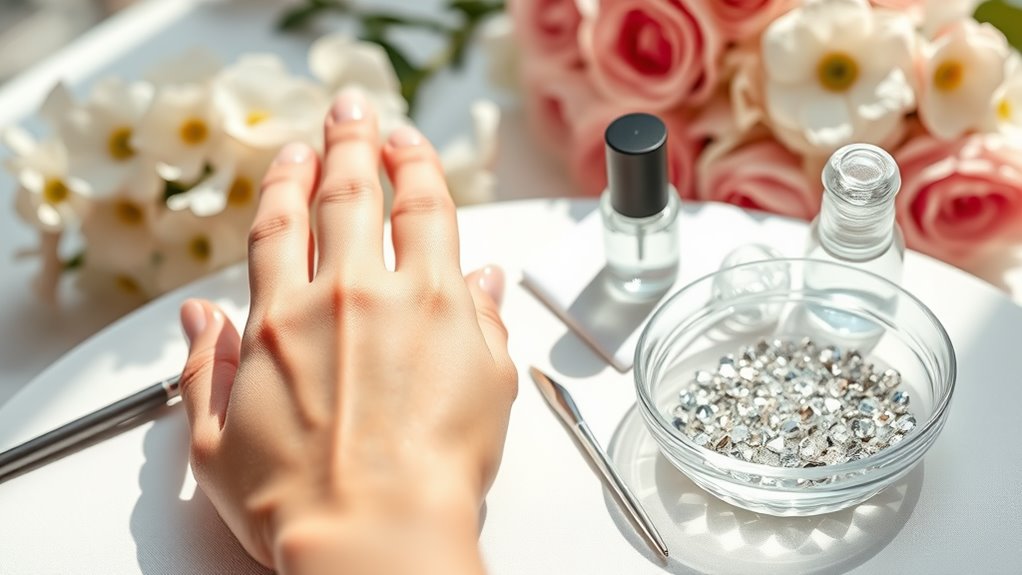
Adding the finishing touches is essential to guarantee your rhinestone nail art lasts and looks fabulous. Start by applying a high-quality topcoat over your design, but be gentle around the rhinestones. You don’t want to accidentally dislodge them while trying to make your nails shine! A good topcoat will help protect your art from chips and scratches, keeping it dazzling longer.
Once your topcoat dries, you’ll want to take extra care of your nails. Avoid soaking your hands in water for long periods, and try using gloves when doing chores. Water can weaken the adhesive holding your rhinestones in place.
Also, be mindful when applying lotion; keep it away from your nails to prevent any slippage. If you notice any rhinestones starting to lift, a quick fix is to dab a little nail glue under them. This simple step can save your masterpiece!
Finally, enjoy your stunning nails but remember to give them a break now and then. Let your natural nails breathe between designs. After all, even the most glamorous nails deserve a little downtime!
Conclusion
Now that you’ve got the scoop on classic rhinestone nail art, it’s time to get creative! Remember, practice makes perfect, and don’t worry if your first try isn’t a masterpiece. Just have fun and let your personality shine through your nails. When you show off your sparkling designs, you’ll be the star of the show! So grab those rhinestones, and let’s make your nails dazzle like a disco ball! Happy decorating!
