Step-by-Step Guide to Ombre Nail Techniques
Creating ombre nails at home is super fun and easy! First, gather your tools—at least two nail polish colors, a makeup sponge, and base and top coats. Prep your nails by removing old polish, trimming, and moisturizing. Choose colors that blend well, and remember, the more daring, the better! Start with a base coat, then use the sponge to dab on your chosen colors, blending them for that gorgeous gradient. Finish with a clear top coat for shine. Keep nails clean and hydrated afterwards, and you’ll be all set to impress. Stick around for even more handy tips!
Understanding Ombre Nails
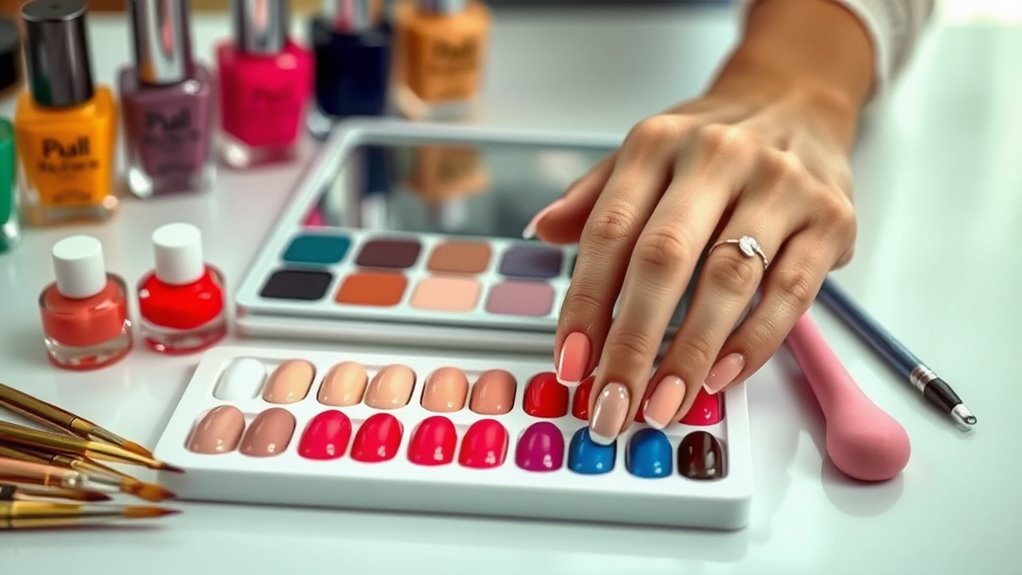
Ombre nails are a stunning way to blend colors and create a gradient effect on your fingertips. Imagine your nails evolving from one beautiful shade to another, like a sunset! It’s a fun way to express your personality and creativity. Ombre can be as bold or subtle as you want. You might choose soft pastels for a sweet look or vibrant colors for something more eye-catching.
Understanding ombre nails starts with knowing that the technique involves blending two or more colors seamlessly. You can use similar shades for a more cohesive look, or go wild with contrasting colors for a playful vibe. The best part? You can customize your ombre style to match any outfit or occasion.
You’ll find that ombre nails are pretty versatile—they work great on short or long nails. Plus, they can be done with either gel or regular polish, depending on what you like best.
Essential Tools Needed
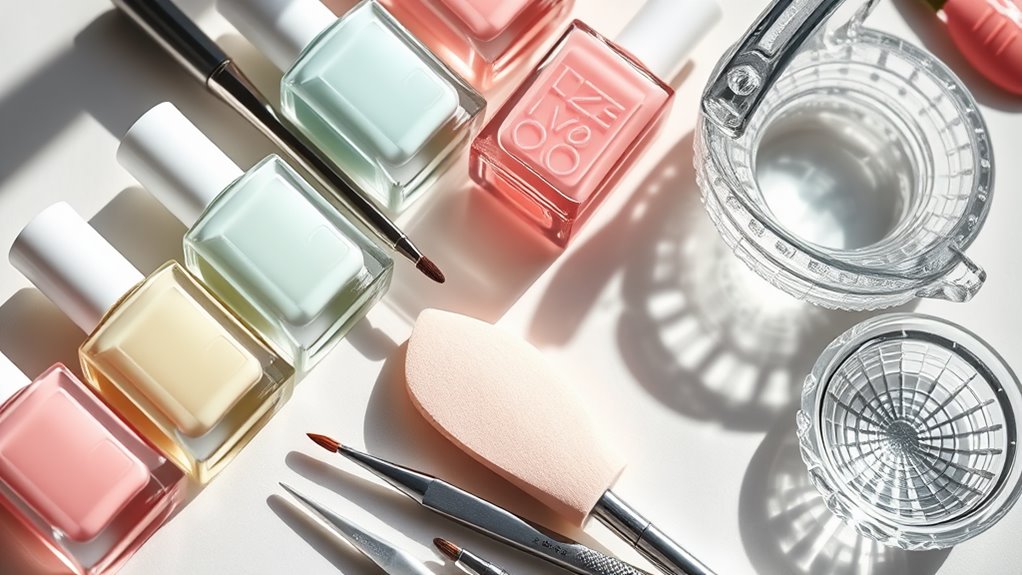
To achieve the perfect ombre nails, you’ll need a few essential tools that make the process easier and more enjoyable. First up, grab your nail polish in the colors you want to blend. You’ll need at least two shades—one for the base and another for the ombre effect.
Next, get a makeup sponge. Yep, that’s right! A simple sponge works wonders for blending those colors together.
Don’t forget a good base coat. It helps your nails stay healthy and makes your polish last longer. You’ll also need a top coat to seal in your beautiful work and add shine. A small brush or toothpick is handy for cleaning up any messy edges, too.
Lastly, make sure to have some cotton balls and nail polish remover nearby. Trust me, you’ll thank yourself later when you need to fix any little mistakes.
Oh, and a good playlist or podcast can make the whole process way more fun! So, gather these tools, and you’re all set to create stunning ombre nails that will impress everyone around you. Let’s get started on this colorful adventure!
Choosing Your Color Palette

When it comes to choosing your color palette for ombre nails, consider the mood or theme you want to express. Do you want something bright and fun, or maybe soft and elegant? Think about the colors that make you feel good or the ones that match your favorite outfit. It’s like picking toppings for your ice cream—everyone has their own favorite combo!
Start by picking two or three colors that blend well together. You could go for a bold contrast, like hot pink and deep purple, or softer shades, like pastel blue and lavender.
Don’t be afraid to experiment! Grab some nail polish samples and see how they look side by side.
Also, remember the season! Bright colors are perfect for summer, while deep, rich hues work great in the fall.
If you’re feeling adventurous, try a gradient effect with three colors for an eye-catching look.
Preparing Your Nails
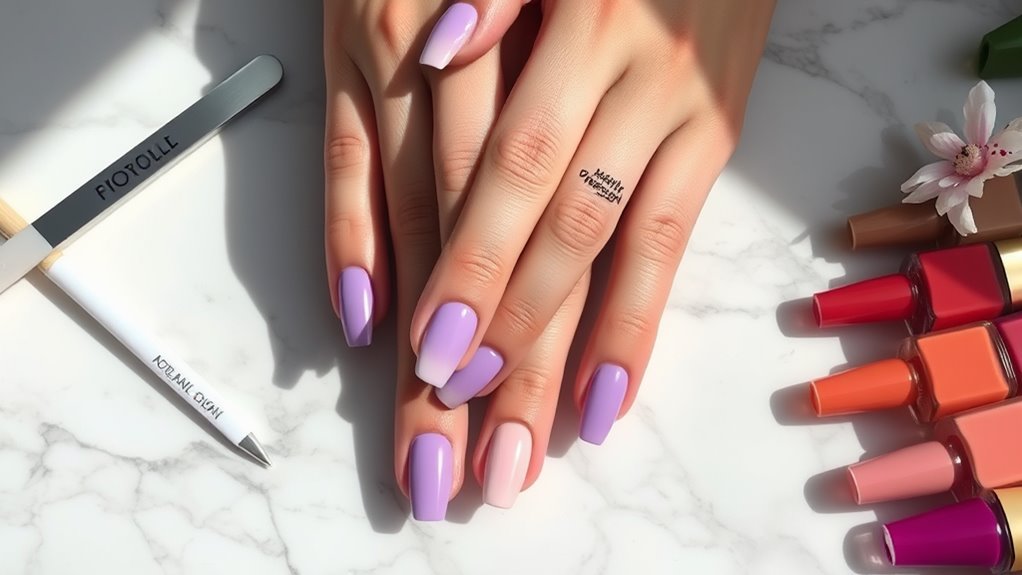
After selecting your color palette, it’s time to get your nails ready for the stunning ombre effect. First, you’ll want to remove any old polish. Grab some nail polish remover and a cotton ball—this part’s pretty easy! Just swipe it over your nails until they’re clean.
Next, trim and file your nails to your desired shape. Whether you like them square, round, or a little pointy, make sure they’re all even.
Now, it’s time for a little pampering! Push back your cuticles gently using a cuticle stick. This not only makes your nails look neat but also helps the polish stick better.
If your hands are feeling rough, don’t forget to moisturize! A little hand cream goes a long way.
Basic Ombre Techniques
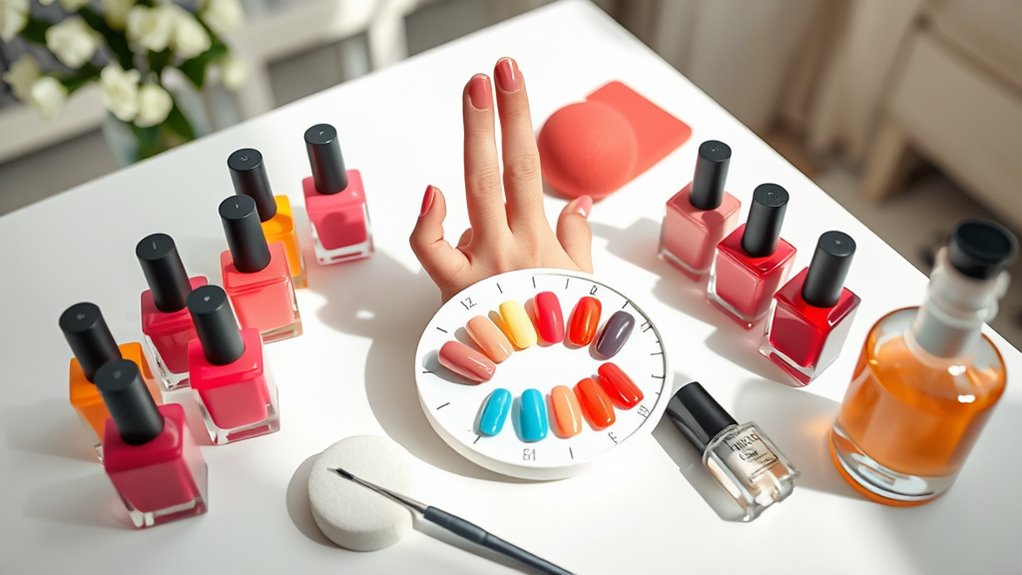
Creating a beautiful ombre effect on your nails requires a few straightforward techniques. First, you’ll want to pick two or three nail polish colors that blend well together. Think of colors like pink and purple or blue and green—whatever makes your heart sing!
Start by applying a base coat to protect your nails, and then paint your nails with the lighter color as the base.
Next, grab a makeup sponge. It’s your secret weapon! Apply a stripe of each color on the sponge, blending them a bit in the middle. Now, gently dab the sponge onto your nails. You might need to do this a few times to get that gorgeous gradient effect. Don’t worry if it gets a bit messy; that’s why you have nail polish remover handy!
Once you’ve achieved the look you love, seal everything in with a clear top coat. This not only makes your nails shine but also helps the colors last longer.
Advanced Ombre Methods
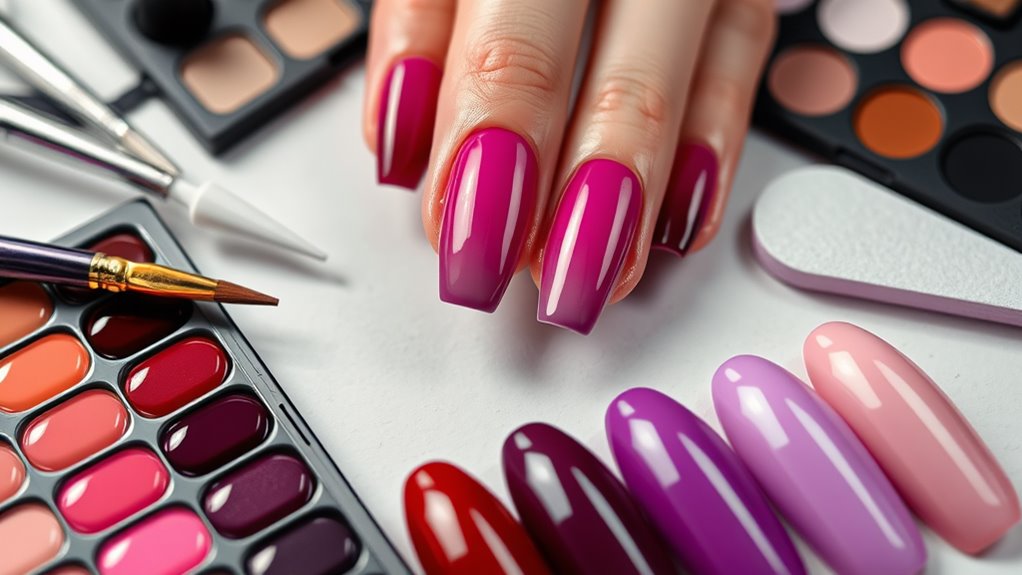
Once you’ve mastered the basics of ombre techniques, it’s time to elevate your nail art with advanced methods. One fun technique you can try is the reverse ombre. Instead of starting with a light color and blending to a darker shade, you flip it! Start with a dark base and blend to a lighter tip. It’s like a sunset on your nails!
Another option is the glitter ombre. After applying your chosen colors, sprinkle some glitter at the tips of your nails. This adds a sparkly twist and makes your nails shine brighter than a disco ball!
You can also experiment with multiple colors. Instead of just two, try three or four! Layer your shades carefully, blending each one into the next. It’s like painting a rainbow, but on your fingertips!
Lastly, consider using a sponge for a softer, more blended look. Dab the colors on with a makeup sponge to create a seamless shift. Just make sure to have some paper towels handy; things might get a bit messy!
These advanced methods will surely impress your friends and might even get you a few compliments! Happy painting!
Tips for Smooth Gradients
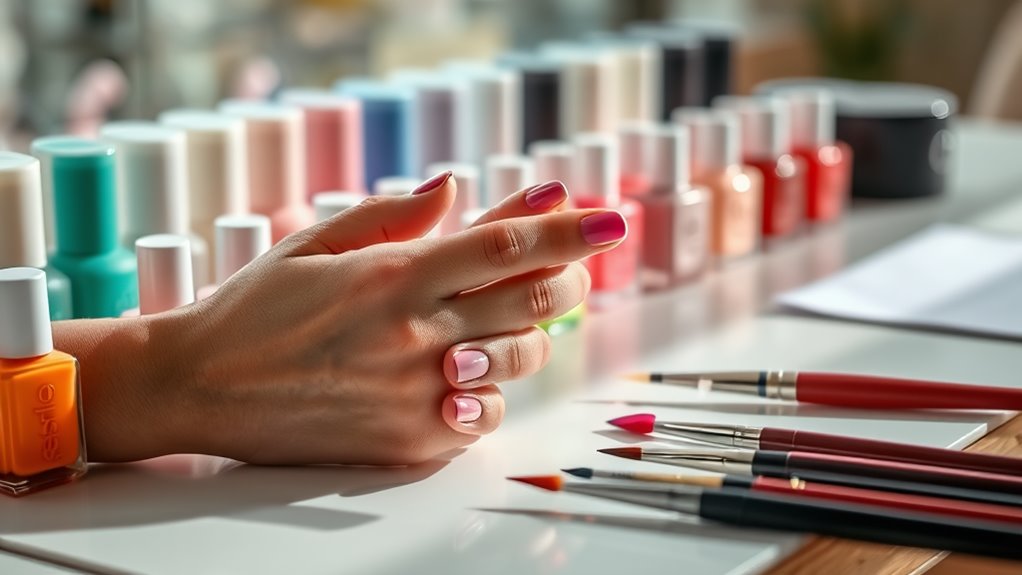
Achieving a smooth gradient on your nails can feel like an art form, but with the right tips, you can master it in no time.
First, choose your colors wisely. Pick shades that blend well together, like light pink and white or blue and purple.
Next, gather your tools. You’ll need a makeup sponge, nail polish, and a base coat. Don’t forget to apply the base coat—this helps the polish stick and protects your nails!
Now, here comes the fun part! Apply a stripe of each color onto the sponge. Make sure the colors touch but don’t mix just yet.
Then, dab the sponge onto your nail, using a light hand. Repeat this until you achieve the desired gradient. Remember, less is more! It’s easier to build up the color gradually than to remove too much.
After you’ve got that beautiful gradient, seal the deal with a top coat. This not only makes your nails shine but also smooths out any uneven areas.
And there you have it! With practice and a little patience, you’ll be rocking those smooth gradients like a pro. Happy nail painting!
Common Mistakes to Avoid
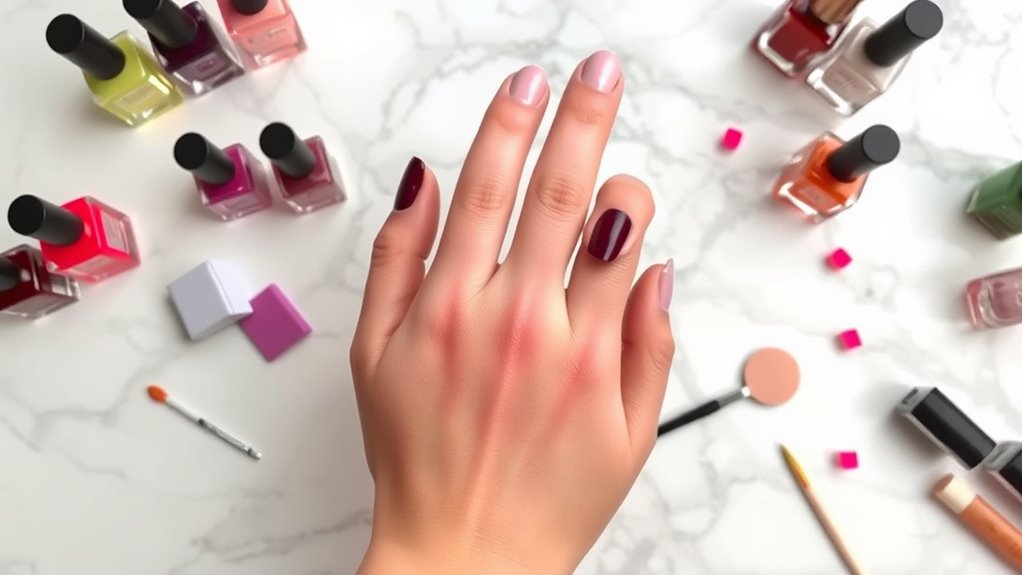
While experimenting with ombre nails can be exciting, there are a few common mistakes you’ll want to avoid to guarantee a flawless finish.
First off, don’t rush the blending process. If you apply your polishes too quickly, you might end up with harsh lines instead of a smooth gradient. Take your time, and let each layer dry a bit before moving on.
Another mistake is using too many colors. It may sound tempting to go wild, but sticking to two or three shades will keep your look elegant and not chaotic. Trust me, nobody wants rainbow fingers that look like a paint explosion!
You might also forget to prep your nails properly. Always start with a base coat to protect your nails and help the colors stick. Skipping this step can lead to chipping and an uneven finish, which is definitely not the goal.
Lastly, don’t underestimate the power of good tools! Using a makeup sponge can help achieve a seamless blend.
Finishing Touches
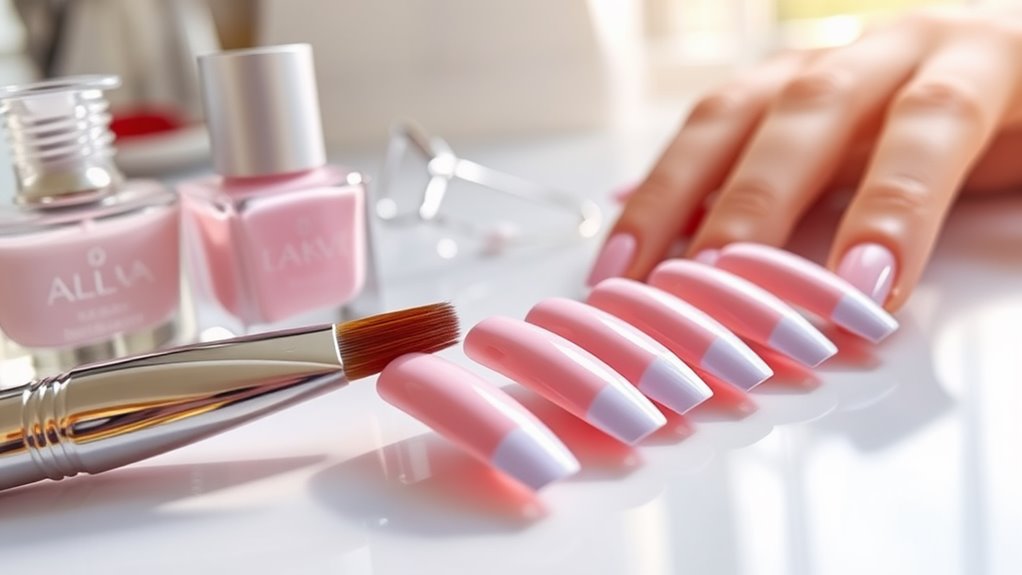
To achieve a polished look with your ombre nails, consider adding a few finishing touches that can elevate your design.
First, think about adding a top coat. This shiny layer not only makes your nails look fabulous, but it also helps protect your hard work from chips and scratches. Who wants to redo their nails right after spending time on them, right?
Next, you might want to add some nail art. Simple designs, like tiny dots or stripes, can enhance your ombre effect without being too overwhelming. If you’re feeling adventurous, try using a small brush or a toothpick to create fun patterns!
Don’t forget about the cuticles! Gently push them back with a cuticle stick and apply some cuticle oil to keep everything looking neat and tidy. It’s like giving your nails a little spa day!
Lastly, consider using a nail dryer or a fan to speed up the drying process. You’ll avoid those pesky smudges that can ruin your masterpiece.
With these finishing touches, your ombre nails will look stunning and professional, and you’ll feel like a nail art superstar!
Nail Care After Ombre
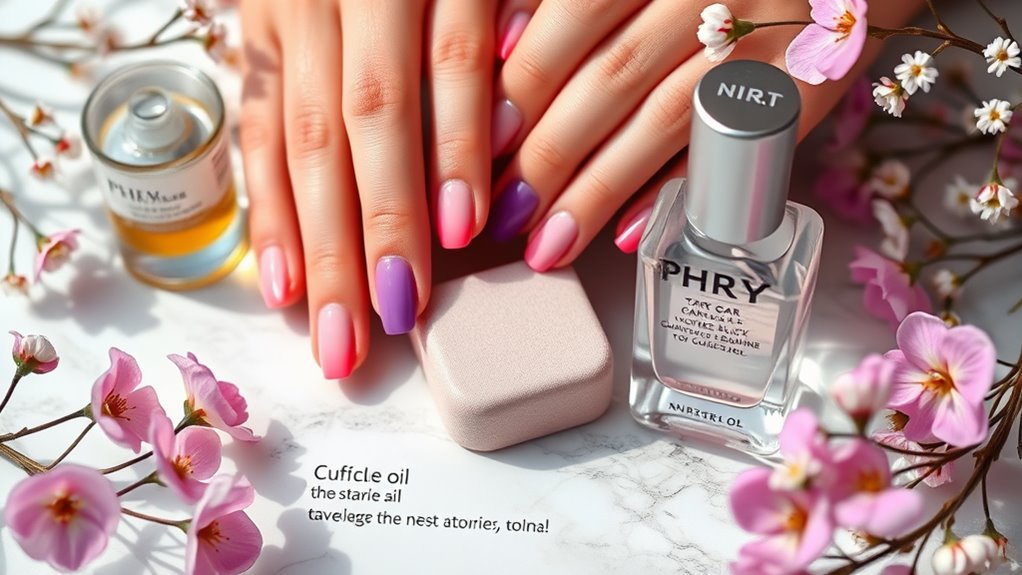
Caring for your nails after achieving that stunning ombre look is essential for maintaining their beauty and longevity.
First things first, always keep your nails clean and dry. This helps prevent any unwanted breakouts or infections. You don’t want anything ruining your fabulous nails, right?
Next, apply a nourishing cuticle oil regularly. This not only keeps your cuticles healthy but also makes your nails look shiny and fresh. Plus, who doesn’t love a little extra sparkle?
If you’ve used gel polish, make sure to avoid soaking your nails in water for long periods. It’s like giving your nails a little vacation from the water!
Be gentle when you’re doing chores, too. Wear gloves when washing dishes or cleaning to protect your nails from harsh chemicals. Trust me, your nails will thank you later!
Conclusion
Now that you know how to create stunning ombre nails, it’s time to get started! Remember, practice makes perfect, so don’t be afraid to experiment with colors and techniques. You’ll be a nail art pro in no time! And if things get a little messy, just laugh it off—everyone has their off days. So grab your tools, pick your favorite shades, and let your creativity shine. Happy painting! Your nails are about to look fabulous!
