The Best Tools for Ombre Nail Art
To nail that ombre look, you’ll want a few key tools! Start with three nail polish colors—base, mid-tone, and accent. A clean makeup sponge is perfect for dabbing the colors together, while a gradient brush can help blend them smoothly. Don’t forget dotting tools to add fun designs. A top coat seals it all in for shine, and make sure you have cotton pads and nail polish remover handy for quick clean-ups. With these supplies, your ombre nails will be fabulous! Stick around, and you’ll discover even more tips and tricks to elevate your nail art game!
Nail Polish Selection
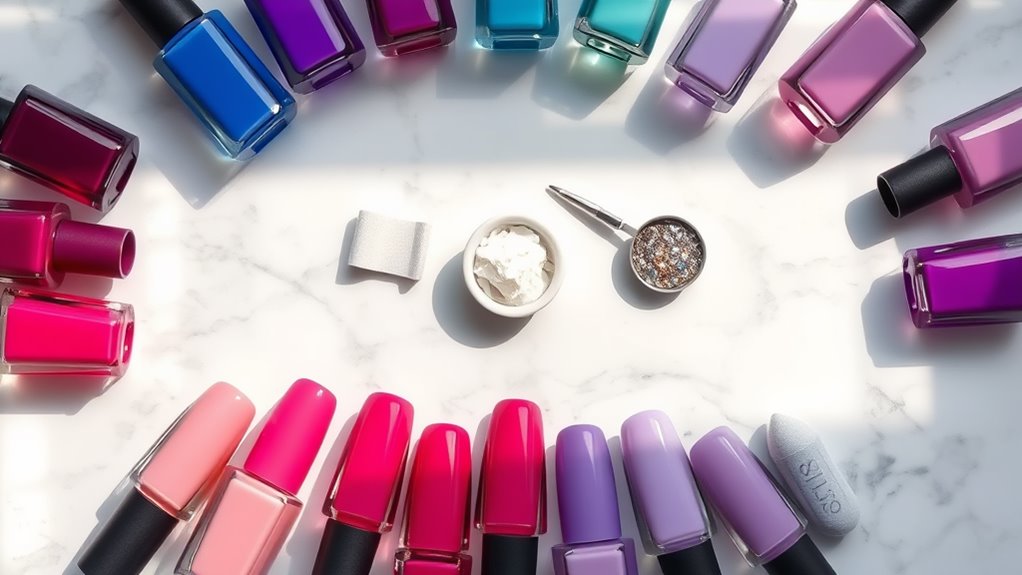
When it comes to nail polish selection for your ombre nail art, choosing the right colors is essential. You want to pick shades that blend well together, creating that dreamy gradient effect.
Start by thinking about the colors you love. Do you fancy bright, bold hues or soft pastels? A good rule of thumb is to choose three colors: a base, a mid-tone, and an accent. This combo makes blending a breeze!
Next, consider the finish. Matte, glossy, or shimmer? Each finish gives your ombre a different vibe. Shimmer can add a fun twist, while matte feels more sophisticated.
Don’t forget about the season, too! Warm colors for summer and cooler tones for winter can make your nails pop and feel festive.
Once you’ve picked your colors, test them out! Swatch a small amount on a nail wheel or a piece of paper to see how they blend. If you don’t love it, swap one out for something else.
Makeup Sponge Techniques
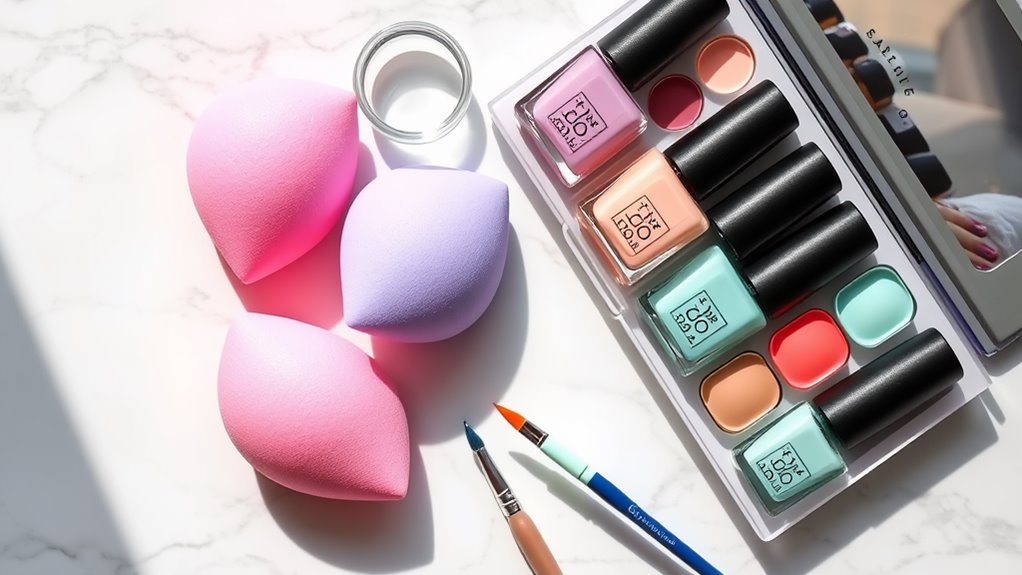
To achieve that smooth ombre effect on your nails, mastering makeup sponge techniques can make a significant difference.
First, grab a clean makeup sponge—yes, that little squishy thing you might’ve lying around! Start by applying a base coat to your nails. Once it dries, paint two contrasting colors on a piece of foil or a palette.
Now, dip your sponge into the first color, then the second. You want both colors on there, but not too much. Gently dab the sponge onto your nail, rolling it from the tip to the base. Keep dabbing until you see that beautiful blend appear!
If the colors aren’t merging as you’d like, you can add a bit more polish to the sponge. Just remember, less is more!
After you’ve got that ombre effect down, seal it all in with a top coat for shine and longevity.
And hey, if you mess up, don’t worry—nail polish remover is your best friend. Just have fun with it!
Practice makes perfect, and soon you’ll be a pro at creating stunning ombre nails that everyone will admire.
Gradient Brushes
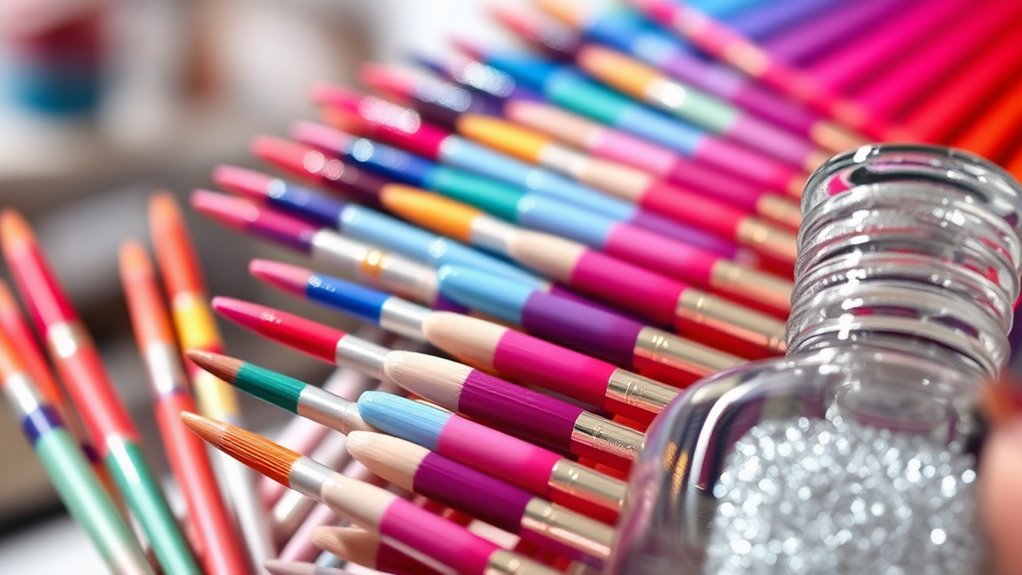
Gradient brushes are essential tools for creating flawless ombre nails with ease. These brushes have soft, fluffy bristles that help blend colors seamlessly. When you use them, it feels like painting a masterpiece on your nails!
You’ll want to pick a brush that fits comfortably in your hand, so you can achieve the perfect gradient without any fuss.
To get started, grab two or three nail polish colors that you love. Apply a base coat first, then use your gradient brush to mix the colors on a palette or the edge of a nail polish bottle.
Dip the brush into the first color and gently swipe it onto your nail. Then, switch to the next color and blend them together! You might need to practice a bit, but don’t worry; it’s all part of the fun.
If you mess up, just remember: nail polish is forgiving! You can always add another layer or start over.
Nail Art Dotting Tools
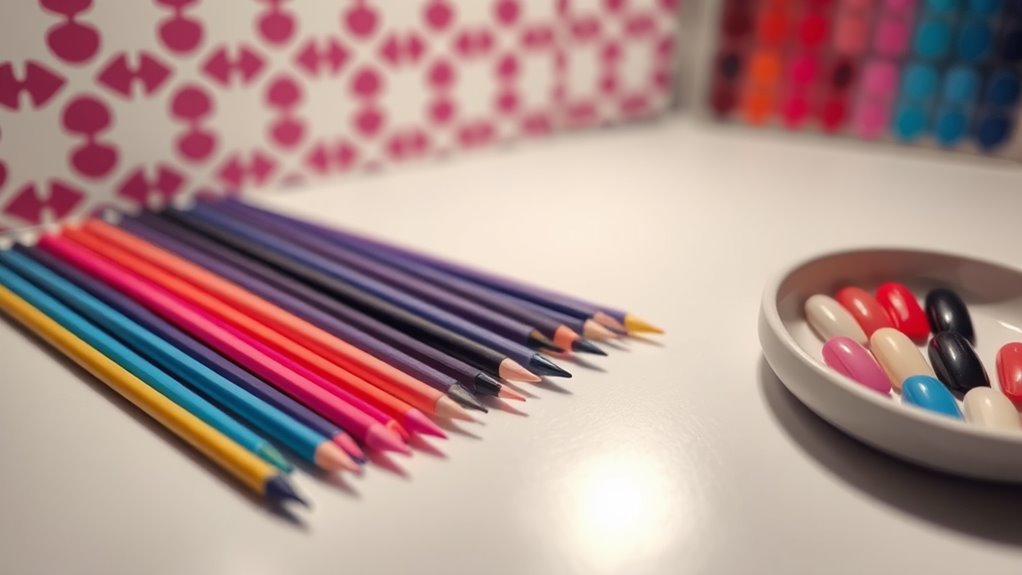
After mastering the art of blending with gradient brushes, it’s time to elevate your nail designs with nail art dotting tools. These nifty little gadgets are perfect for adding fun details to your ombre nails.
With a dotting tool, you can create dots, swirls, or even tiny flowers that really make your nails pop. You might wonder how they work. Well, dotting tools come in various sizes, so you can choose one that fits your design needs.
For small dots, use a fine tip, and for larger ones, go with a bigger end. Just dip the tool into your nail polish, then gently press it onto your nail. Voila! You’ve got a perfect dot!
Using these tools is super easy, and they’re great for layering with your ombre look. You can create patterns or even add some sparkle by dotting glitter polish on top.
Plus, it’s a chance to let your creativity shine! So grab your dotting tools, and let your imagination flow. You’ll be amazed at how a few simple dots can transform your nails into a masterpiece! Happy dotting!
Tape and Stencils
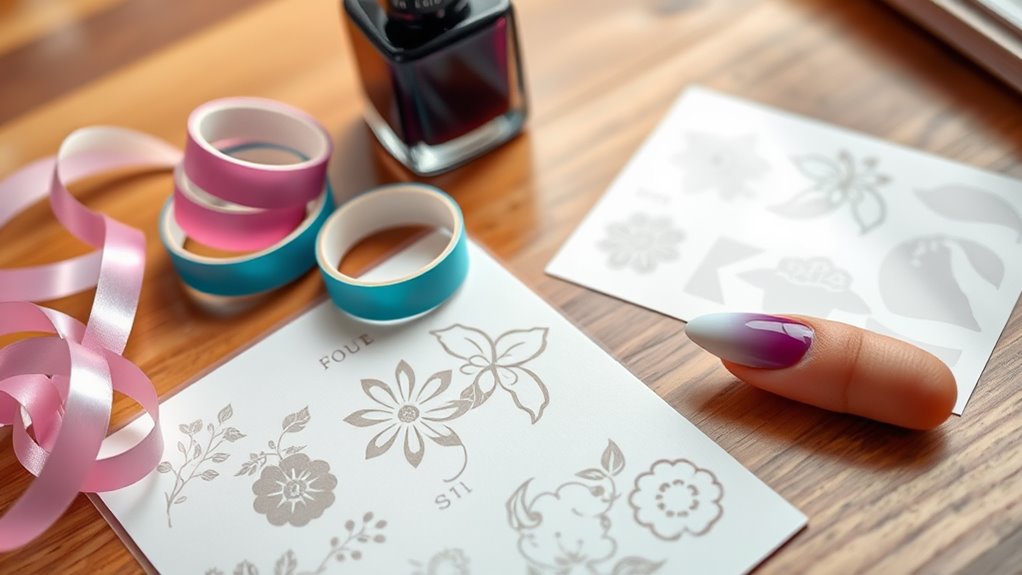
Adding tape and stencils to your nail art toolkit can greatly enhance your ombre designs. These tools help you create clean lines and fun patterns, which can make your nails really stand out!
First, let’s talk about tape. You can use regular painter’s tape or nail tape to mask off sections of your nails. This way, you can keep one area free from polish while blending colors in another. Just remember to remove the tape slowly when you’re done, so you don’t mess up your masterpiece.
Now, onto stencils. Stencils come in all sorts of shapes and sizes, from flowers to geometric patterns. Simply place a stencil on your nail, apply your ombre colors, and lift it off to reveal a cool design underneath. It’s like magic!
Using these tools can seem tricky at first, but don’t worry—practice makes perfect. You might even find that you enjoy experimenting with different techniques.
Top Coat Application
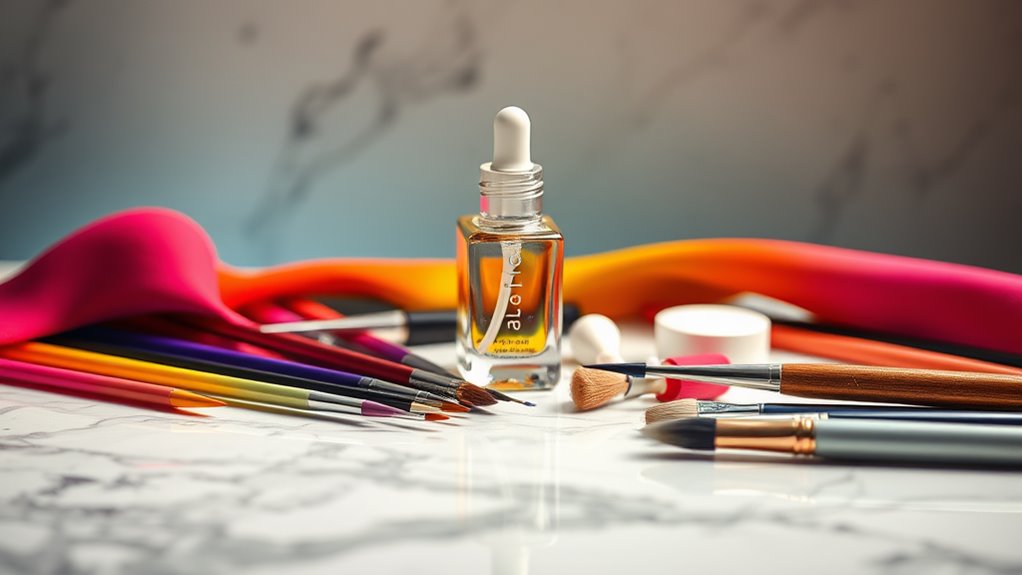
To achieve a flawless finish on your ombre nails, applying a top coat is essential. A top coat not only adds shine, but it also seals in your artwork, making it last longer. So, let’s explore how to do this!
First, make sure your ombre nails are completely dry. You don’t want to smudge all your hard work! Once they’re dry, grab your favorite top coat. You can use a brush or a dropper for application.
If you’re using a brush, start from the base of your nails and swipe it toward the tips. This helps to keep the colors blended and smooth.
Don’t forget the edges! You want to coat the sides of your nails too, so they look super neat. If you accidentally get some on your skin, don’t worry—just let it dry, and you can clean it up later.
Clean-Up Supplies
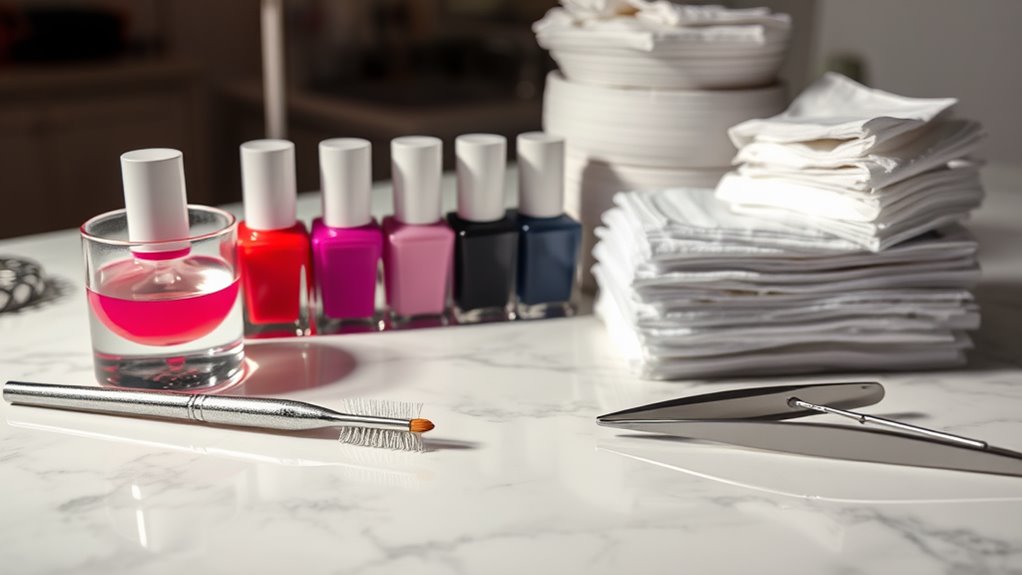
Keeping your workspace tidy while doing ombre nail art is essential, so having the right clean-up supplies on hand is a must.
You’ll want to grab some cotton pads or balls, as they’re perfect for wiping off any polish that gets a little messy. Nail polish remover is your best friend here, so don’t forget that!
Next, consider getting a small brush—like an old eyeliner brush—dipped in remover. It’s fantastic for fixing those tiny details around your nails. You can also use a small makeup brush for a gentle touch.
Paper towels are super handy, too. They’re great for catching spills or wiping your tools.
And if you really want to be prepared, keep some tape on the side. You can use it to create clean lines or even catch any extra polish drips.
Lastly, having a designated trash bin nearby can help you stay organized. Tossing away used supplies immediately keeps clutter at bay.
Conclusion
Now that you know the best tools for creating ombre nail art, it’s time to get creative! Whether you’re using a makeup sponge or some fancy gradient brushes, have fun experimenting with colors. Don’t forget your top coat for that shiny finish! And remember, if things get a bit messy, it’s all part of the fun. So grab your supplies, invite some friends, and let your nails shine like the stars they are! Happy painting!
