Tips for Long-Lasting Ombre Nail Designs
To make your ombre nail designs last, start with high-quality products. Use a good base coat for protection and choose vibrant, smooth polishes. Don’t skip the top coat, as it seals everything in and adds shine! When you apply the ombre, pick 2-3 colors and use a makeup sponge for blending. Prep your nails by washing, trimming, and buffing them. Remember to be gentle with your nails and keep them moisturized. Also, avoid soaking them for too long. With these tips, your nails will look fabulous for days, and there’s more to discover about keeping them stunning!
Choose Quality Nail Products
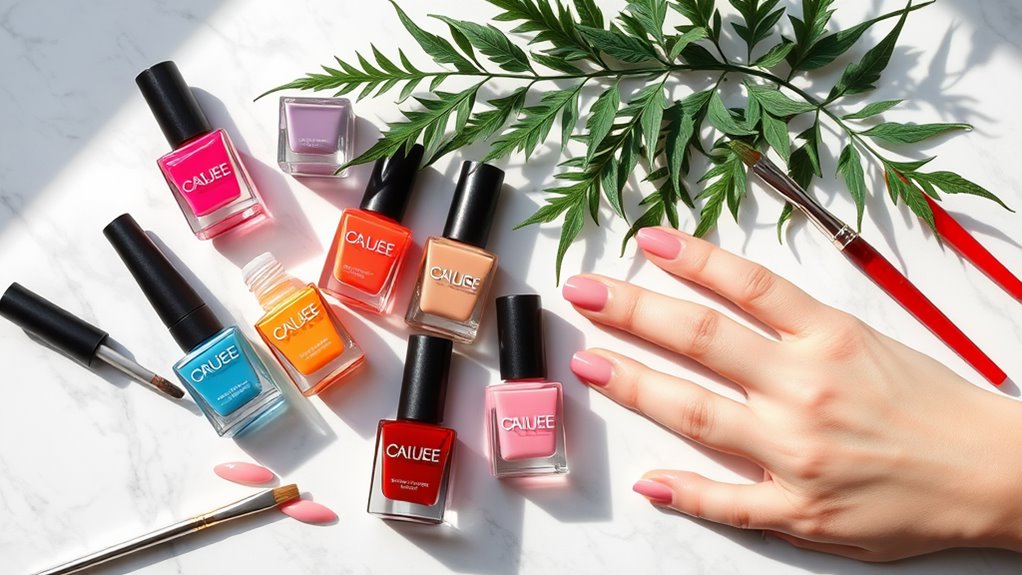
When it comes to achieving stunning ombre nail designs, choosing quality nail products is essential for success. You wouldn’t want to paint a masterpiece with cheap paint, right? The same goes for your nails!
Start by picking a good base coat. It protects your natural nails and helps the color stick better. Look for brands that are known for their durability.
Next, when you choose your polishes, go for high-quality ones. You’ll notice the difference right away! They glide on smoothly, and the colors are vibrant. You can mix and match shades to create that beautiful gradient effect.
Don’t forget a top coat, either! A reliable top coat seals the deal by adding shine and making your design last longer.
If you’re feeling fancy, consider investing in some nail art tools. A makeup sponge can work wonders for blending colors together.
Just remember, using the right products is like having the right tools for a job—it makes everything easier and more fun!
Master the Ombre Technique
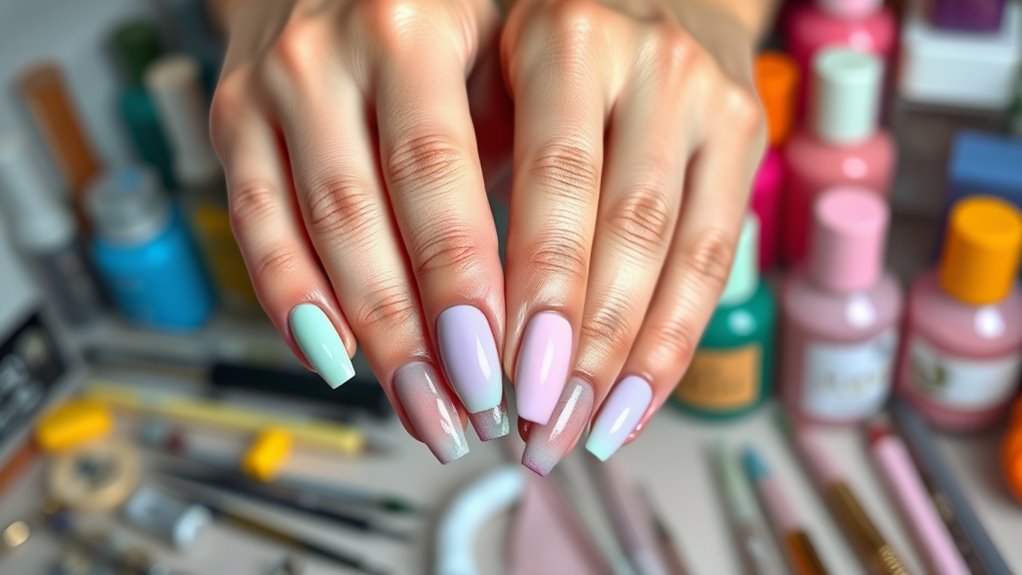
Mastering the ombre technique can transform your nails into a stunning work of art. It’s easier than you might think! Start by picking two or three complementary colors. You want them to blend well, so choose shades that work together, like pink, purple, and white.
Once you’ve got your colors, grab a makeup sponge. Yes, the same one you might use for your foundation!
Paint a stripe of each color side by side on the sponge. Then, gently dab the sponge onto your nail, moving it up and down. This helps the colors mix together nicely. Don’t worry if it looks a bit messy at first; that’s part of the fun! Just keep dabbing until you get the gradient you love.
After you’re happy with the blend, let it dry for a minute. You can add a top coat to seal in your masterpiece and give it a nice shine.
Prepare Your Nails Properly
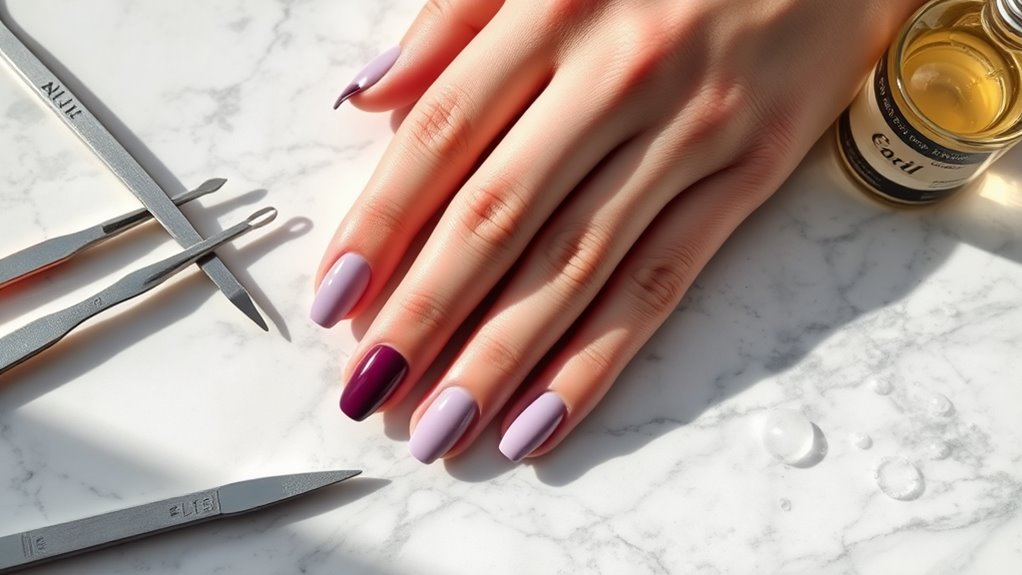
Before diving into your ombre nail design, it’s crucial to prepare your nails properly. Start by giving your nails a good wash to remove dirt and oils. You wouldn’t want any sneaky residue messing up your masterpiece, right?
Next, trim and file your nails to your desired shape. Whether you like them square, round, or something in between, make sure they’re even.
Once that’s done, it’s time to push back your cuticles gently. This step helps create a clean canvas for your design. If you’ve got any hangnails, snip those away, too. Nobody wants a little snag ruining their style!
Now, take a moment to buff your nails lightly. This helps the polish to stick better, so your ombre look lasts longer. Just don’t go overboard; you want them smooth, not paper-thin!
Lastly, give your nails a quick wipe with some rubbing alcohol or nail polish remover. This removes any leftover oils and guarantees your design has a strong foundation.
With your nails prepped and ready, you’re all set to create a stunning ombre look that’ll turn heads!
Apply a Base Coat
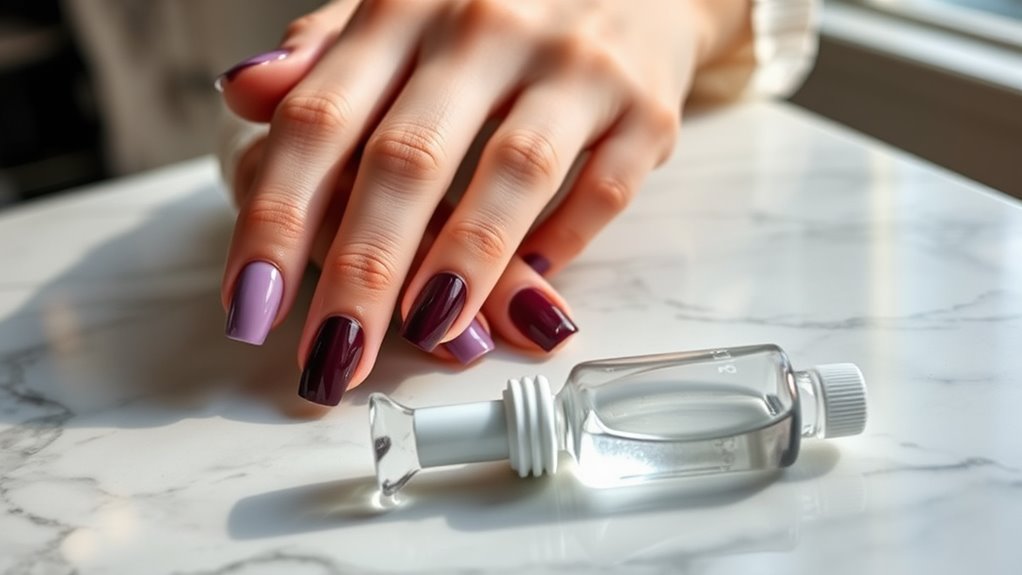
Now that your nails are prepped and ready, it’s time to apply a base coat. This step is super important because it protects your nails from stains and helps your polish stick better. Think of it as a primer for your nails—just like you’d use before painting a wall!
Grab your favorite base coat and give it a good shake. Apply a thin layer to each nail, making sure to cover the entire surface. Don’t forget the tips! That’ll give your nails a polished look and prevent chipping.
Also, try not to apply it too thick; a little goes a long way!
Once you’ve coated all your nails, let them dry completely. You can wave your hands around like a magician or just sit back and relax for a few minutes. Trust me, it’s worth the wait!
Applying a base coat might seem like a small step, but it really makes a big difference in how your ombre nails turn out. Plus, it’ll help your design last longer, so you can show off those fabulous nails without worry.
Now, let’s get ready to add some color!
Seal With a Top Coat
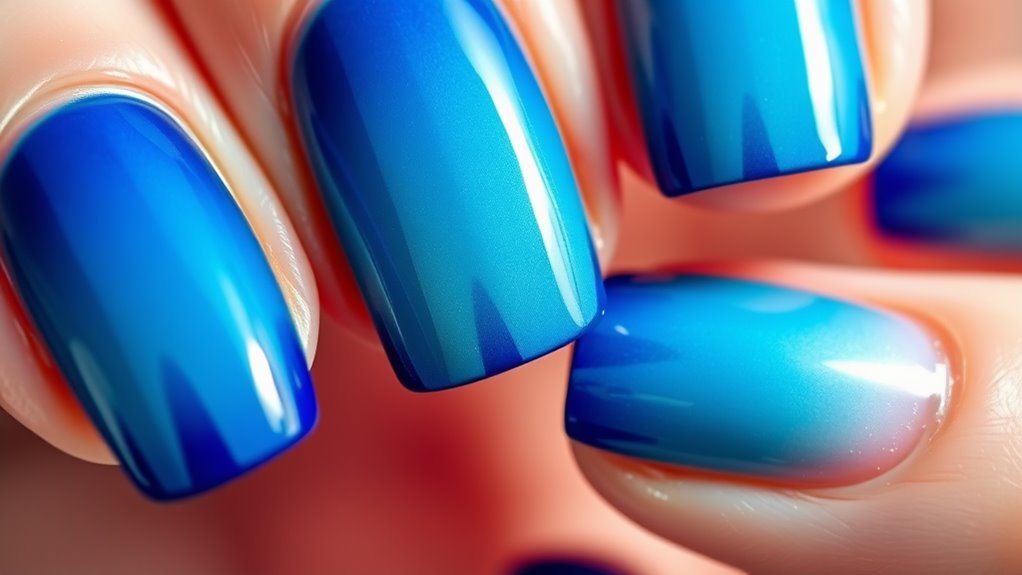
Sealing your stunning ombre design with a top coat is essential for that flawless finish. This magical layer protects your hard work and helps your nails shine like a diamond. You wouldn’t want all that effort to fade away, right?
First things first, make sure your ombre design is completely dry before applying the top coat. You know how annoying it’s when your nail art gets smudged!
Once it’s dry, grab your favorite top coat and apply a thin layer over each nail. You can use a brush or a bottle with a wand—whatever floats your boat!
Make sure to cover the tips of your nails, too. This helps seal the edges and prevents chipping. Plus, it gives your nails that extra glossy finish that makes them look like they just stepped out of a salon.
Let the top coat dry completely before you go about your day. You’ll want to show off your beautiful ombre nails without worrying about ruining them.
Maintain Your Manicure
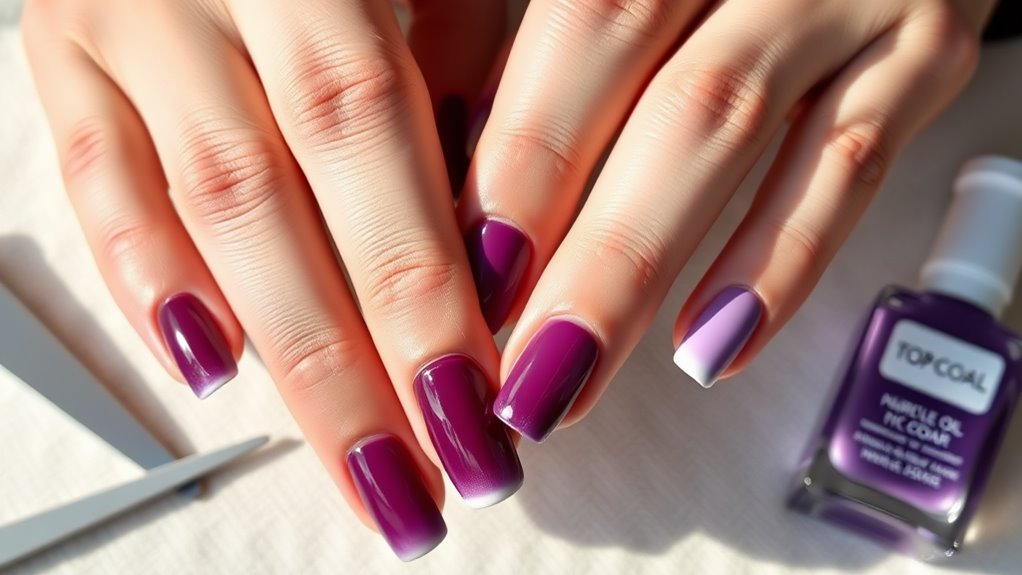
After you’ve applied that shiny top coat, keeping your ombre nails looking fresh requires some simple maintenance.
First, be gentle! Avoid using your nails as tools, whether you’re opening a can or scratching an itch. Trust me, your nails will thank you!
Next, always keep your nails hydrated. Apply a nourishing cuticle oil every few days. This helps prevent dryness and keeps your manicure looking fresh. You can even massage it into your cuticles while you binge-watch your favorite show.
Also, try to avoid soaking your hands in water for too long. Long baths or washing dishes without gloves can chip your polish faster than a speeding bullet. Use gloves when washing dishes or cleaning to keep your nails safe.
Lastly, if you notice any chips or wear, don’t fret. Just touch them up with a little polish. It’s like giving your nails a mini makeover!
Remove and Reapply Safely
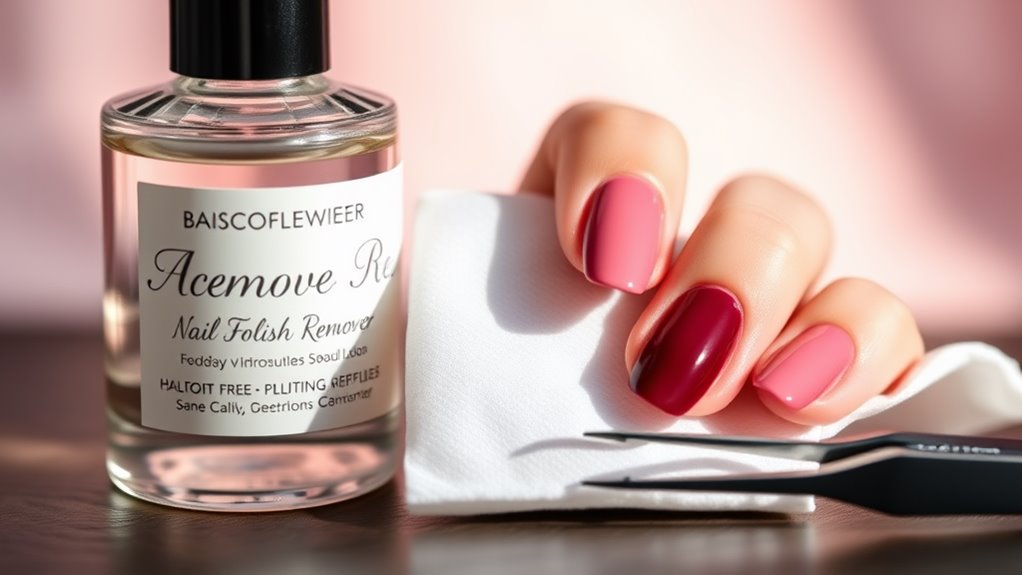
Removing and reapplying your ombre nails doesn’t have to be a hassle; in fact, it can be a rejuvenating ritual. Start by gathering your supplies: a good nail polish remover, cotton balls, and some fresh nail polish in your favorite ombre shades.
Sit down somewhere comfy, maybe with a fun movie playing in the background.
First, soak a cotton ball in the remover and press it against your nail for a few seconds. This helps break down the polish. Wipe from the cuticle to the tip, and watch that old color disappear!
Don’t rush it; taking your time will make the process smoother.
Once your nails are clean, give them a quick wash to remove any leftover remover, then dry them well.
Now it’s time for the fun part! Apply a base coat to protect your nails before diving into your ombre design. Use a makeup sponge to blend your colors for that perfect ombre look.
Conclusion
With the right products and a little practice, you can rock some fabulous ombre nails that last. Remember to prep your nails, use a base and top coat, and keep them maintained. Your nails can look amazing while you tackle your day—whether you’re studying, playing, or just hanging out. So go ahead, show off those colorful tips, and let your nails steal the spotlight! Happy nail painting!
