Tips for Long-Lasting Striped Nail Designs
To make your striped nail designs last longer, start with quality nail products. Always prep your nails well by removing old polish and filing them into shape. A thin base coat is your best friend; it keeps colors from staining and helps your polish stick. When painting stripes, use fine-tipped brushes and nail tape for crisp lines. Don’t forget that top coat! It adds shine and protection. Finally, touch up chips and keep your cuticles moisturized for a neat finish. Try different color combos to keep things fresh. Stick around, and you’ll discover even more handy tips!
Choose Quality Nail Products
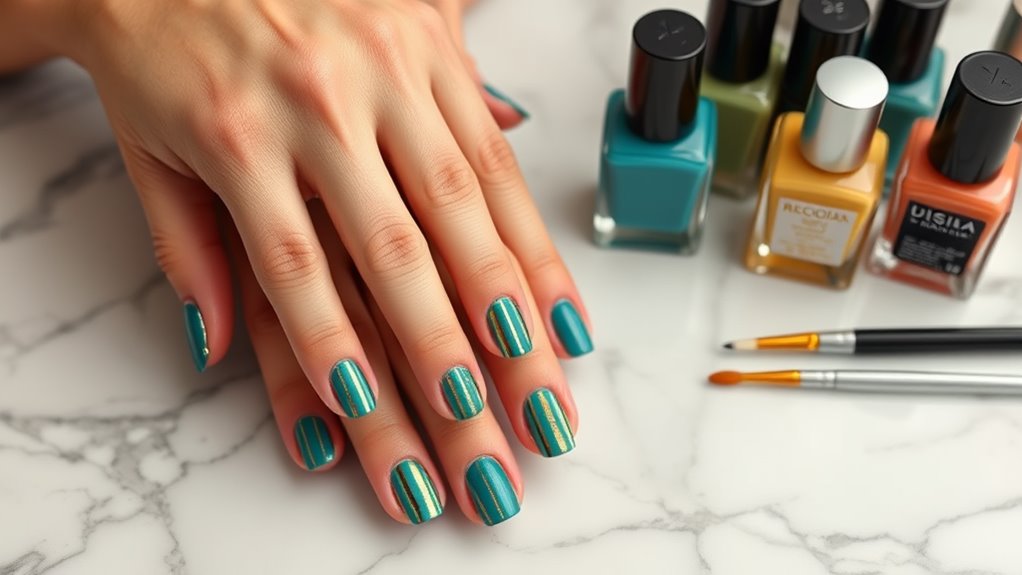
When it comes to creating stunning striped nail designs, choosing quality nail products is essential. You wouldn’t want to paint a masterpiece with dull brushes, right? So, when you’re picking nail polishes, look for brands that have a good reputation. High-quality polishes not only last longer but also give you that vibrant color you crave.
Don’t forget about your base coat! It’s like the foundation of a house. A good base coat helps your stripes stick and prevents chipping. Plus, it keeps your natural nails protected, which is a win-win.
Top coat, anyone? This nifty product seals your design and adds that glossy finish. You’ll feel like a nail art superstar!
Also, keep an eye on the tools you use. A fine-tipped brush can make all the difference when you’re painting those delicate lines. If you’re using striping tape, make sure it’s sticky enough to hold its place without causing a fuss.
Investing in quality nail products might cost a bit more, but it’s totally worth it for those gorgeous, eye-catching stripes. Remember, your nails are your canvas, so treat them right!
Prepare Your Nails Properly
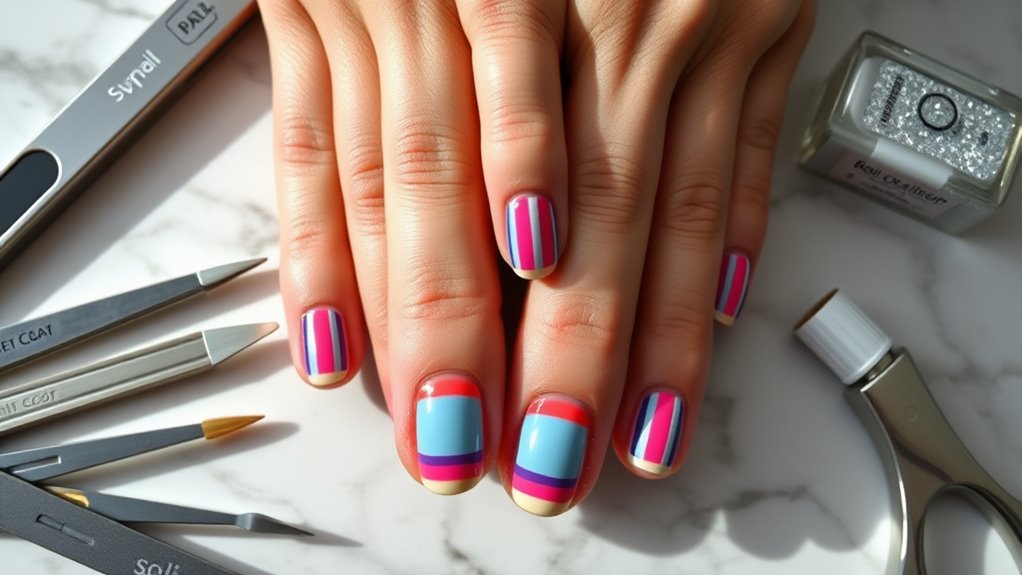
Your nails deserve the best preparation before diving into striped nail designs. First, start with a clean slate. Remove any old polish using a gentle nail polish remover. This helps your new design stick better and look fresh.
Next, give your nails a little TLC by soaking them in warm, soapy water for a few minutes. This softens your cuticles, making it easier to push them back gently with a cuticle pusher.
Don’t forget to file your nails! Choose a shape that suits you, whether it’s square, oval, or something fun. A smooth edge helps prevent snags and breaks, which is a real bummer when you’re trying to show off your stripes.
Once your nails are in tip-top shape, apply a base coat. This step is essential! It protects your nails from staining and provides a nice surface for your polish.
Plus, it helps your design last longer—who doesn’t want that?
Master Striping Techniques
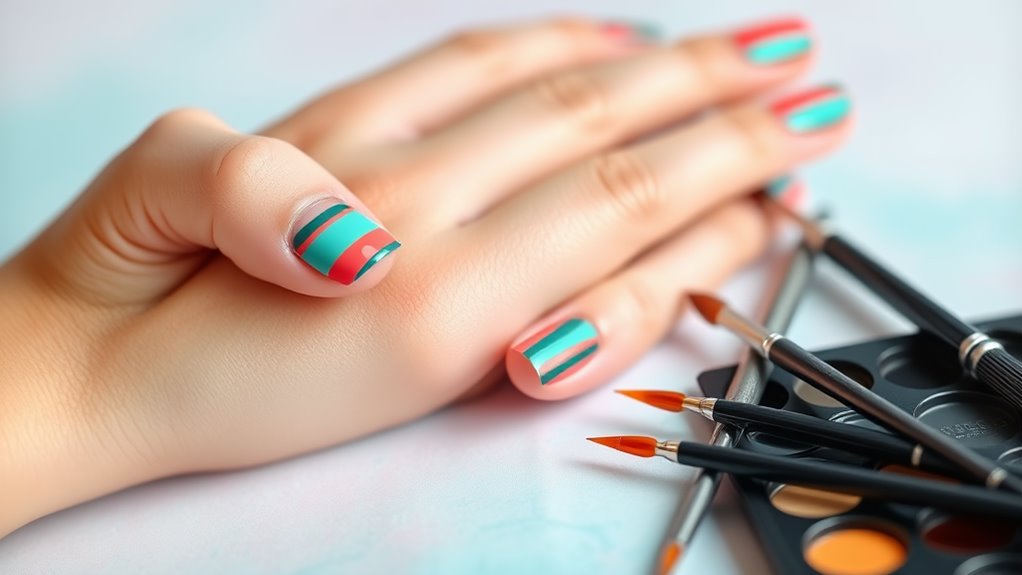
Precision is key when mastering striping techniques that can elevate your nail art to the next level. First, you’ll want to gather your tools. A striping brush, nail tape, or even a toothpick can work wonders. Just think of it as picking your favorite paintbrush for a masterpiece!
Next, practice makes perfect. Start with a steady hand and take your time. If you rush, your lines might end up looking more like squiggles than stripes. You don’t want that! Instead, try to create smooth, even strokes. It’s like drawing a straight line in art class—focus is everything.
You can also experiment with different widths. Thin stripes can look sleek and modern, while thicker ones can add a bold touch. Just remember, if you make a mistake, don’t panic! You can always fix it with a little nail polish remover and a steady hand.
Lastly, use contrasting colors to make your stripes pop! Bright and dark shades create eye-catching designs that everyone will admire.
Use a Base Coat
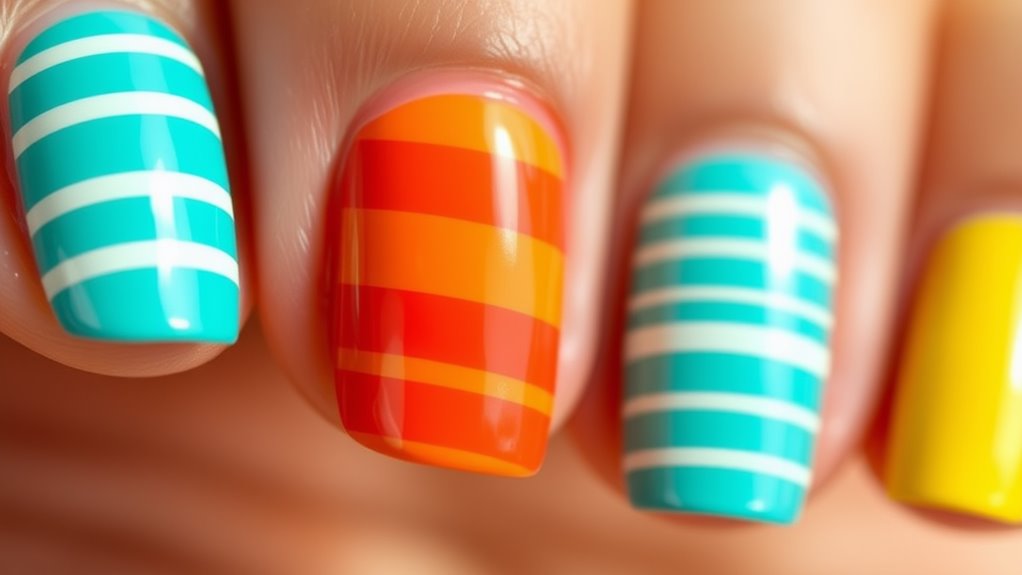
Applying a base coat is essential for achieving a flawless striped nail design. It’s like the superhero cape for your nails! A good base coat not only helps the polish stick better but also protects your natural nails from stains. Think of it as a barrier against those bold colors you’re about to apply.
Before you plunge into your stripe-tastic adventure, make sure your nails are clean and dry. Just paint on a thin layer of base coat and let it dry completely. This step might seem small, but it makes a big difference in how your stripes look and how long they last.
Plus, it helps the colors pop, making your design even more eye-catching. You wouldn’t want to put a beautiful painting on a rough canvas, right? So, treat your nails with some TLC by using a base coat!
It’ll save you from any nail disasters down the road. Remember, a little prep goes a long way in nail art. Now that you’ve got your base coat ready, you’re all set to release your creativity with those stripes! Happy painting!
Apply a Top Coat
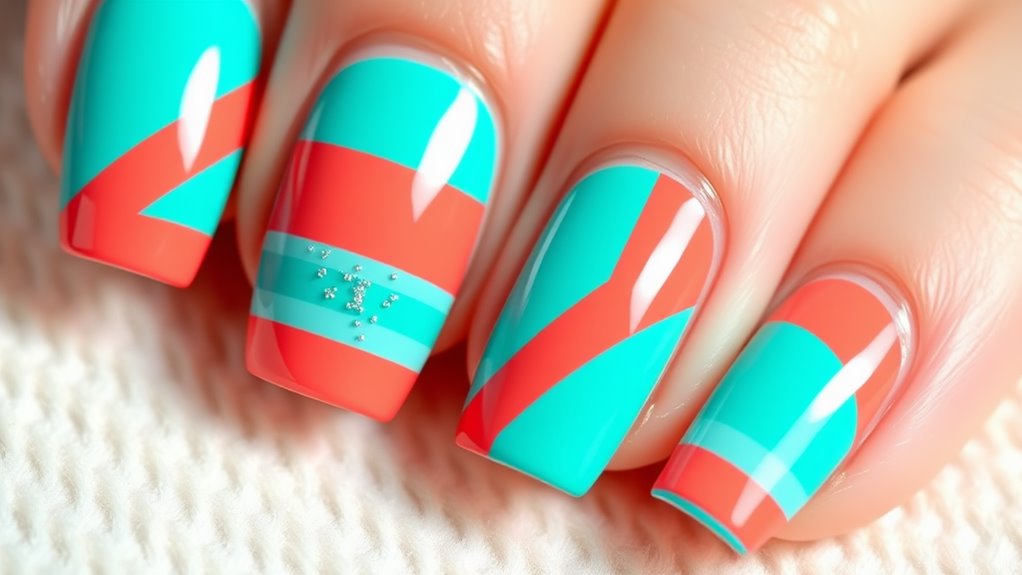
Once those stunning stripes are in place and completely dry, it’s time to seal the deal with a top coat. This magical layer not only adds a beautiful shine but also protects your nail art from chips and scratches. Trust me, you don’t want all that hard work to go to waste!
When you apply the top coat, use long, even strokes to cover the entire nail. Start from the base and glide to the tip. Make sure you get the edges too; this helps prevent any peeling later.
If you notice any bubbles, don’t panic! Just let the top coat dry completely, and they’ll usually disappear as it sets.
Now, remember to let the top coat dry thoroughly before you dive back into your daily activities. A little patience goes a long way! You might want to do a little happy dance while you wait because your nails are going to look fabulous!
Maintain Your Manicure
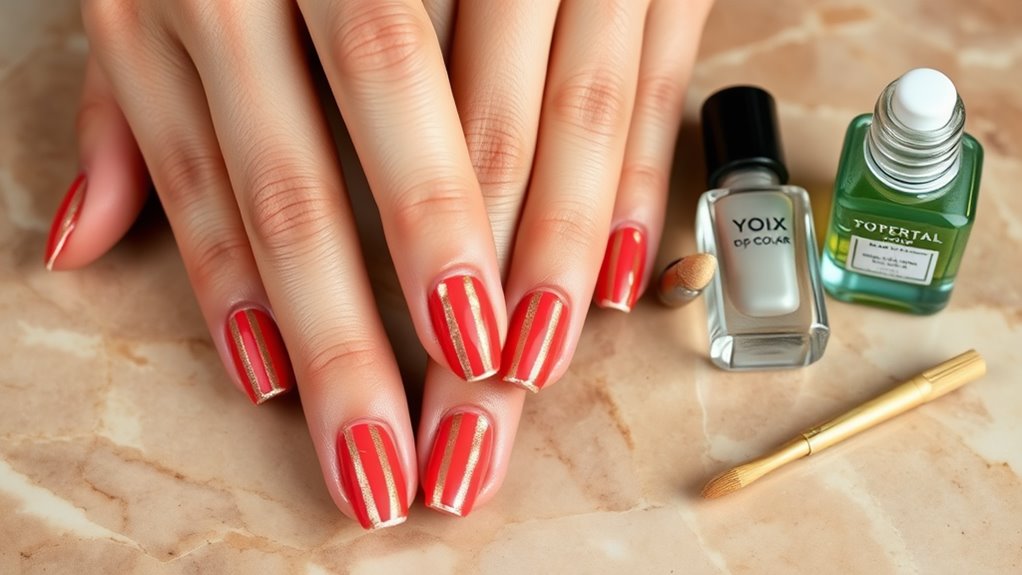
To keep your striped nail designs looking fresh and fabulous, regular maintenance is key. Start by checking your nails every few days. If you notice any chips or wear, don’t panic! Just touch them up with a little polish. You can use the same colors or switch it up for a fun twist.
Next, remember to moisturize your cuticles. Dry cuticles can make your manicure look messy, and nobody wants that! A good cuticle oil or cream can work wonders. Just a dab will do.
Also, try to avoid doing heavy-duty tasks without gloves. Water, cleaning products, and rough surfaces can ruin your design faster than you can say “nail art.”
Lastly, don’t forget to reapply your top coat every few days. This step keeps your stripes shiny and helps protect against chips. If you notice any fading, don’t worry; just a quick refresh can bring back the sass!
Experiment With Color Combinations
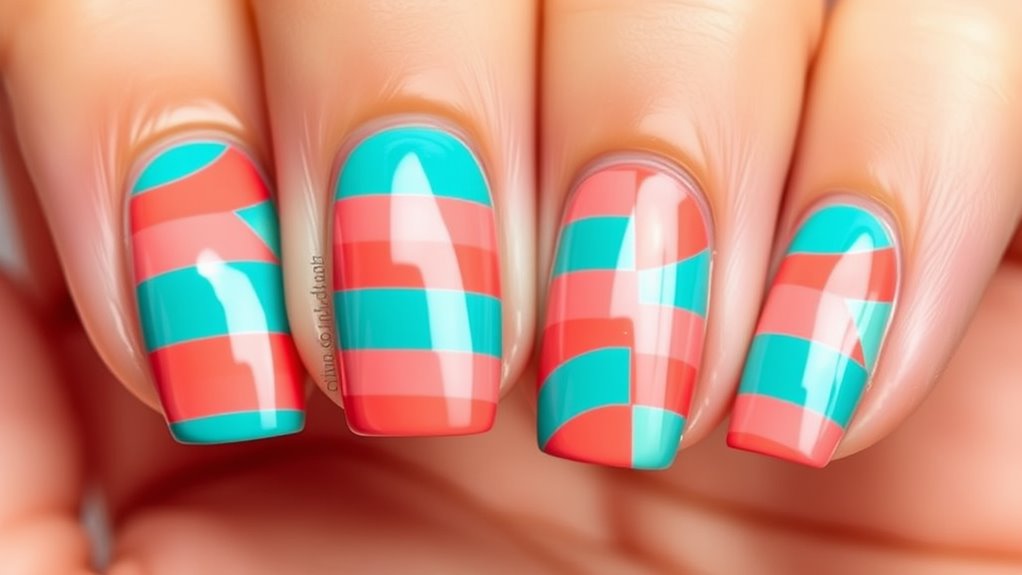
Keeping your striped nails fresh is just the beginning; now it’s time to have fun with color combinations! You can really let your creativity shine by mixing and matching different shades. Think about your favorite colors or even the season. For example, bright colors scream summer, while warm tones are perfect for fall.
Don’t be afraid to try unexpected combos! Pair a bold blue with a soft pink, or mix a vibrant yellow with a deep purple. You might think they clash, but sometimes the wildest combinations make the best art!
If you’re feeling unsure, start with colors that are next to each other on the color wheel, like blue and green, for a more harmonious look. Feeling adventurous? Try contrasting colors, like orange and teal, to really make your nails pop!
Remember to keep your stripes consistent. You can alternate colors in stripes or create patterns with different widths.
And when you find a combo you love, snap a pic. You’ll want to remember your masterpiece! So grab those polish bottles, release your inner artist, and have fun experimenting with your striped nail designs!
Conclusion
With the right products and a little practice, you can rock those striped nail designs like a pro. Remember to prep your nails, use a base and top coat, and don’t be afraid to mix up those colors. Keep your manicure fresh, and soon you’ll be the envy of all your friends. Nail art is all about having fun, so let your creativity shine! Happy striping, and may your nails always look fabulous!
