Trendy Rhinestone Nail Art for Special Occasions
Trendy rhinestone nail art can really make your special occasions sparkle! You can start with a nude base and use colorful rhinestones in different sizes for a fun look. For weddings, soft pastels or whites with delicate gems are super elegant. If you’re heading to a party, bold colors and simple tip designs catch the eye. Don’t forget to secure those jewels with a good top coat! Each season brings a chance to try new themes, like tiny flowers in spring or beach shapes in summer. Stick around, and you’ll discover even more tips for dazzling nails!
Latest Rhinestone Nail Trends
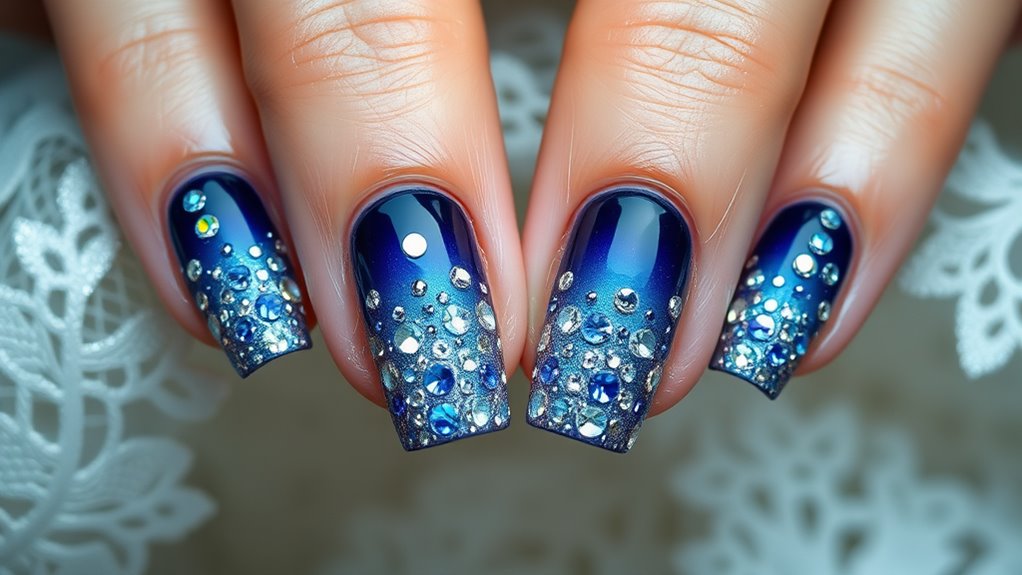
Rhinestone nail art is making a bold statement this season with fresh trends that elevate your manicure game. If you’re looking to dazzle, you’re in luck! This year’s hottest trends include colorful rhinestones that pop against classic nude or pastel bases.
You can mix and match sizes, too—tiny gems paired with larger stones create a fun, eye-catching effect.
Another popular trend is the gradient look, where rhinestones fade from big to small. It’s like a sparkly staircase on your nails!
And don’t forget about geometric patterns; placing rhinestones in lines or zig-zags can give your nails a modern twist.
Feeling adventurous? You might try using rhinestones to create fun shapes like hearts or stars.
Just remember, less is more sometimes! A few well-placed stones can make your nails shine without looking too busy.
Elegant Designs for Weddings
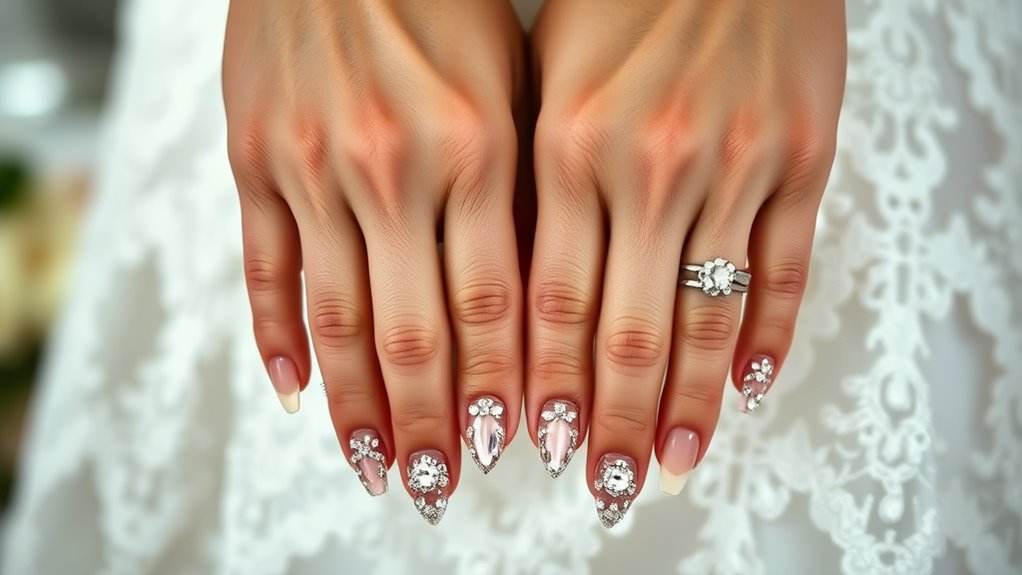
For brides looking to add a touch of glamour to their special day, elegant rhinestone nail art can enhance any wedding look. Imagine the sparkle of tiny gems catching the light as you hold your bouquet or wave to guests. It’s a little detail that can make a big impact!
You might want to reflect on soft pastels or classic whites for your base color, which can create a beautiful backdrop for the rhinestones. A delicate design, like a few strategically placed stones on accent nails, can be both chic and sophisticated. You’re not trying to outshine your dress; just add a hint of sparkle!
If you’re feeling a bit bolder, a full glitter nail with rhinestones scattered throughout can create a fun yet elegant vibe. Just remember, balance is key. You don’t want your nails to steal the show from that stunning gown!
Don’t forget to choose a nail shape that feels right for you. Whether it’s almond, stiletto, or square, make sure it complements your style. After all, it’s your day!
With the right rhinestone design, your nails will shine as bright as your love.
Glamorous Looks for Parties
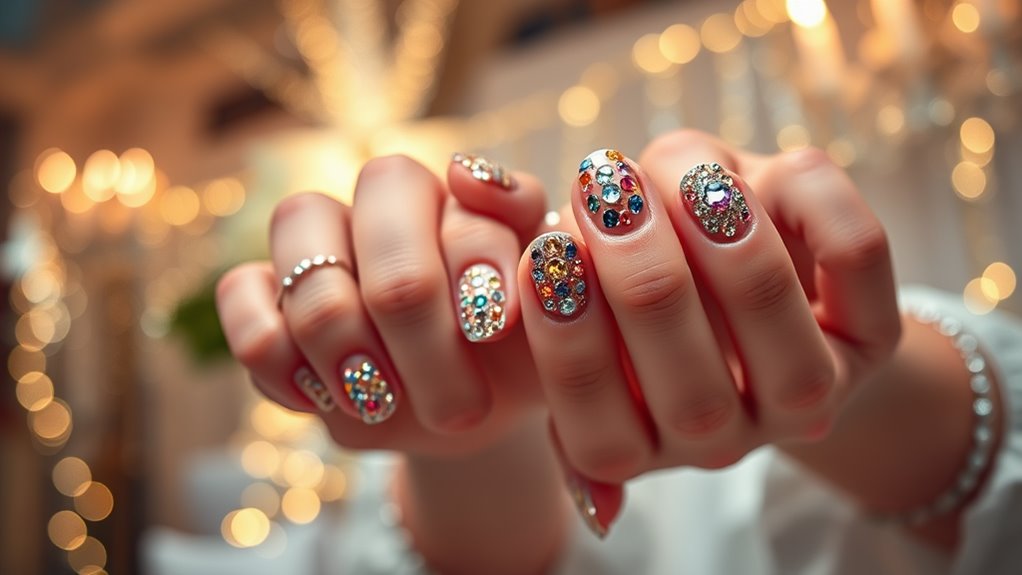
Make a statement at your next party with dazzling rhinestone nail art that captures attention and elevates your outfit. You can really shine when you choose the right designs! Think about using bright colors like red or royal blue for your base.
Then, add sparkling rhinestones in different sizes and shapes. This playful mix will make your nails look fabulous and fun!
You could create a simple design, like a line of rhinestones along the tips, or go all out with a full glittery look covering your entire nail. If you’re feeling adventurous, try a pattern, like stripes or polka dots, and then sprinkle some rhinestones in between.
Don’t forget to keep your nails strong and healthy, too. Use a good base coat to protect your nails before applying any polish.
A top coat will help seal those rhinestones in place, so they stay put while you dance the night away.
Seasonal Themes and Inspirations
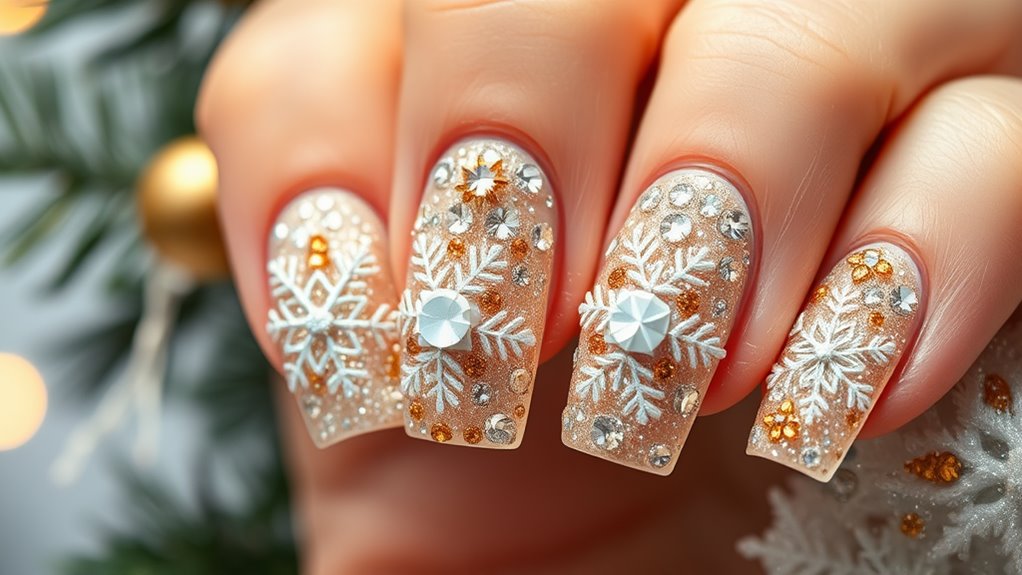
As the seasons change, your nail art can reflect the beauty of each time of year, offering a fresh canvas for your creativity.
Think about spring’s bright blossoms! You could use pastel colors with tiny rhinestones shaped like flowers or butterflies. Just imagine your nails sparkling like a sunny day!
When summer rolls in, it’s time for vibrant colors and beachy themes. Go for bold blues and yellows, adding rhinestones that resemble seashells or sun. Your nails can become a mini vacation!
As autumn arrives, you can play with warm oranges, browns, and reds. Rhinestones in leaf shapes will give your nails that cozy vibe, perfect for pumpkin spice season.
Finally, winter brings the magic of snow and holidays. You can opt for icy blues and whites, with rhinestones that look like snowflakes or twinkling lights. Your nails will be ready for all those festive gatherings!
Each season offers a chance to explore new designs and let your personality shine through.
DIY Tips for Perfect Application
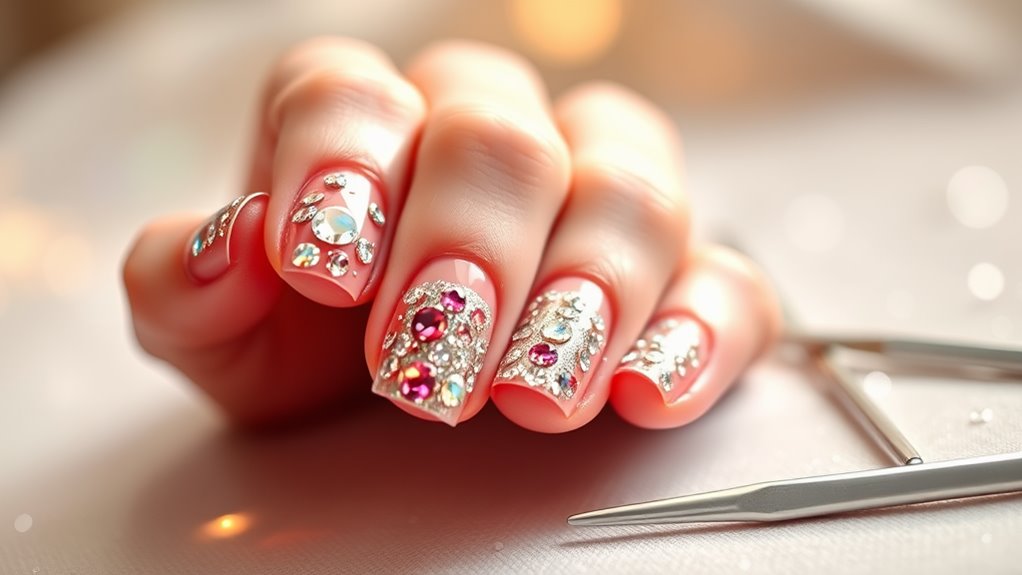
While achieving a flawless rhinestone nail art look might seem challenging, you can master it with the right techniques. First, make sure your nails are clean and dry. Apply a base coat to protect your nails and help the polish stick better. Choose a nail polish color that compliments your rhinestones, and let it dry completely before moving on.
Next, it’s time to pick those shiny gems! Use a dotting tool or a toothpick dipped in clear nail polish to pick up each rhinestone easily. Place the stones on your nails while the polish is still wet, so they stick better. If you’re feeling adventurous, mix different sizes and shapes to create a dazzling design!
Once you’re happy with your rhinestone placement, seal it all in with a top coat. This step is super important because it keeps your nail art from chipping and helps the rhinestones stay put.
Just be careful when applying the top coat—avoid getting it directly on the stones to keep them sparkly. With these tips, you’ll impress everyone with your dazzling nails, and who knows, maybe even start a trend!
Choosing the Right Rhinestones
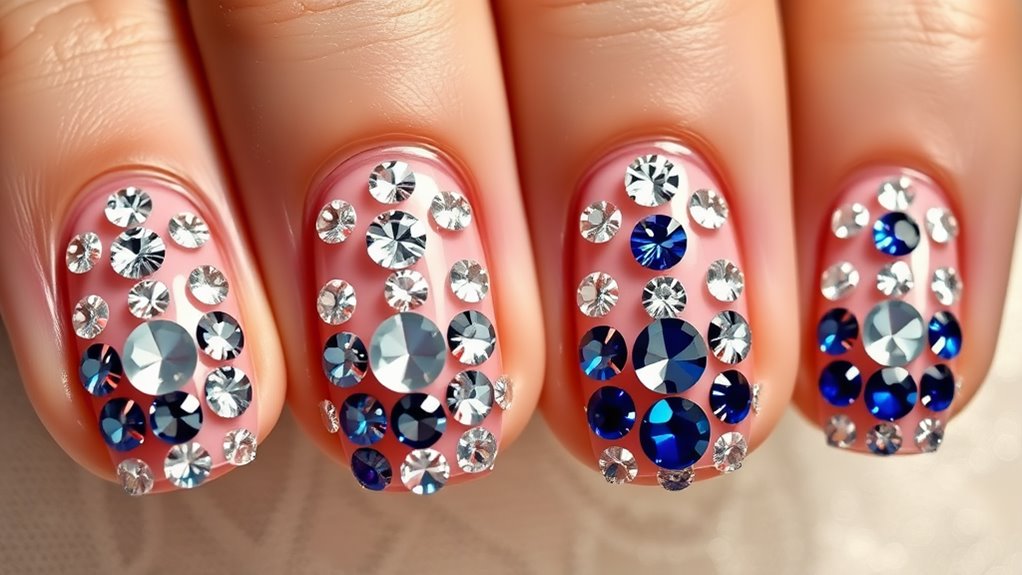
Rhinestone enthusiasts know that selecting the right stones can elevate your nail art from ordinary to extraordinary. When choosing rhinestones, consider the size first. Smaller stones look great for a subtle sparkle, while larger ones can make a bold statement.
Think about the occasion: a wedding might call for delicate, tiny gems, whereas a party could handle some big, flashy ones!
Next, pay attention to the colors. You want your rhinestones to complement your nail polish. If you’re using a light color, clear or pastel stones can create a soft, dreamy look. Bright or dark colors can really pop, making your nails the center of attention.
Don’t forget about the shape! Round stones are classic, but teardrop or square shapes can add a fun twist.
Mix and match shapes for a unique design that shows off your personality.
Nail Care Before and After
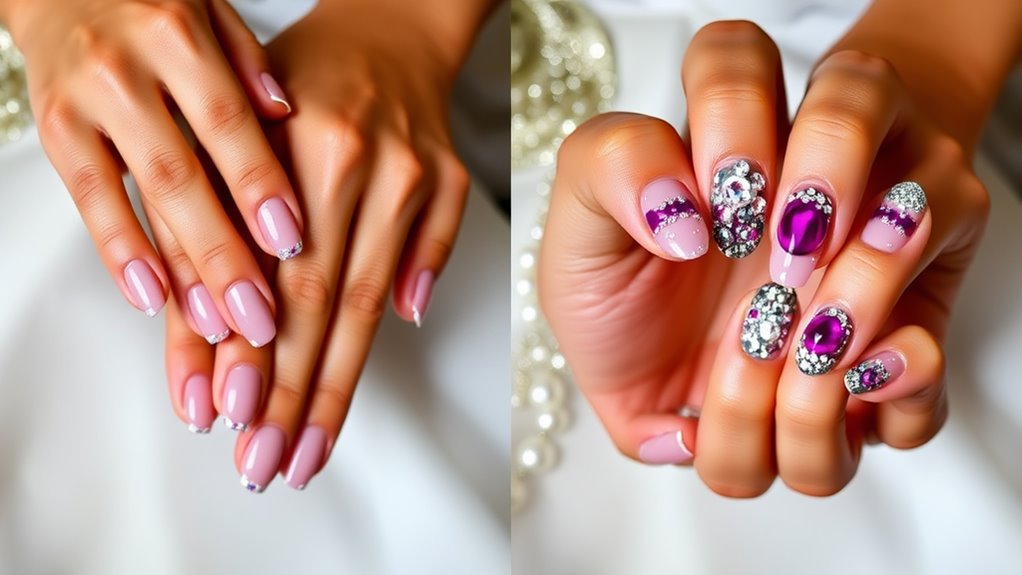
Taking care of your nails before and after applying rhinestone art is essential for maintaining their health and appearance.
Start with a good manicure. Trim, file, and buff your nails to create a smooth canvas. You don’t want any jagged edges ruining your fabulous design!
Once your nails are prepped, apply a base coat. This not only protects your nails from staining but also helps the rhinestones stick better.
After you rock those dazzling rhinestones, don’t forget about your nails! Gently clean any excess glue or polish. You can use a soft cloth or cotton swab to avoid damaging your art.
Moisturizing is key, too! Apply cuticle oil or hand cream regularly to keep your nails hydrated and happy. Dry, brittle nails are a no-go, especially if you want to keep showing off that bling.
Showcasing Your Nail Art
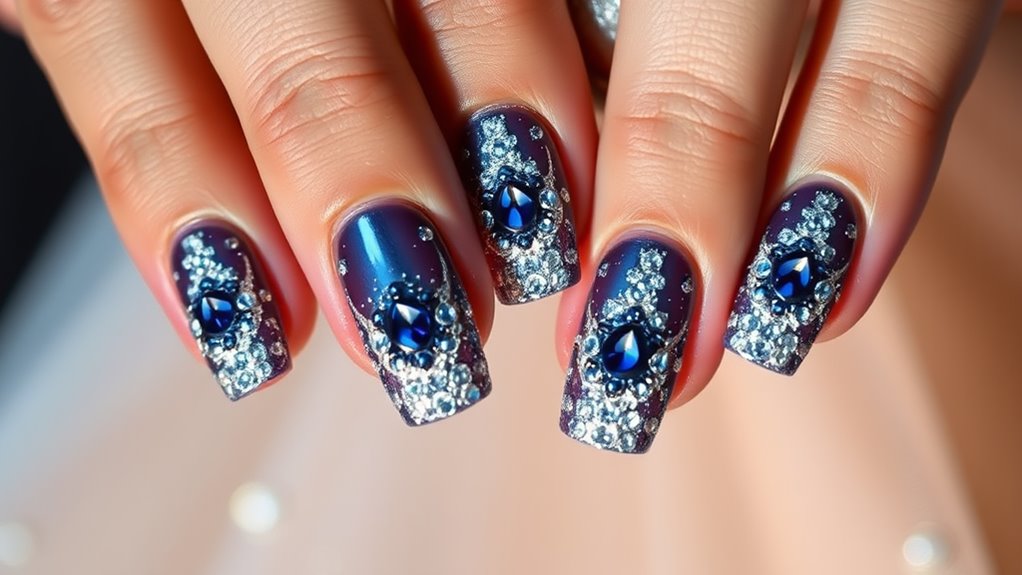
After you’ve pampered your nails and adorned them with stunning rhinestones, it’s time to show off your masterpiece. You’ve put in the effort, so let everyone see your fabulous nails!
First, pick an outfit that complements your nail art. A simple dress or top can make your nails pop even more. You want people to notice your bling!
When you’re out, don’t be shy to strike a pose! Hold your hands up while chatting, or gently wave your fingers to catch the light. You could even take a few selfies. Just remember, good lighting is key to showing off those sparkly gems.
If you’re attending a special event, consider sharing your nail art on social media. Snap some pictures and add fun captions. Friends and followers will surely adore your work and might even ask for tips!
Conclusion
So, now you’re all set to rock those fabulous rhinestone nails for any special occasion! Remember, whether it’s a wedding or a party, your nails can shine just as bright as you do. Don’t forget to take care of your nails before and after your dazzling designs. With a little practice and creativity, you’ll be the star of the show. Get ready to sparkle and have fun showing off your amazing nail art!
